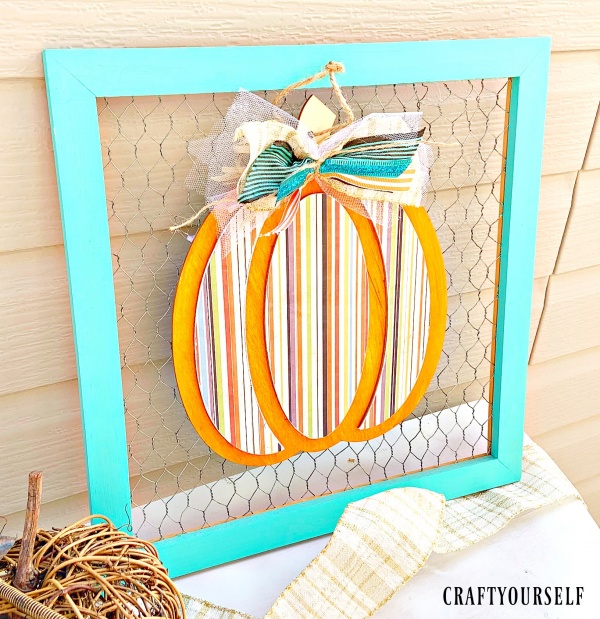
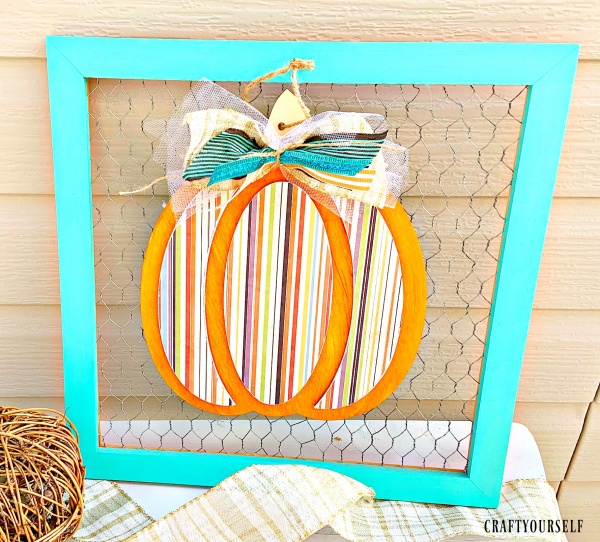
3-D Framed Wood Pumpkin
Check out how I made this 3-D Framed Wood Pumpkin.
I love to turn other people’s trash into treasures! Sometimes other people don’t see the value in items like I do. Going to yard sale’s and find things for fairly cheap to make new again is one of my favorite past times.
Finding this cute turquoise chicken wireframe at a yard sale for .25 got me really excited and knew I couldn’t pass it up. At the time of the purchase I had no idea what I would use it for. A few months later I purchased a 3-D wooden pumpkin for $1.00. The size of the pumpkin fit perfectly inside of the chicken wire frame. Pulling apart the pumpkin, painting each piece, and mod podging paper on to the 3D pumpkin to match the frame.
Before we begin you will want to gather supplies.
You will need the following items:
Frame (your choice)
wooden pumpkin (mine was from dollar tree)
paint
paint brushes
small metal scraper
scrapbook paper
pen
scissors
modpodge
sandpaper
hot glue
embellishments
Start by pulling a part the layers of your pumpkin with a metal scraper.

Paint all the edges of the pumpkin orange or your choice in color and allow it to dry.
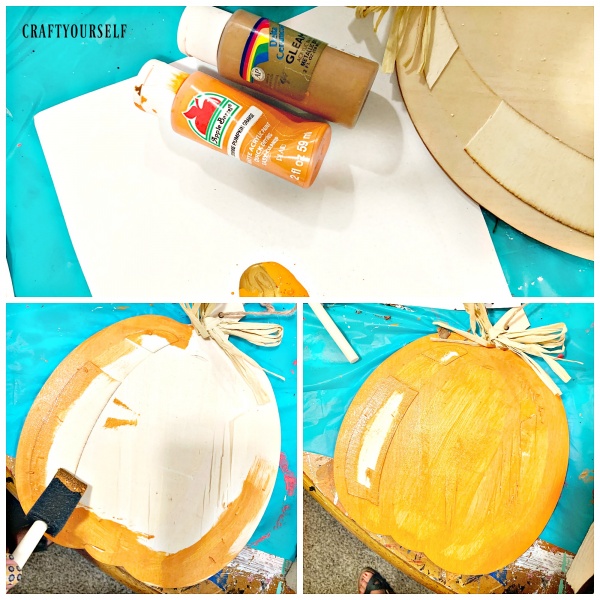
Trace 3-D sections of the pumpkin onto scrapbook paper and, cut out design with scissors.
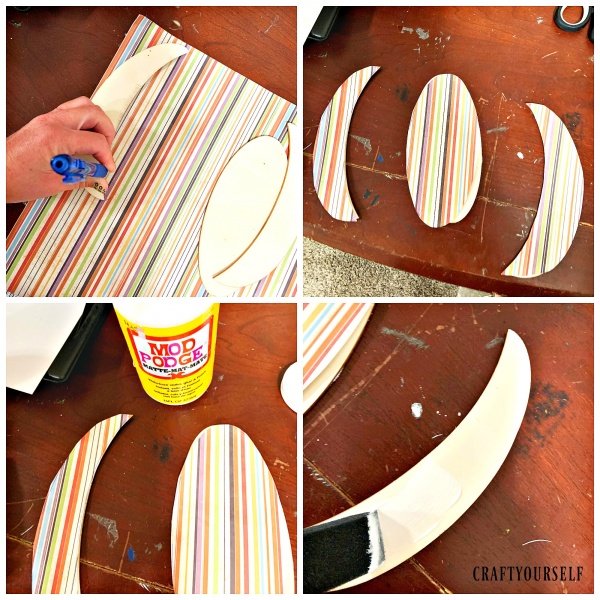
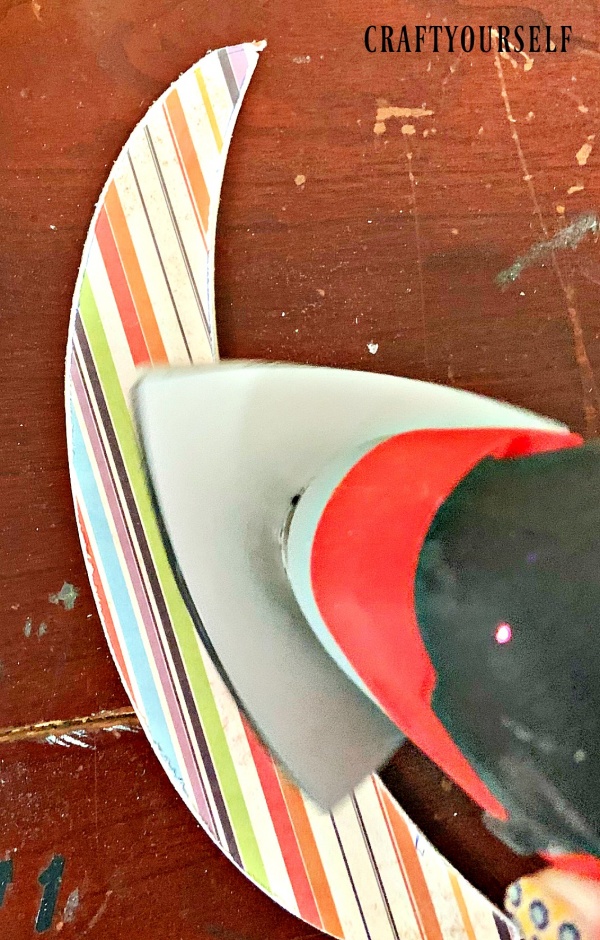
Mod podge paper onto 3-D sections of the pumpkin shape and allow it to dry. Then sand edges to make smooth.
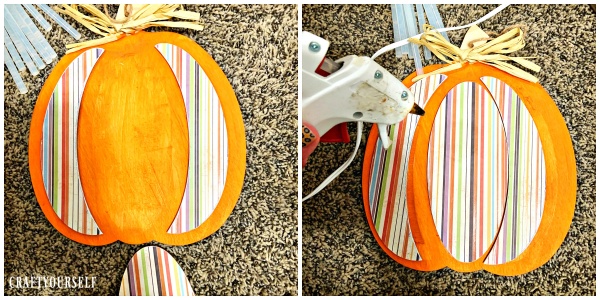
Finally you will hot glue the 3-D Pumpkin sections back on to the painted main pumpkin design. Embellish stem with ribbons and hot glue 3-D Wood Pumpkin into the frame.
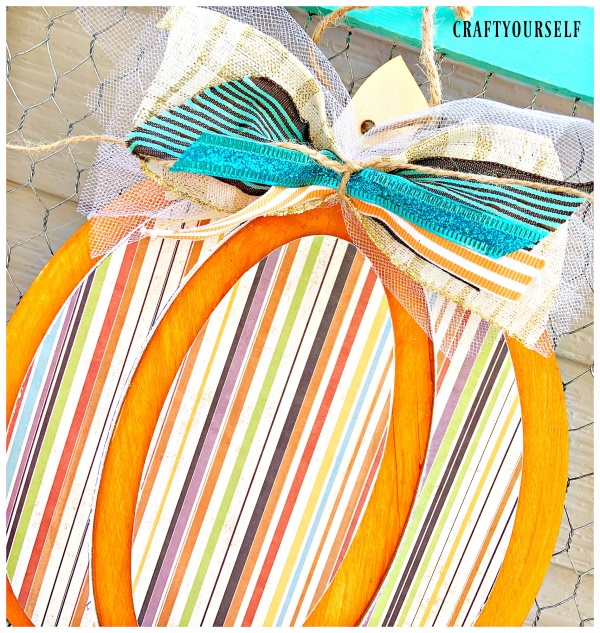
I love the turquoise and orange colors together for fall. What colors will you choose for your 3-D Framed Wood Pumpkin?
For more fall décor ideas check out our fall pumpkin painted logs and Fall pumpkin beadboard decoration. We have many fun Fall items that are not only fun but easy to make.
You May Also Like

The Coming Of Fun Fitness VR

Creative DIY Home Security Tips