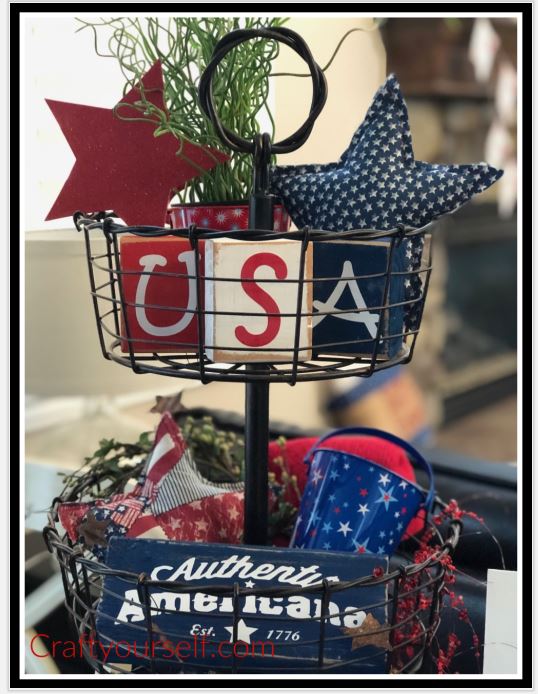
4th of July Fabric stuffed stars
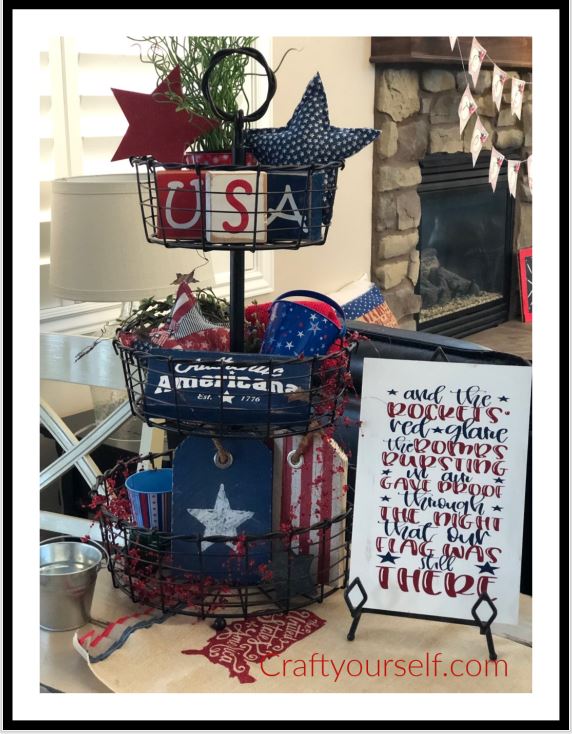
The 4th of July is coming up and my tiered tray needs some fun red, white and blue décor. Follow along to see how I made these 4th of July Fabric stuffed stars. First, you’ll want to gather some fabric. Color schemes of Red, White and Blue. I used printed fabric, mainly because it is what I had on hand and I didn’t have to go out and buy any.
Take some paper and draw a star onto the paper, whatever size you would like. I stuck to the main center of my star being about the same size as the palm of my hand. You don’t need any special cutting scissors or anything but you will be doing all the cutting by hand. Cut out the paper star and then pin it to the top of your fabric. To cut 2 stars at once you can fold your fabric in half and hand cut out the stars following your paper guide.
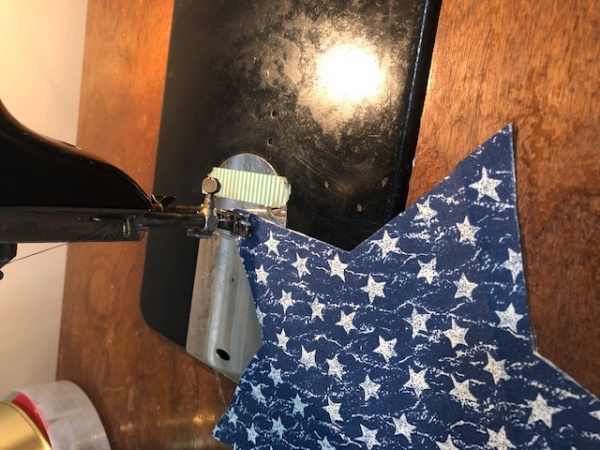
Every once in a while I like the white stitching of the thread to show so with these stars I put the fabric together facing outward and sewed using a 1/4″ seam. If you don’t like the thread to show then take your patterned fabric and face it towards each other before sewing. Leave a small hole along one of the sides of the stars to push stuffing into. The stitches along the star are just straight stitches, nothing difficult. Honestly they do not need to be perfect as no one will be analyzing them. Many people worry about not being able to sew. But with these you don’t have to be a seamstress to whip these up!
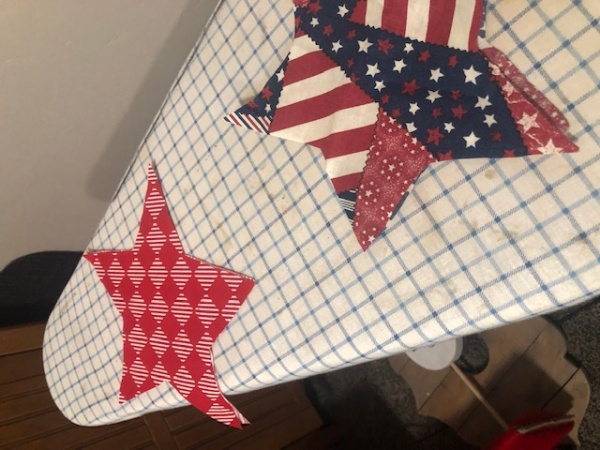
Before you start stuffing the stars you’ll want to iron them to get all the creases out of them. I actually ironed mine before I sewed them together and then again after sewing them
If you are sewing the fabric pattern sides together then make sure you turn your stars inside out before stuffing them. Look at how I placed my Fabric stuffed stars in my tiered tray

