
Candy Bar Sliders
Candy Bar Sliders
While everyone watched the super bowl.. I watched but crafted at the same time! Multi tasking at it’s finest!
These Candy bar sliders were done at our last month’s card group Get one sheet of 12″x12″ scrapbook piece of paper and slice into 4 equal parts (as one 12″x12″ will make 4 sliders.
For a large sized Hershey’s candy bar you will score the edges at 1 3/4″ and 1 1/2″ For the smaller Hershey bars you will score the paper at 2″ and 1 3/4″ then you will fold on the scored lines and shape the paper into the shape of a candy bar and glue the edges. (Just normal crafting glue)
Pinch the end of the candy bar slider together and glue. Then run the end of the slider through one of these (A Fiskar Crimping tool)-
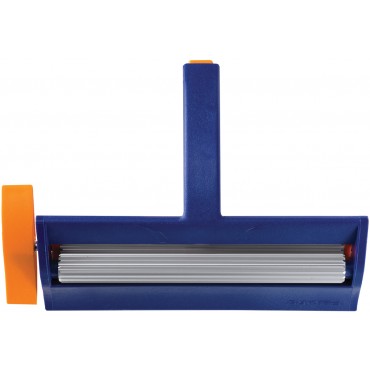
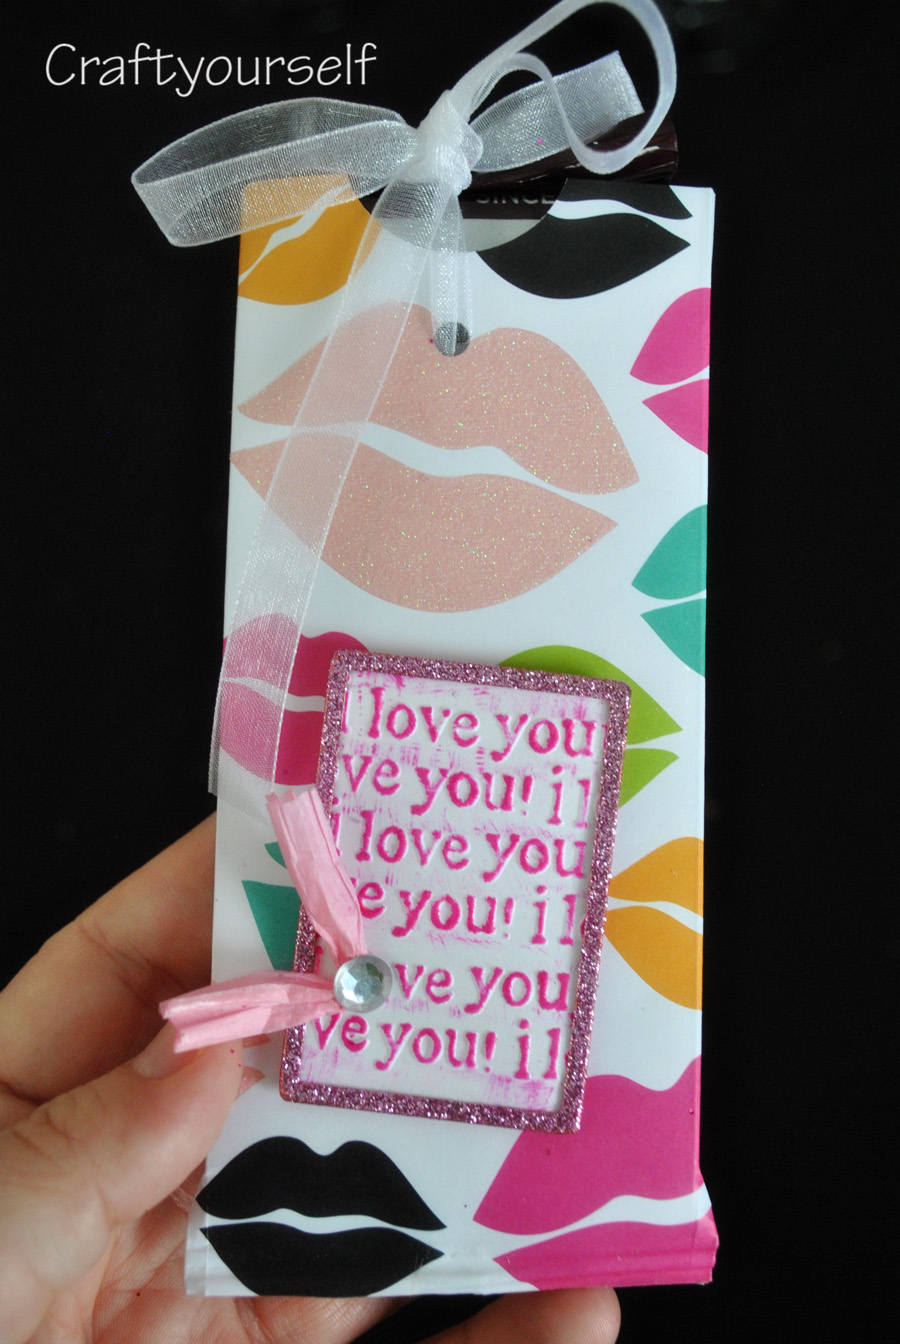
This just gives the edge a finished look! Then punch a round circle at the top with a round punch (approx. 1 1/2″) Make sure this is done on both sides at the top of the slider. Then take a hole punch (a mini one) and punch a hole through both sides. Next string ribbon through the hole and down into the bottom of the slider and slide your candy bar in on top of the ribbon. When you tug on both strings it slides the candy bar right out!

Embellish the front of the slider with whatever you want! As you can see I embossed some lips and added glitter then added a glue dot to give it a 3-D effect. My daughter is giving these to her friends for Valentines! I also whipped up a few that I can give as a birthday gift.
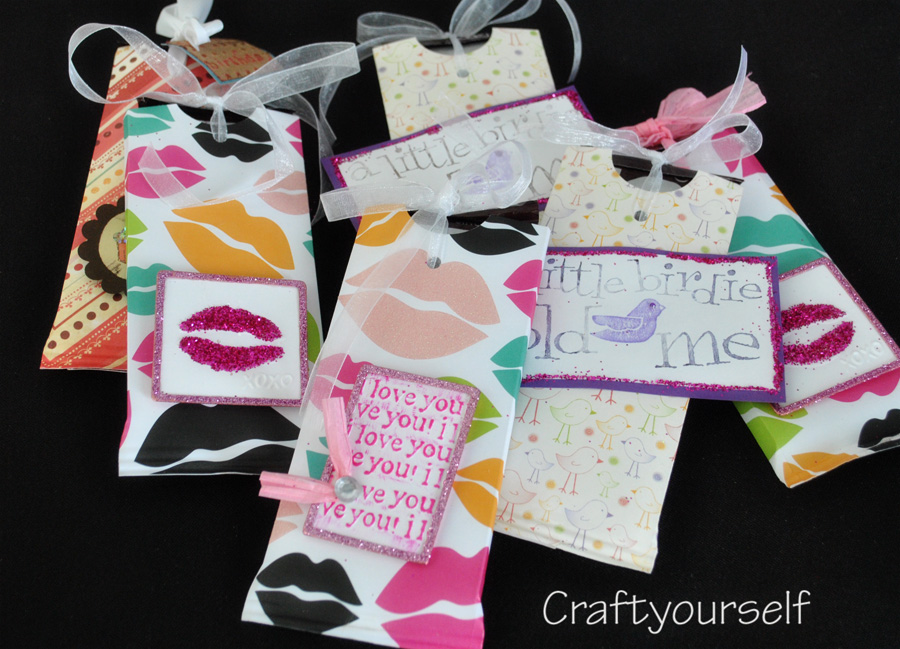
P.S. I looked on Pinterest and there are about 100 tutorials for these babies. I thought they were pretty creative but had no idea I was one of the last one’s to figure out their existence! 😉 either way they were fun to make
One Comment
Shannon
These are lovely and fun. Thank you for sharing.