Crafts
-
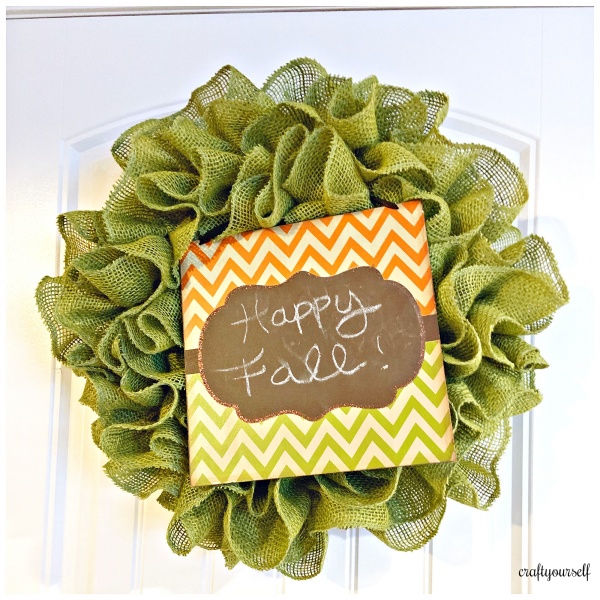
Ruffled Burlap Fall Wreath
I am a wreath collector! There I said it! I have several wreaths out at a time. I have wreath that go with my everyday decor and for every holiday you can think of! I was gifted several rolls of orange and green burlap ribbon. I held onto them for a while and finally came up with the idea to make some ruffled burlap wreaths. The colors were perfect for fall. To create your own Ruffled Burlap Fall Wreath you will need: 2-3 rolls of burlap ribbon wreath form hot glue gun glue sticks embellishments of choice Start by locating the center of your burlap ribbon. Pull the center string…
-
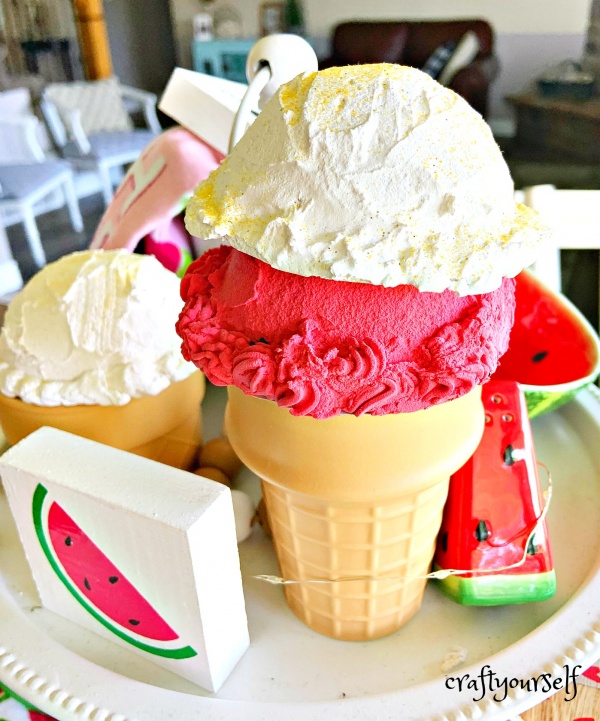
DIY Faux Ice Cream Toppers
I love finding new things to add to my tiered trays. For the cooler months I have a cute mug with a faux whipped topping in my trays. As summer came along it just didn’t seem like a topped mug fit the seasonal fruits and things I was placing in my trays. I found some cute ceramic ice cream cone bases at the store and knew I needed to come up with a way to make a faux ice cream topper. To create your own Faux Ice Cream Toppers you will need: Hallow plastic ball lightweight spackle frosting piping bag or tool plastic knife small saw or knife Paint (if…
-
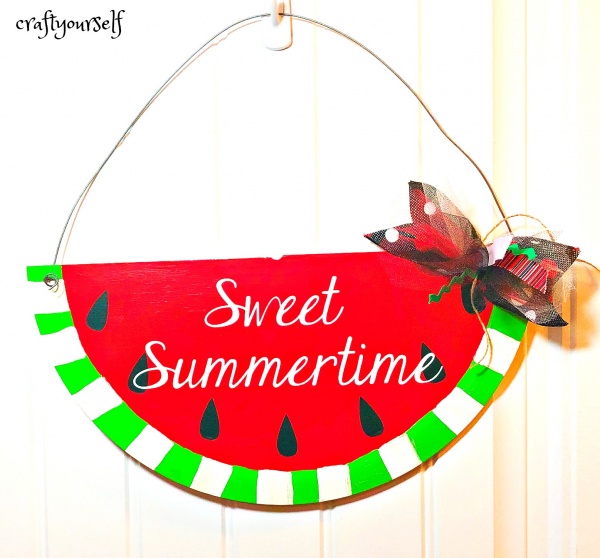
Watermelon Door Hanger
Summer days are winding down and coming to a close. I am ready for the cooler temperatures and a better fall routine. But, I have been loving all the trendy fruit decor and bright colors to decorate with. Before it’s officially over I’ve had a few more summer theme projects to finish up. One of the projects I’ve been wanting to create was a watermelon door hanger. We found some 16″ pre-cut wood rounds at a yard sale a while back. I kept thinking if we cut them in half they would be darling watermelon door hangers. Finally, Avry and I were able to get our craft mojo going and…
-
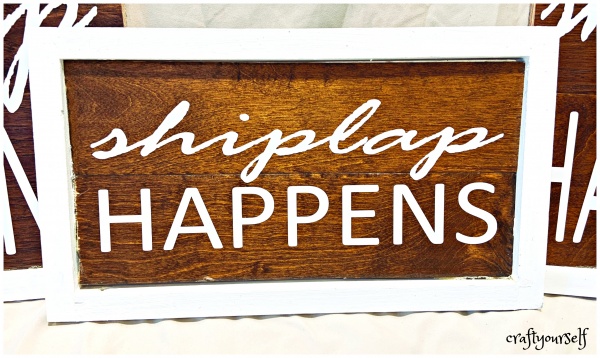
Shiplap Happens Wooden Sign
I can’t remember where I saw this funny sentiment. I knew immediately I needed it on some kind of sign. If I was turning it into a sign it needed to look like shiplap! To create your own Shiplap Happens wooden sign you will need: Scrap wooden pieces (leftover wood floor, palate, or fencing) Lathing or trim strips to create a frame Chop saw Nail gun wood/liquid nail glue White Paint Paint brush vinyl (I used white) personal cutting machine Start by cutting 2 of your scrap boards the same length. I made several signs and cut them in all different sizes. After your cut, your mainboards measure and cut…
-
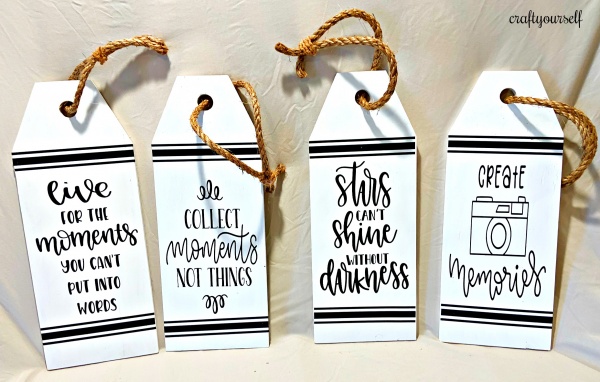
Decorative Wooden Tags
When you are a hoarder of all things craft and decor related, often others unwanted items come your way. I can’t tell you how many times people call or text to see if I would like items they are getting rid of. When these large wooden tags were offered I didn’t hesitate to say Yes! I knew I could make some fun things with them. Instead of creating a seasonal decor item we decided to make them more of an everyday home decor style. To create your own Decorative wooden tags you will need: 1″ wood boards tag template table/chop saw drill rope paint (white) paint brushes personal cutting machine…
-
Round Citrus Fruit Slices
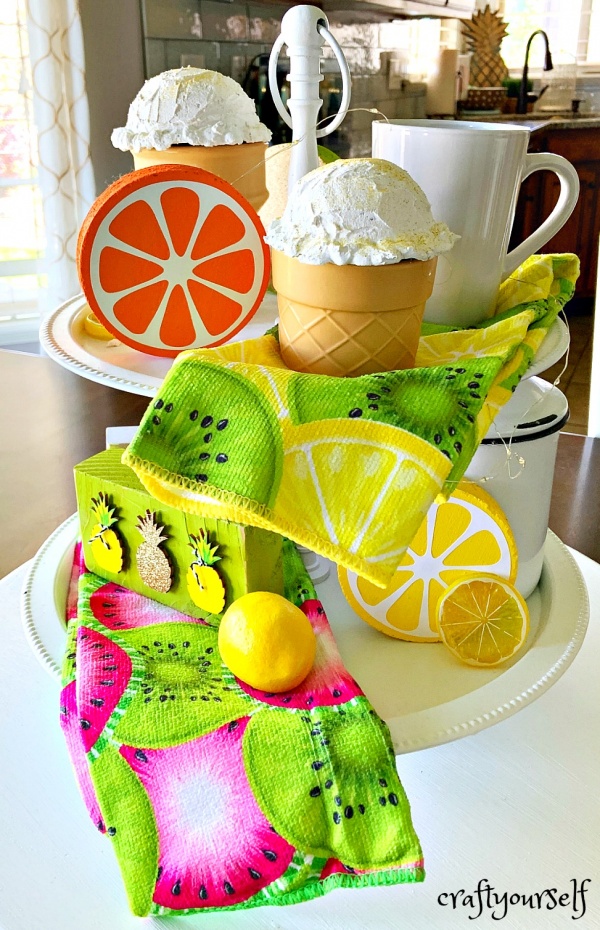
Have you jumped on the tiered tray decor craze yet? Last year I bought myself a small tiered tray and fell in love with them. I got my tray at the beginning of the summer and styled in with lemon decor. Since then I have purchased a second larger tiered tray. As the summer came I realized I didn’t have anything to fill my new large tray with. I started looking for small items to create a fun summer tray. Instead of all lemons in this tray, I went with assorted summer fruits. I am loving how it’s turning out. I created some round citrus fruit slices to stand up…
-
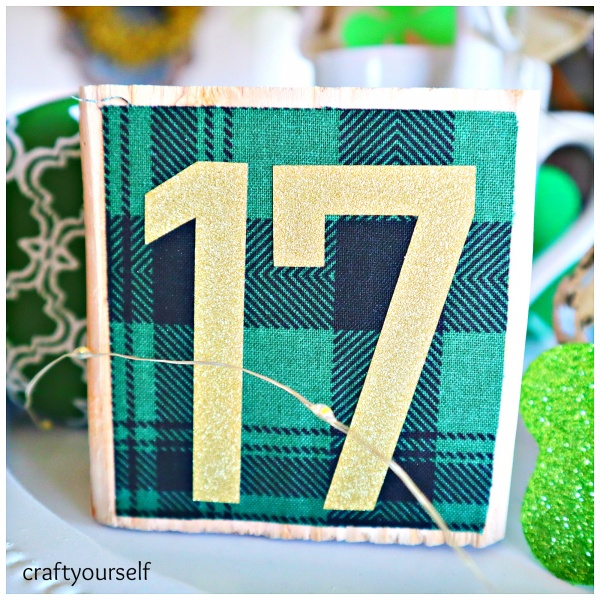
St. Patrick’s 17 plaid block
Over the past year, I have been loving all of the decorated tiered trays. I’ve collected a few trays myself and have loved creating small decorative items to fill the trays. This cute St. Patrick’s 17 plaid block came together in about 5 minutes and, is a great touch to the tray in the center of my kitchen table. To create your own St. Patrick’s 17 plaid block you will need: Fabric of your choice (I chose this green plaid) vinyl of your own color choice (I chose gold glitter) personal cutting machine scissors glue or mod podge Start by measuring your fabric to your woodblock. Then cut the fabric…
-
Valentine XOXO blocks
I don’t know about you but, I am a gift giver! I love to have little over the top gifts or treats for each holiday or occasion. Why do kids get all the excitement and fun on holidays. I love to spoil the people in my circle, even though I can’t do big gifts for every occasion. Here is a fun little Valentine project perfect for decorating a tiered tray or to put in a Galentine’s gift bag. These Valentine XOXO blocks come together super quick. To create your own Valentine XOXO blocks you will need: scrap 2″ by 4″ wood boards White paint black and gold vinyl paintbrushes personal…
-
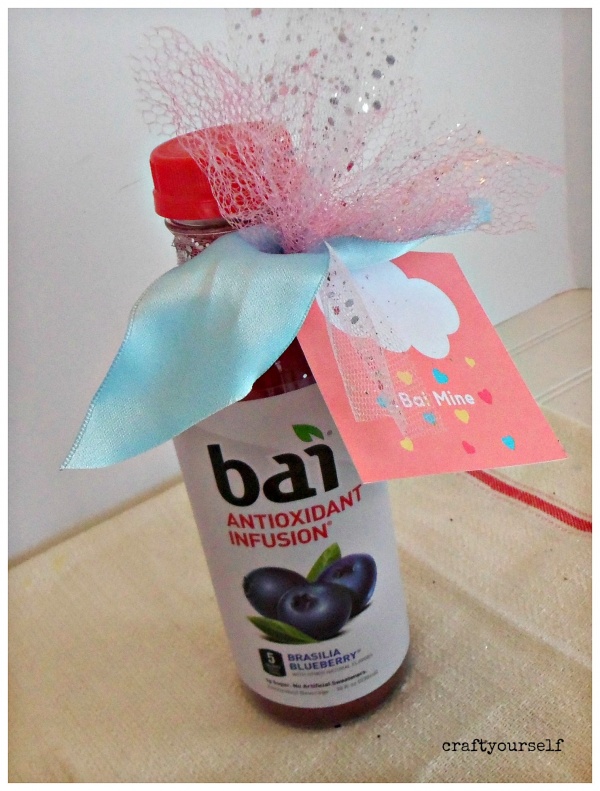
“Bai” Mine Valentine treat
Valentine’s Day is close upon us. This holiday is usually celebrated by lovers and children. I have always been one to want to also share this holiday with close friends, co-workers, and great neighbors. Share the love right? Sometimes is hard to find small and simple gift ideas for adults that aren’t the love of your life. Looking on the internet mostly turns up ideas with Valentine’s treats for school-age children. I had purchased a few of these Bai drinks for some of my friends as an indulgent treat. Once I read the word Bai it came to me Bai Mine. I knew I needed to create a printable for…
-
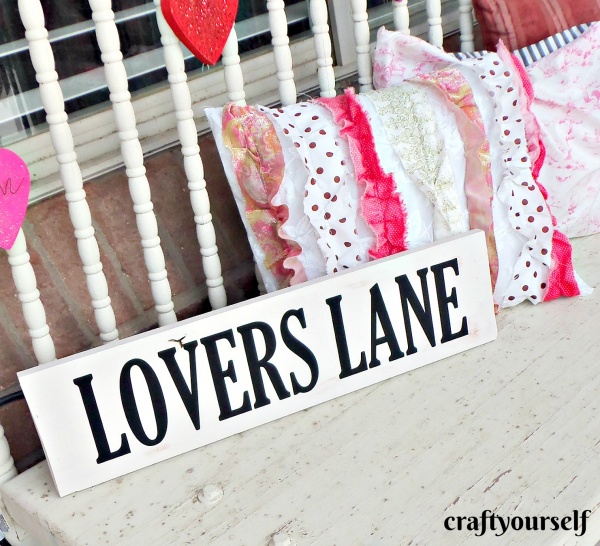
Simple Lovers Lane Sign
With Valentine’s Day fast approaching I wanted to create some easy decoration projects to add to my home and porch. Sometimes I love to create simple projects that can be done in 30 minutes or less. This Simple Lovers Lane is one of those projects, it takes minimal time and supplies to complete. To create your own lovers lane sign you will need: 1 board ( mine measures 5″ by 18″) white paint paintbrushes black vinyl personal cutting machine Start by painting your board white, I used a whitewash style of painting to make it look rustic with some of the raw wood showing through the paint. While your board…
