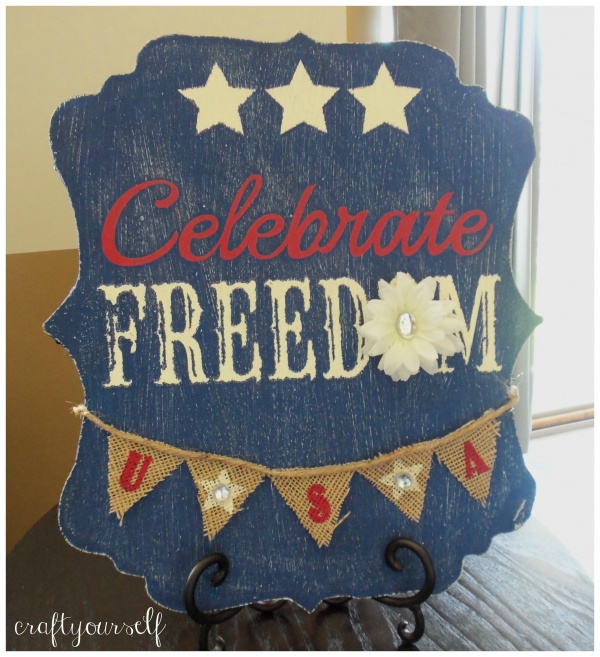
Celebrate Freedom Board “Hobby Lobby Knock off”
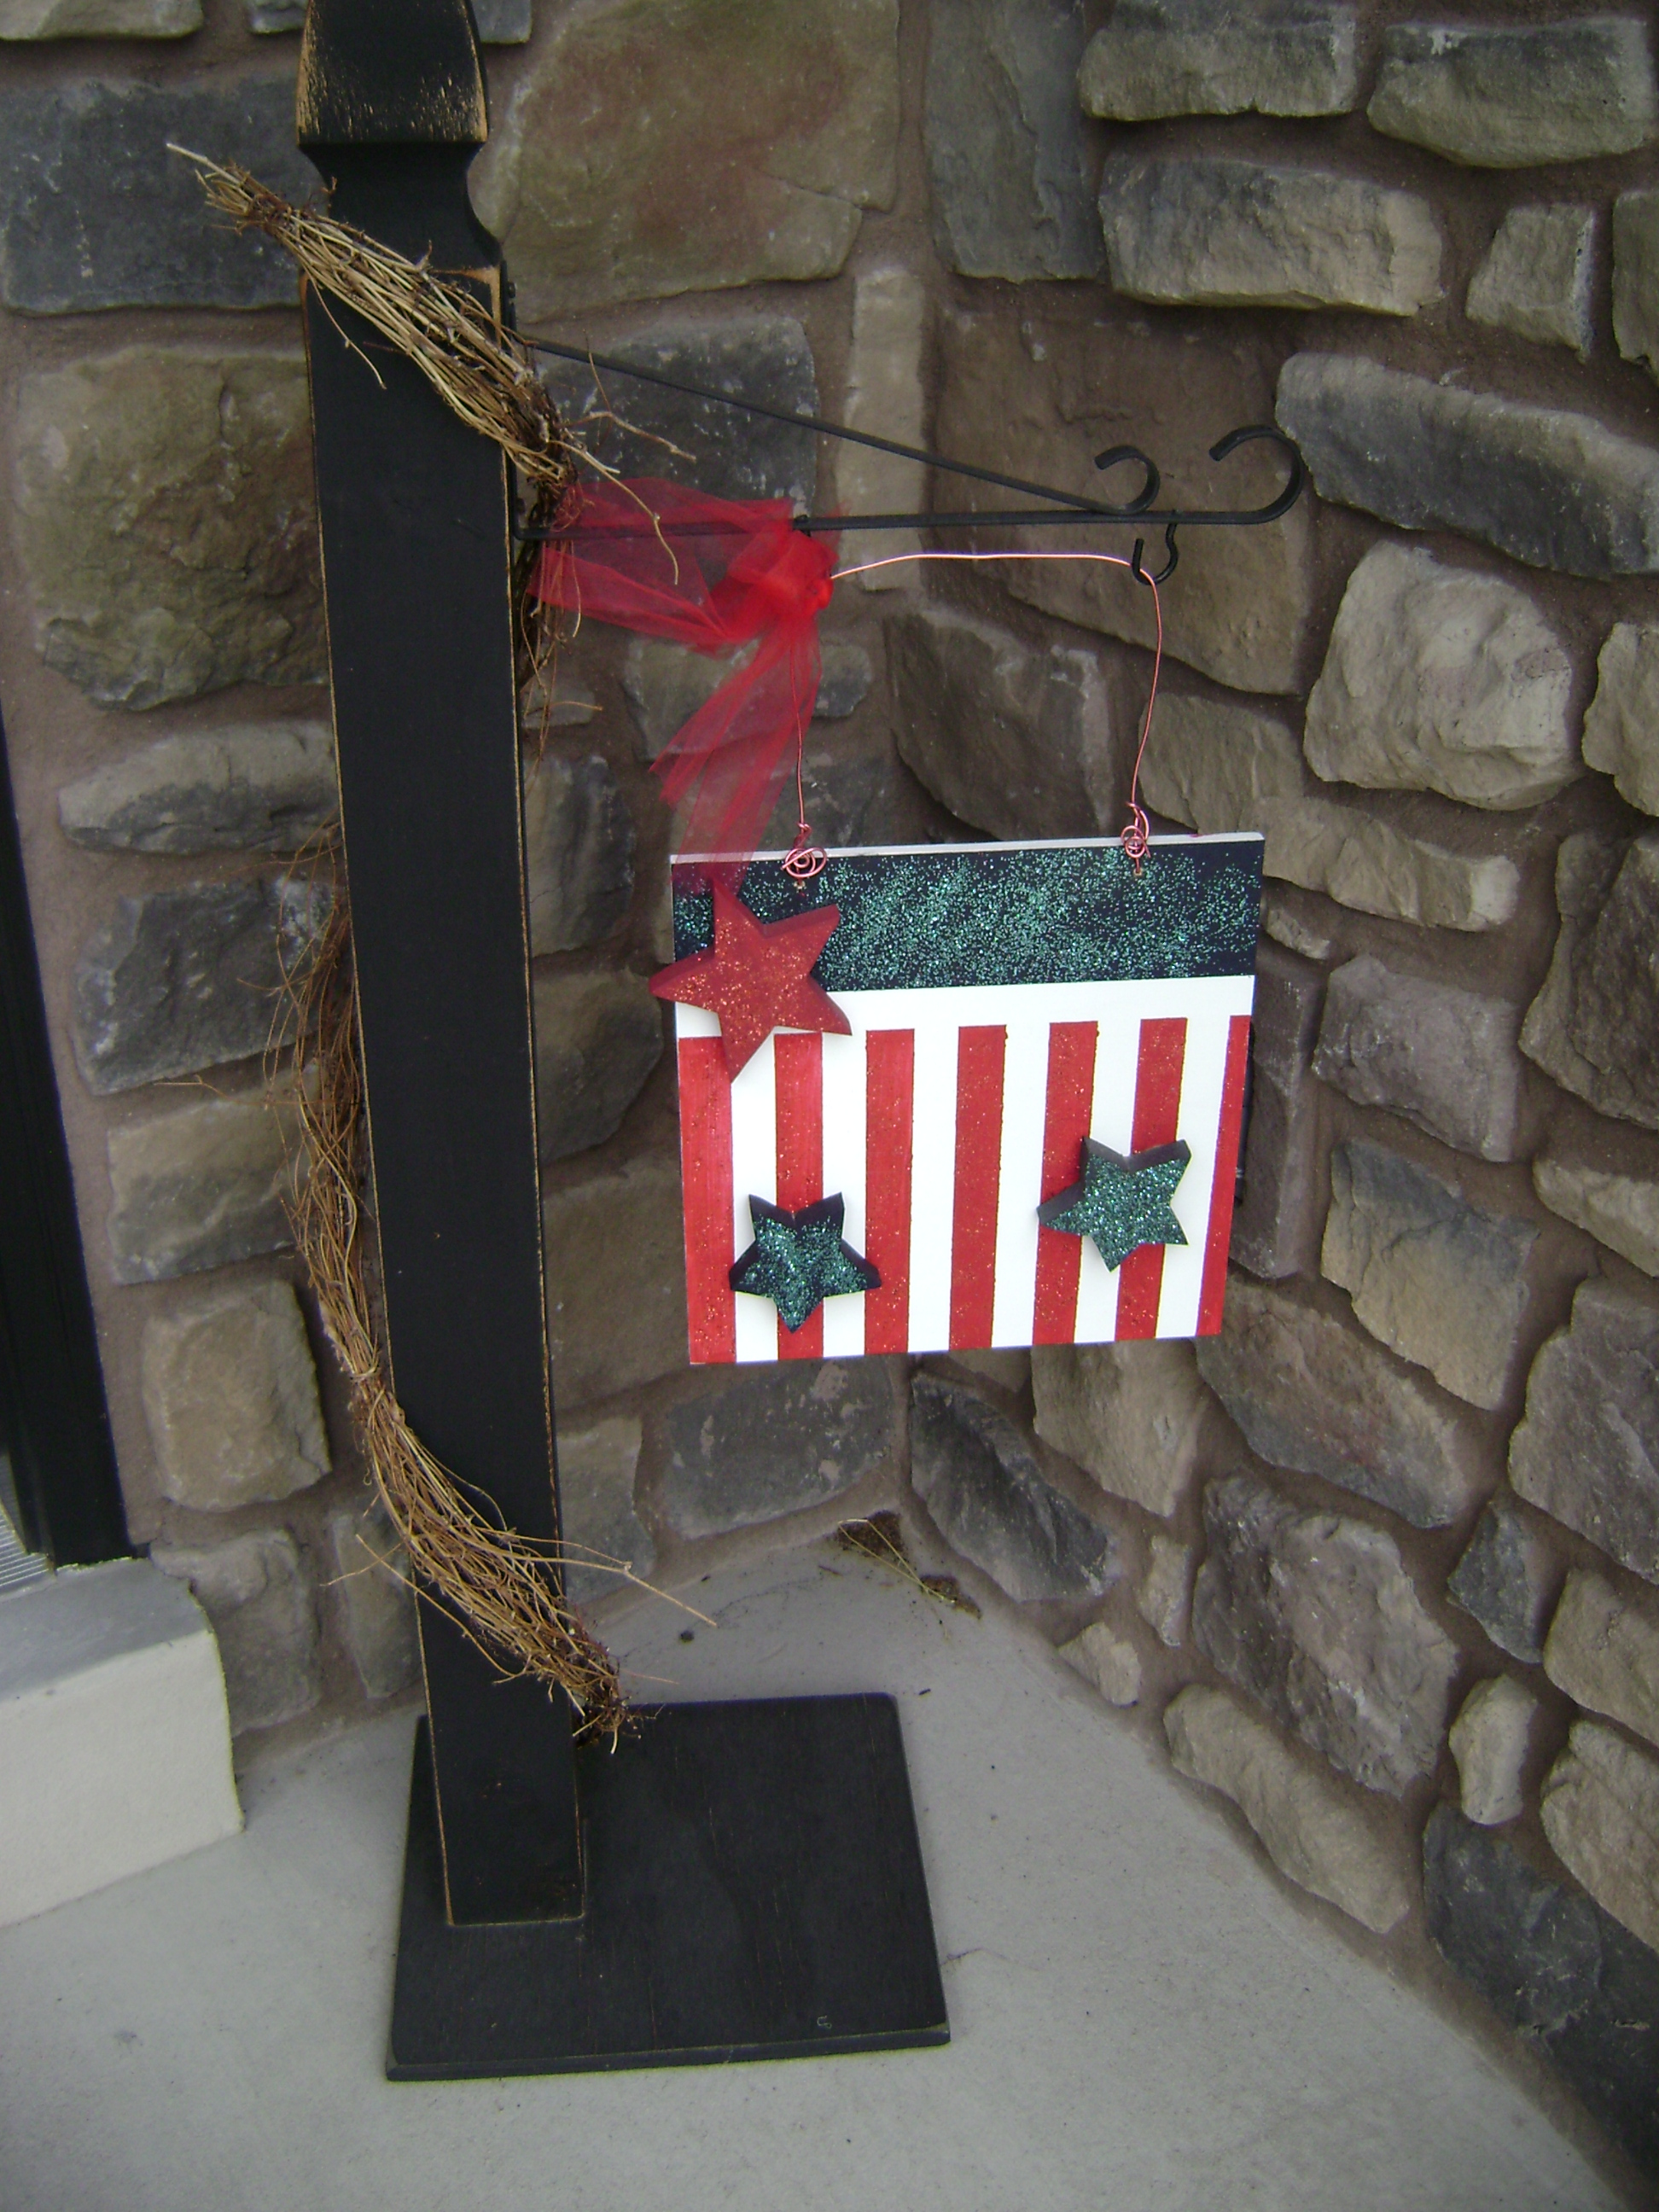
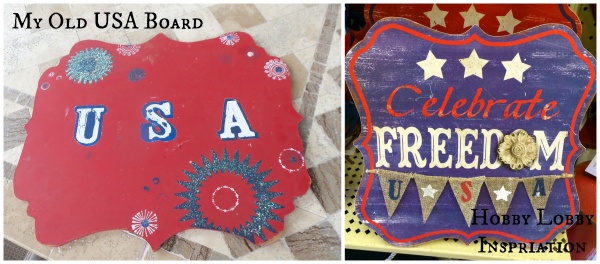
Avry and I made these USA boards around 4 years ago. I had this grand idea of how they were going to turn out and be the perfect coveted 4th of July decoration. After we finished them uhhh yeah! they were nothing like what I had in mind, actually they were pretty pathetic looking! I think I put it out on my porch for 1 season and then was to embarrassed to put it up again after that. This USA board has been sitting in my 4th of July decorations container for the last 3 years. I pulled out the USA board again and was ready to put it in the get rid pile. I really loved the shape Avry cut the board into and thought I could sand it off and do something else with it. During one of my blog stalking sessions I came across a picture someone had taken at Hobby Lobby and I knew this was what I wanted to copy by recycling the USA board. I told Avry to pull hers out so we could get to work on it, Sadly Avry had already gotten rid of hers. My plan is to make Avry one like this on a square board and paint the bracket design around the lettering.
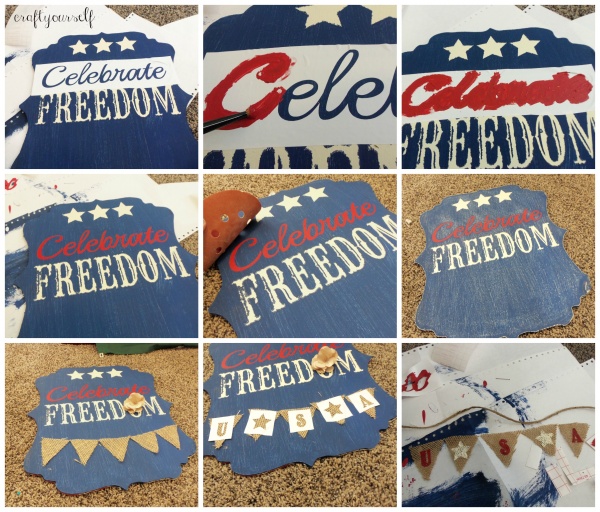
Lets get started on showing you how to make this Celebrate Freedom board! My board measures about 11″ x 14″ but you could grab any size of board to create this. I painted a base coat of white first and let it dry. While it was drying I used my personal cutting machine to create 3 stars about 2″ x 2″. I also typed in the word “Freedom” and chose the font I liked and sized the lettering to 10 1/2″ x 3″ and then typed the word “Celebrate” and chose the font motion picture and sized the lettering to 10″ x 2 3/4″ tall. I cut these out using contact paper. Next I placed the stars at the top of my board and the word Freedom in the center of my board. I painted over top of the stars and lettering with a Navy blue that I mixed with paints I already had on hand. After the paint was dry I peeled off the contact paper stars and lettering.
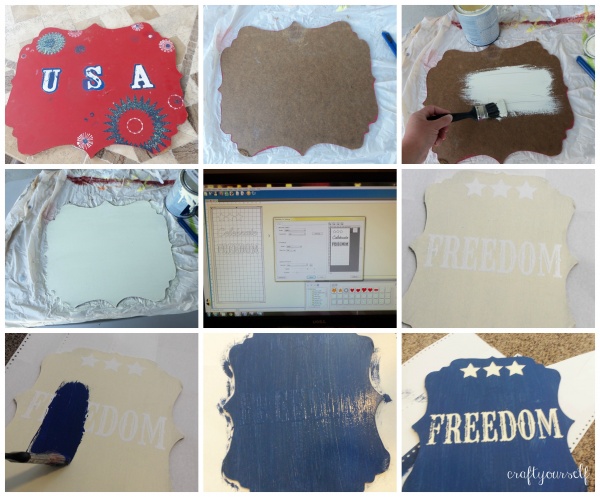
Then I used the outline of the Celebrate letting as a stencil I placed the stencil above my word Freedom and painted it in red. I peeled the stencil off before it had a chance to dry, this gave me a nice crisp line with no bleeding. While the word Celebrate was drying, I cut 5 small 2″ triangles out of burlap, then created USA and 2 small 1″ stars on my cutting machine which I also cut using contact paper. I then placed the stencils on the burlap triangles and painted the USA red and the stars white. When my painted board was completely dry I gave it a quick sanding by hand, I love that it made it look like worn jeans. Now that the USA and stars were dry I removed the stencil and hot glue a piece of jute across the top to create a banner. I hot glued the banner below the word Freedom, then I hot glued a white flower over the O on the word freedom.
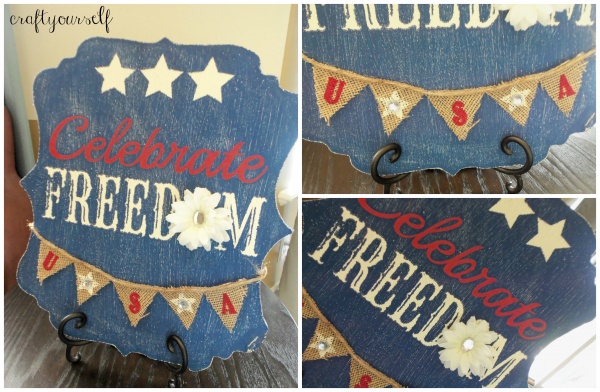
Now I can say this time around I am truly happy with the final results! Thank you Hobby Lobby for lending some inspiration to me! I can proudly display my newest 4th of July decoration.
You May Also Like

Ombre’ Red White and blue Patriotic July Star
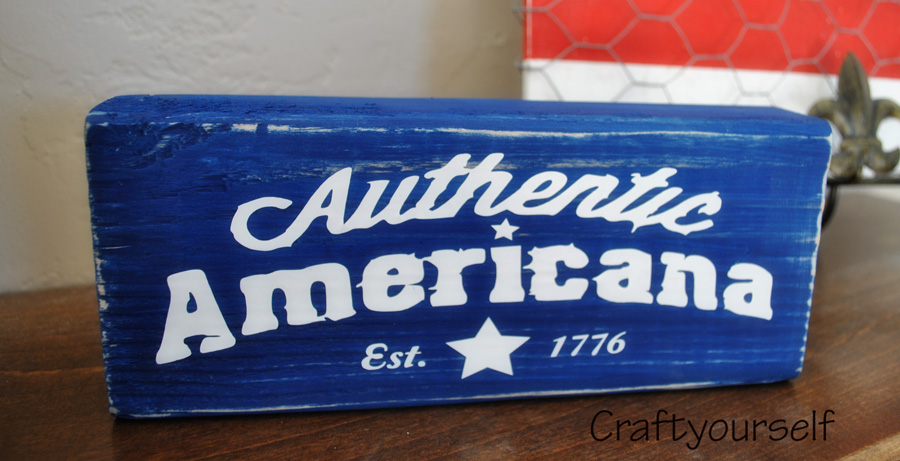
Authentic Americana Block