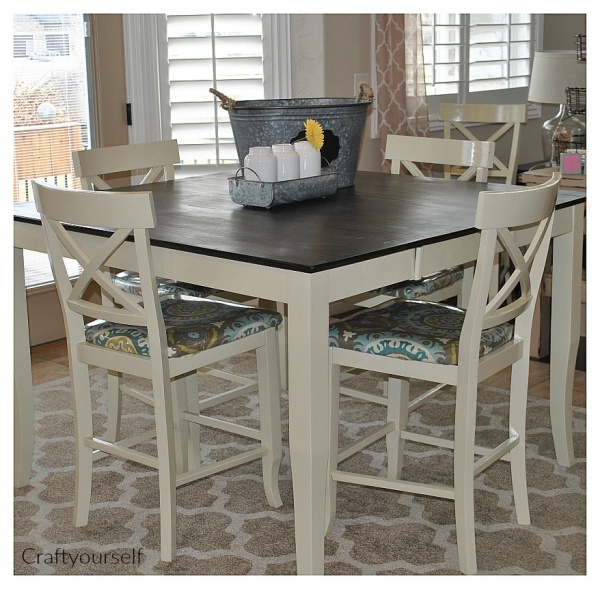
Dining Room Table Re do
I Built my home in 2010 and during that time dark colors were in. Black tables, Black coffee and end tables – darker wall color, dark cabinets and every shade of tan, brown and cream colors were in. Flash forward to 2017 / 2018. The Era of Farmhouse everything. When every suburbia mom wants the “Farmhouse” look yet they don’t live in a Farmhouse. I am still trying to understand this. So how does all of this fit in with my Dining Room Table Redo?
White on white is not my style – I am a girl that loves me some color and depth. Although I also do realize that black on black has got to go especially when it feels dated and gloomy. But how to I not fall into the white on white and still emphasize my gorgeous knotty Cherry cabinets?
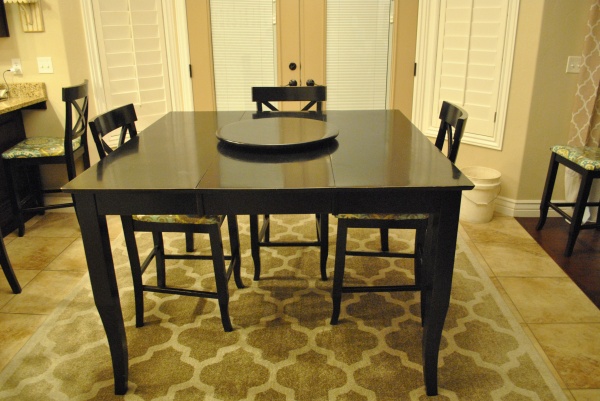
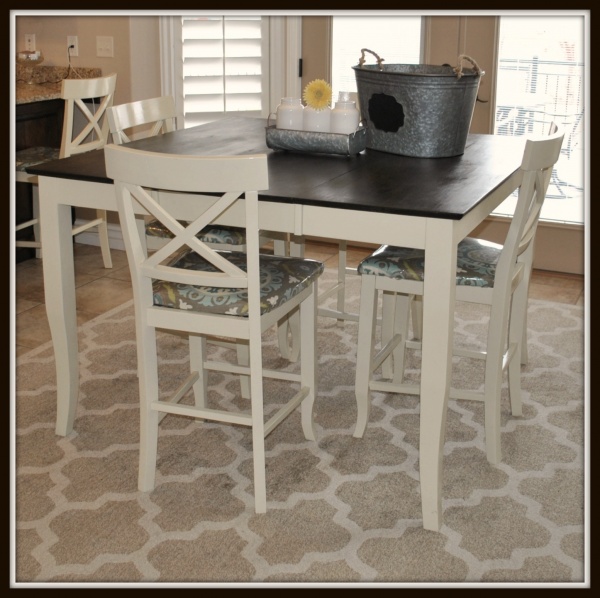
I don’t have money in the budget for a whole new dining set so I chose to redo my dining room table. This redo gives me a bit of a boost and a small face lift to my home. Here is the before picture of my lovely dining room table. – As you can see in the picture I had already redone the cushions on the chairs and tried to lighten things up with a lighter rug. Bleh. just plain Bleh.
I started out by purchasing some Citri-Strip QCG731 Paint and Varnish Stripping Gel, 1-Quart to remove the paint from my table. Now be prepared as this step is messy but I did like it because it went a lot faster then sanding. Use plastic scrapers and a lot of paper towels for this step.
Worrying about weather I did the paint stripping inside of my house (while my hubby was out of town or he would have cringed the entire time) So make sure your home is well ventilated. Working on this for several hours into the night I finally called it until the next night. Continuing scraping into the next evening.
My daughter Sam assisted greatly in this task! Friday night came and I somehow decided to paint my entire office during the middle of the night. Because of course one project isn’t enough. Saturday came and the sanding began – I enlisted amazing friends Chris and Krystal to sand with me..
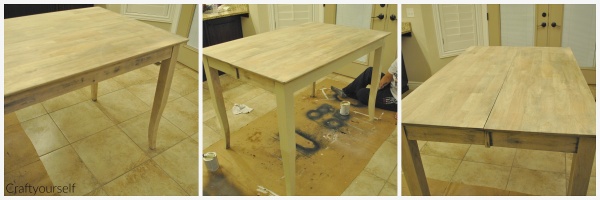
Using a heavy grit sand paper to begin with removes the excess paint fairly fast. As you get closer to the bare wood you’ll want to switch out to a lighter grit sand paper
This process of sanding took place outside on the deck and many hours of the 3 of us sanding away down to the bare wood. Removing all excess dust after sanding will allow the wood to grab the paint better and give your table a smooth finish. I chose to use an oil based paint on this project more for durability than anything. I want a paint that would resist chipping and problems in the long run. Now I know some people frown down on oil base but I have never used it so I gave it a shot. Number one tip!! MAKE SURE YOUR HOUSE IS WELL VENTILATED. Oil base takes a lot longer to dry so do not rush the process~! This is the paint that I used on my table:
Wanting the top of the table dark to match my cupboards in my kitchen I used Minwax 70012444 Wood Finish Penetrating Stain, quart, Dark Walnut and after applying several coats (over a series of days) I sealed it with a Clear varnish.
This isn’t a project I would take on with small children around (inside of the house). Keep small children away from the paint and stain. I am lucky as my family was mainly out of town during the majority of this project and I was able to go to work during the day to allow drying time. I had a lot of “me” time to accomplish this task.
Keep fans circulating on your project and the dry time might go faster 😉
I love how this table turned out. It was fairly easy just REALLY time consuming.





One Comment
Pingback: