DIY Refurbish a used outdoor Iron Bistro table and chairs
My mother contacted me one day and told me that a friend of her’s was getting rid of a wrought iron Bistro Table. She stated that it needed some work and some TLC to get it looking good again. Of course I couldn’t turn down a free table and chairs so she brought it to me.
The top of the bistro table and top of the chairs were made from a press board type of wood. The bistro table had been severely sun damaged. I knew I had to replace the top. So, I contemplated what type of wood I could use to cut out for the top. In the meantime I removed the top of the table and the chair tops.
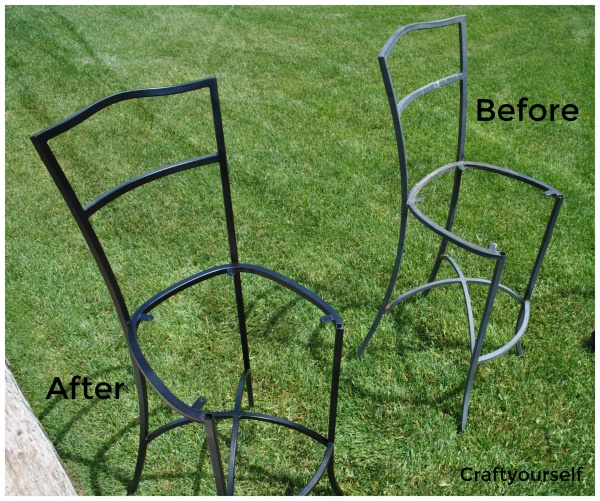
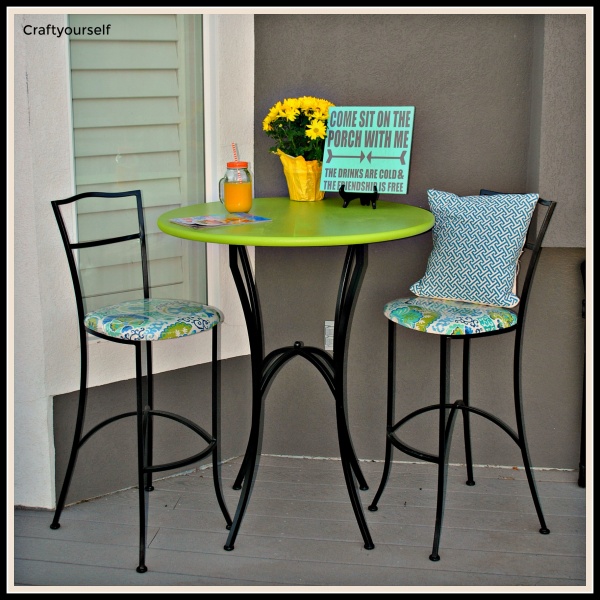
Always scrub the metal really well then scuffed it up a little. This assists in making the spray paint stick and you’ll want to use a metal spray paint primer. Add regular high gloss spray paint over the top. Or you can use a spray paint that includes the primer. Imagine how bright the new spray paint makes the iron look! SOOO pretty!
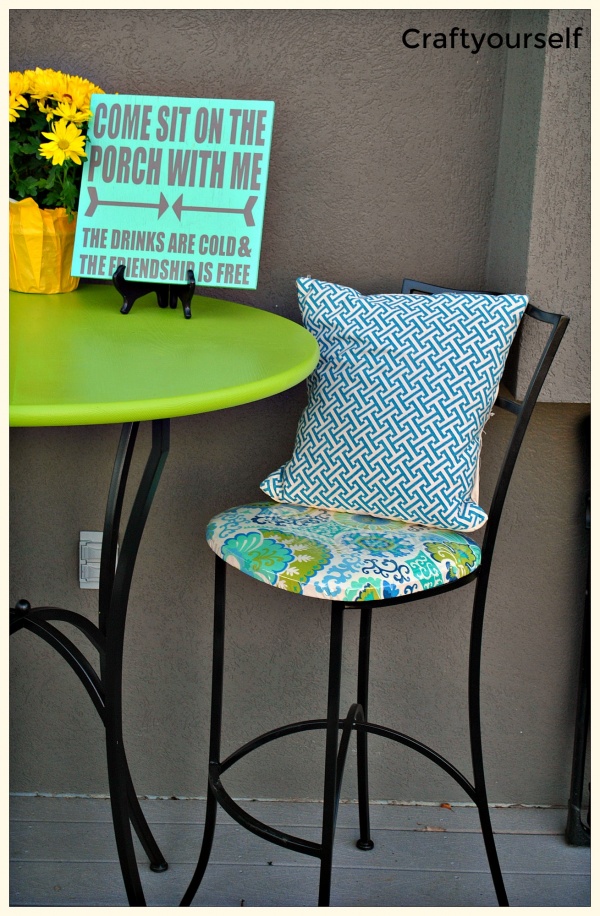
Looking at the seats multiple time’s I finally decided to not create new wood seats. Instead I decided to cover the existing one’s with outdoor fabric and heavy-duty plastic. I’ve used both the outdoor fabric and the plastic before on multiple projects so I knew that they would hold up well!
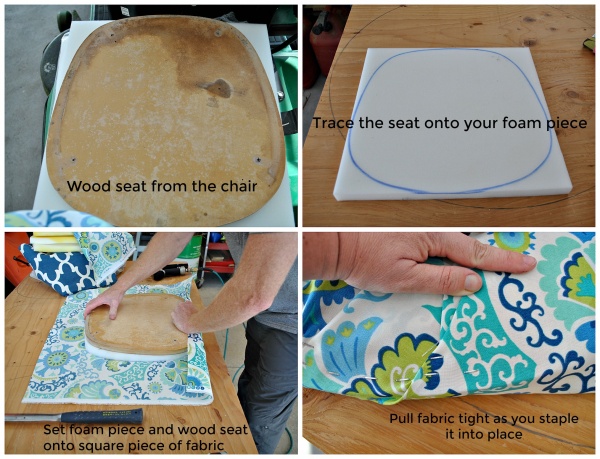
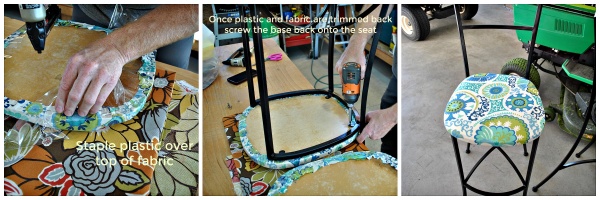
Foam padding comes in handy for a little cushion so I took some and cut the foam into the shape of the seats. Next I cut my fabric into a big square and stapled it with a upholstry gun up under the bottom of the wood. Pulling the fabric / plastic tightly as you go assists in making it look good. Then I did the exact same thing with the heavy-duty plastic. Of course you’ll want to cut off any excess fabric and plastic on the underside and made sure I didn’t cover up the screw holes on the bottom side of the wood. By doing this it makes it easier to screw the seat back into the metal base.
Once the chairs and base of the table were done I set the Bistro table aside for a few days so I could figure out what I was going to do about a table top. In the meantime my husband noticed that the chairs were not even on the bottom and that they wobbled a little. He purchased some round plastic tabs and drilled them into the bottom of the table and chairs to make them even so they would no longer wobble.
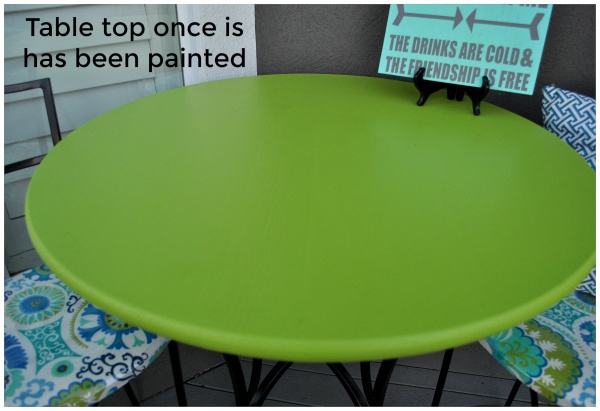
It dawned on me that I could use a round piece of pine like I had used for my Round Monogrammed wood sign . Between myself and my husband we started looking at Home Depot and Lowe’s. Trying to find the same wood circles but came up empty-handed with each store we looked at. I finally found some close to my work which is about an hour from home. They only had 24″ or 36″ in stock and online which made it a little hard for me to decide as the original round top was 30″. After some debating I grabbed the 36″ one and brought it home. You can find the round wood I used here at Home Depot. I did get mine cheaper because it had a few dings in it and scuff marks. (Sanded those out in a heartbeat)
My husband sanded the wood top down. Don’t forget to putty any dings or gouges that are in the wood. Paint several coats of your favorite paint. Painting my bench green alloed it to match my green bench that hubby made me a few years ago. The bench has held up for 4 years before needing to be repainted so we figured not only would the table match but it would hold up as well.
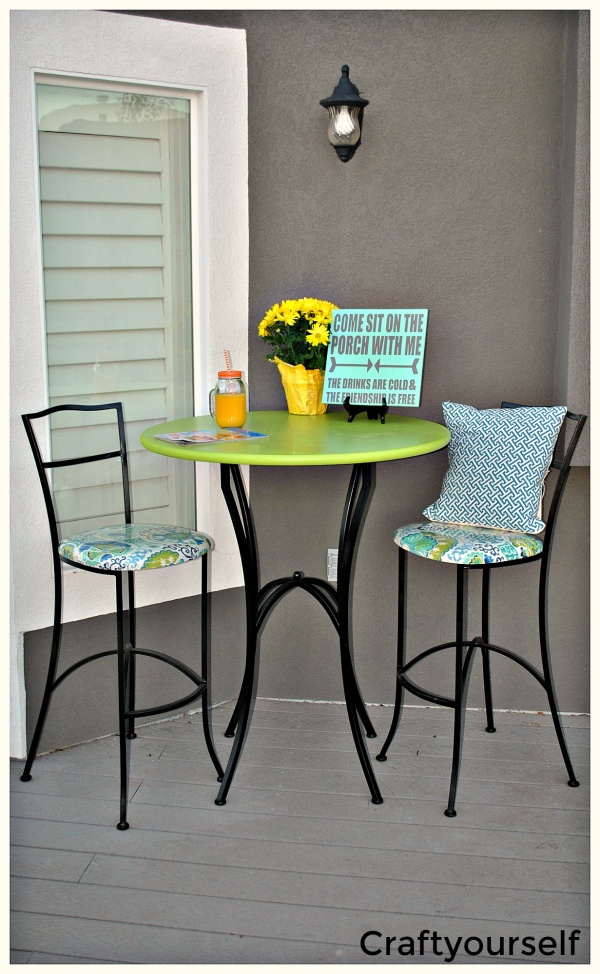
We saved all the screws from the original top. This way you can reuse them to screw the new table top into place. Overall there is about $45 to $50 into the refurbish on this set. For me it isn’t about having a new table set. It is about bringing back to life old items that other’s would just send off to the local landfill. I love that this set didn’t have any rust and can still be used for years to come! Didn’t it turn out darling??
