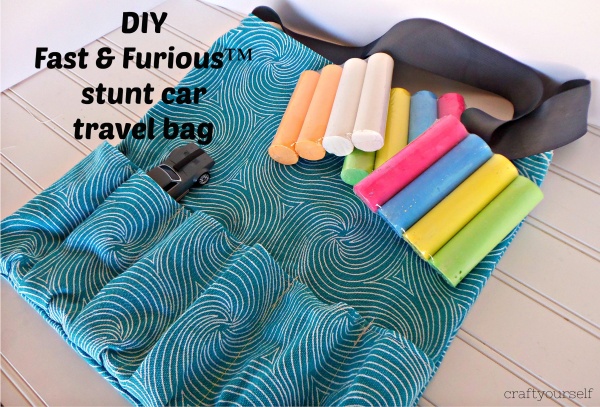
DIY Fast & Furious™ Stunt Car Travel Bag
This shop has been compensated by Collective Bias, Inc. and its advertiser. All opinions are mine alone. #RevUpF8 #CollectiveBias
We are huge Fast & Furious™ fans at our house!!! Did you know that the newest film in the series, The Fate of the Furious DVD was released on July 11th? We are anxiously waiting to watch The Fate of the Furious again. While shopping at my local Wal-Mart I found that Fast & Furious™ has released a new toy line for the first time. We had a lot of fun looking at the different toys inspired by the movie’s real cars and characters. We decided to purchase the Fast & Furious™ Deluxe Scene Playset and several Fast & Furious™ Basic Stunt Cars. Read along to see how we created our own DIY travel bag!
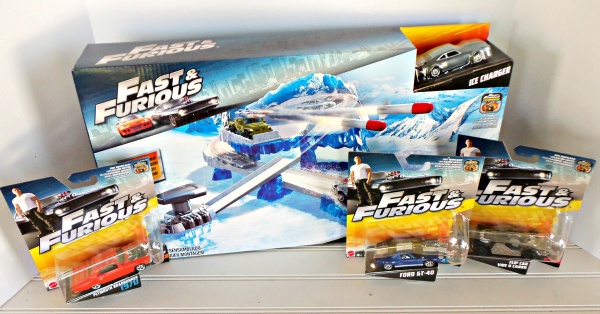
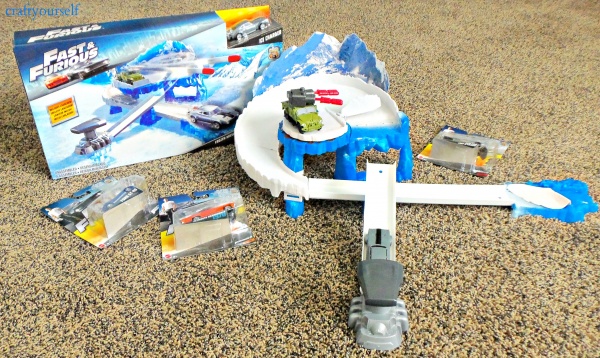
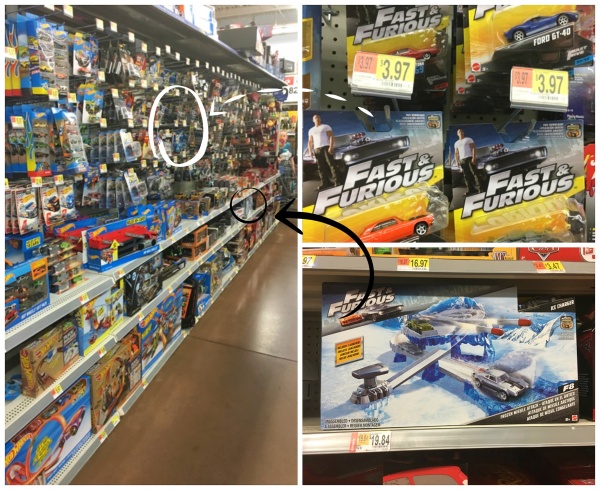
The Fast & Furious™ toys can be found in the die-cast car section in the toy department at Wal-mart.
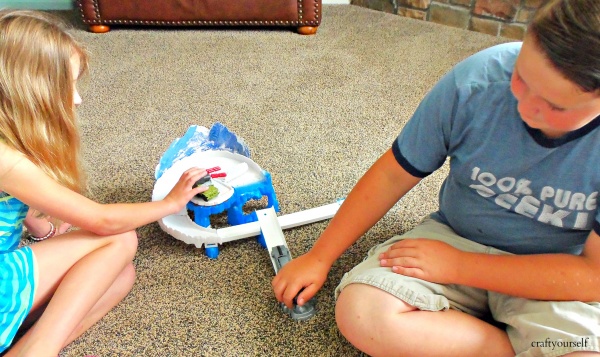
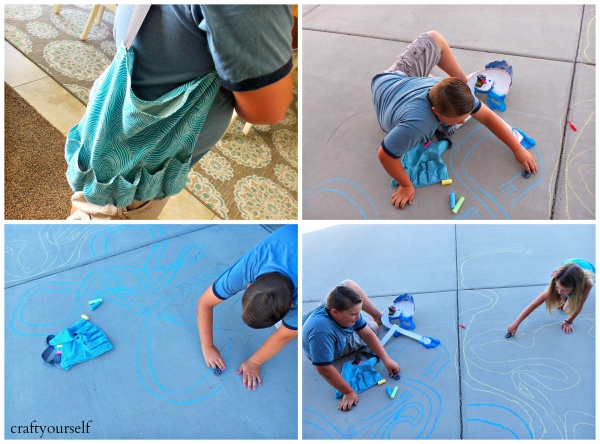
My kids have so much fun playing with the Fast & Furious™ Deluxe Scene Playset and Fast & Furious™ Basic Stunt Cars. They want to take the stunt cars everywhere we go, they have also been creating their own race tracks and courses out on our driveway. I decided that we needed a way to organize and carry the stunt cars and sidewalk chalk. I created a fun grab and go car travel bag for their Fast & Furious™ Stunt Cars.

To create your own Fast & Furious™ Stunt car travel bag you will need:
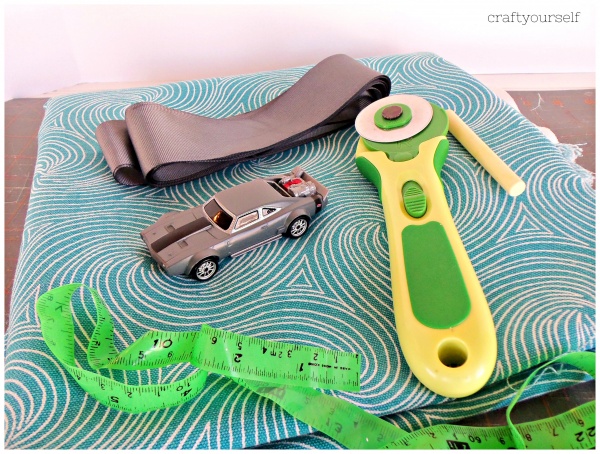
1/4 yard fabric of your choice
matching thread
2 inch wide ribbon cut at 24 inches in length
scissors or a rotary cutter
chalk/marking pen
sewing machine
iron
measuring tape
First cut two 13″ by 13″ squares out of your fabric. These will be for the base of the bag.
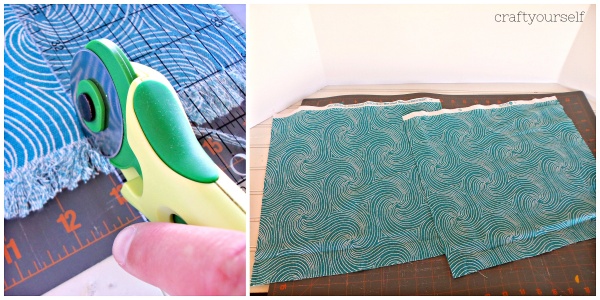
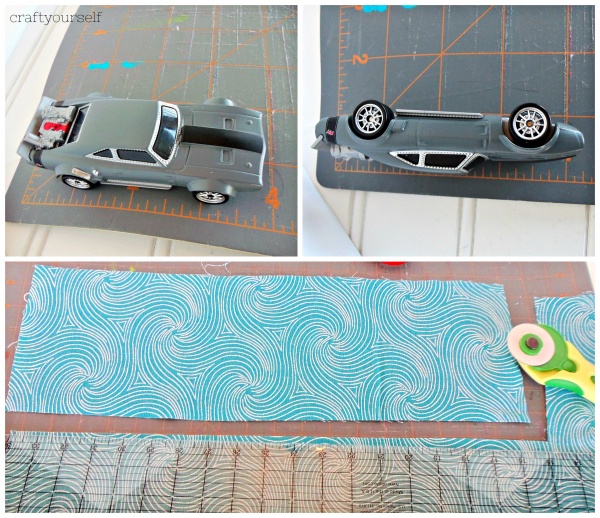
Next measure the stunt cars according to my measurements I figure you need to cut a 6″ by 19″ rectangle piece out of your fabric. This size will allow you to sew 6 pockets to hold cars.
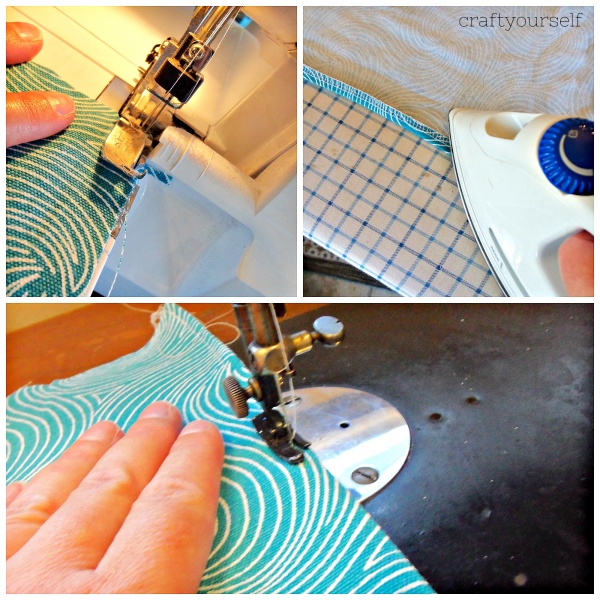
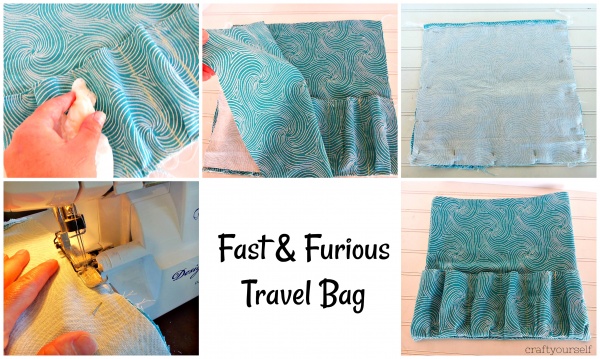
At this point you can sew or serge the top sides of all three cuts of fabric and then folded over the surged portion of fabric and iron it down into place. Sew a straight stitch across the ironed portion to hold the top into place and create a finished edge.
You’ll want to take the 6″ by 19″ piece and mark a straight line every 3.1″ inches. Center and lay the 6″ by 19″ piece of fabric over top of one of the 13″ by 13″ squares of fabric. Make sure the sewn finished edge is at the top on both pieces of fabric. Pin the centers of both fabric pieces together first and then match the 2 edges together and pin them into place. Start at the edge of the main bag measure 2″ inches and then bring the chalk line marking over to the 2 inch mark and pin it into place. Continue to measure every 2 inches until all of the lines are pinned into place.
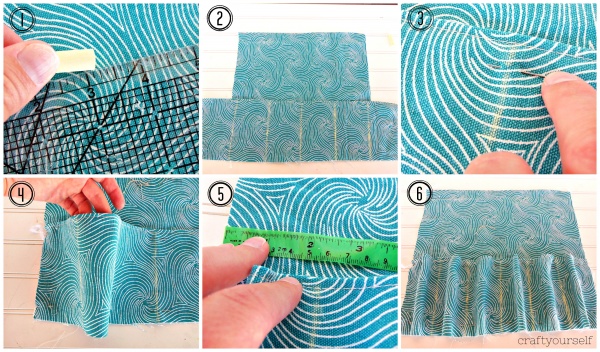
Sew along each chalk line and also the sides of the pocket pouch piece. As you sew the bottom of the pockets you will want to push down the center and create 2 folds in each pocket.
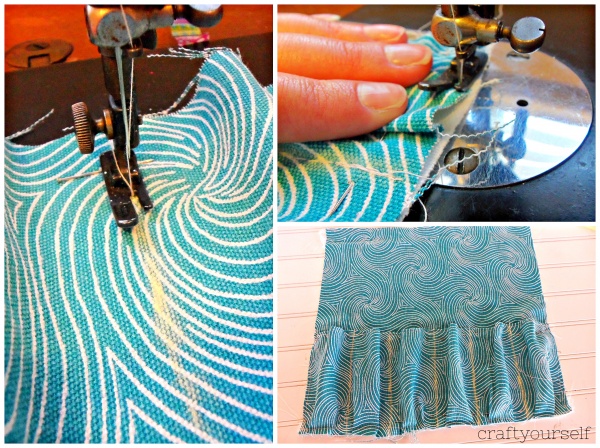
Wipe the chalk off of the pocket with a wet towel. Place the 2nd 13″ x 13″ piece of fabric right sides together over top of the pocket bag piece. Make sure the finished edges match up and are at the top than pin the 2 fabric pieces together. You will want to sew around 3 edges of the bag leaving to top with finished edges open.
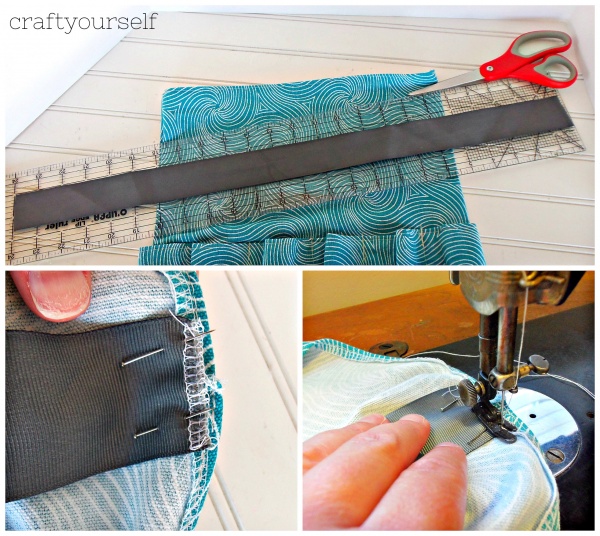
Furthermore, cut your 2″ wide ribbon at 24 inches long. Center the ends of the ribbon on each side of the bag and pin it into place. Sewing back and forth over the ribbon several times to make sure it holds in place.
My kids were so excited once the bag was finished we filled it with our Fast & Furious™ stunt cars and sidewalk chalk and got ready to go to the park.
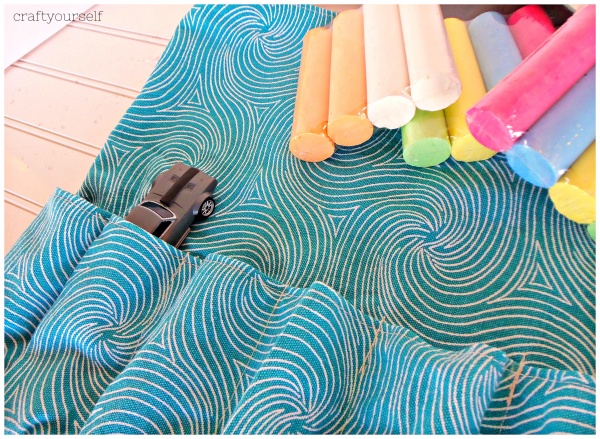
I love that the Fast & Furious™ Stunt car travel bag keeps everything together and organized. It makes it easy to grab and go as we head out for our many adventures. In addition it makes clean up really simple. We slide the stunt cars in and throw the chalk and any other items in the large portion of the bag.
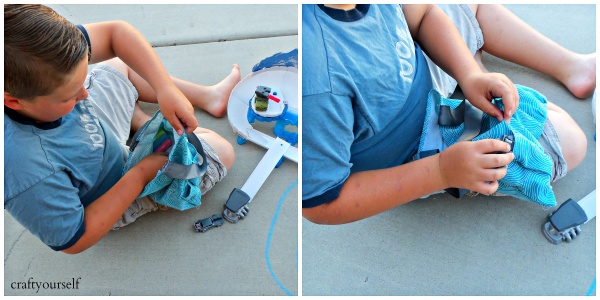
Where will you take your Fast & Furious™ Stunt cars and Car travel bag?
