Fall Harvest Two Tiered DIY Tray
Tiered Trays are all the rave right now and there are so many darling one’s out there. Have you noticed the price tag on some of those tiered trays? I have yet to find one that I like under $45.00. Making your own tiered tray is so much cheaper then buying one so here is a simple tutorial to follow on how to make your own.

First off you will want to find two separate trays either both round or both square. Make sure one tray is smaller than the other. By using different sizes of trays you can see the items on the lower tray better. If not you like the trays matching then you can do that also.
Here is a little tip: If you can’t find cheap trays the dollar store carries round tin pizza pans that you can use. They are easy to use and spray paint well. Supplies you will need:
2 Trays
2 glass or brass candlesticks
1 can of white spray paint
E6000 glue.
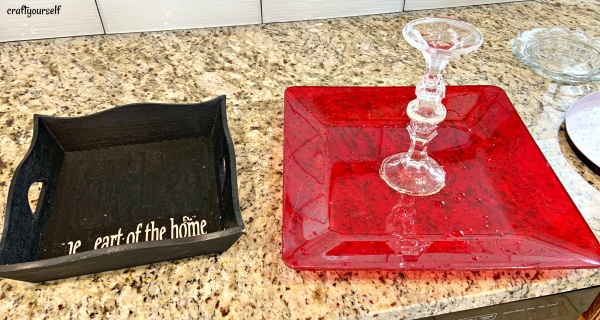
As you can see with the photo above each piece are just items from around the home. The candlesticks can be found at the dollar store also. Clean each piece and make sure they are dry then spray paint them white. Three coats of paint will do the trick. Glue the candle sticks together first and let them dry (preferably overnight). Once the candlesticks are dry glue the candle stick to the top of one platter and the bottom of the other platter.
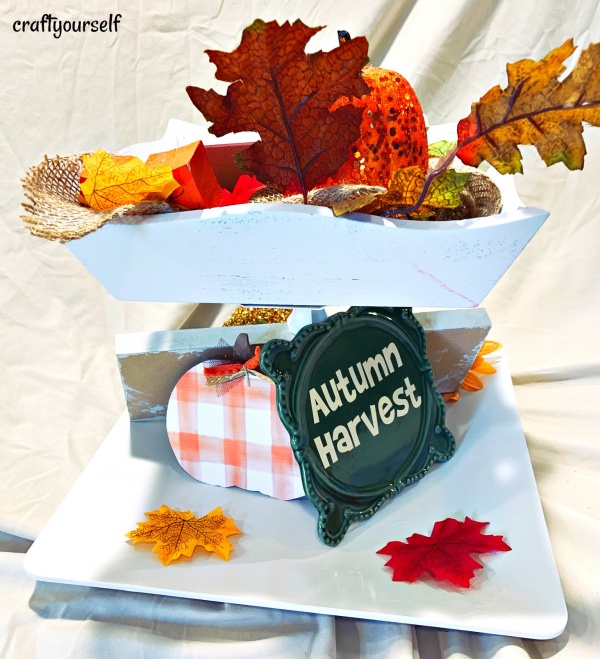
If you prefer you can also glue it all together and let it dry and then spray paint it all in one piece. However you choose to do the process it will turn out the same way. Tiered Trays are so much fun to decorate for each season! They fit perfectly on sofa tables, Dining room tables, bathroom or Kitchen counters.
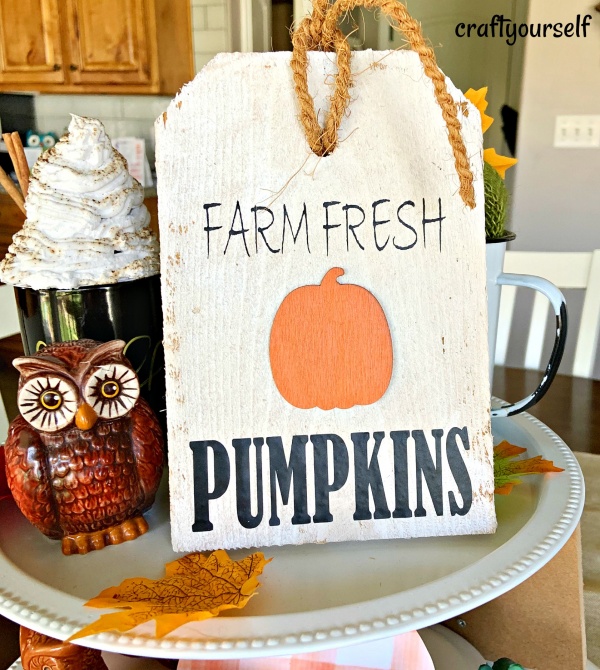
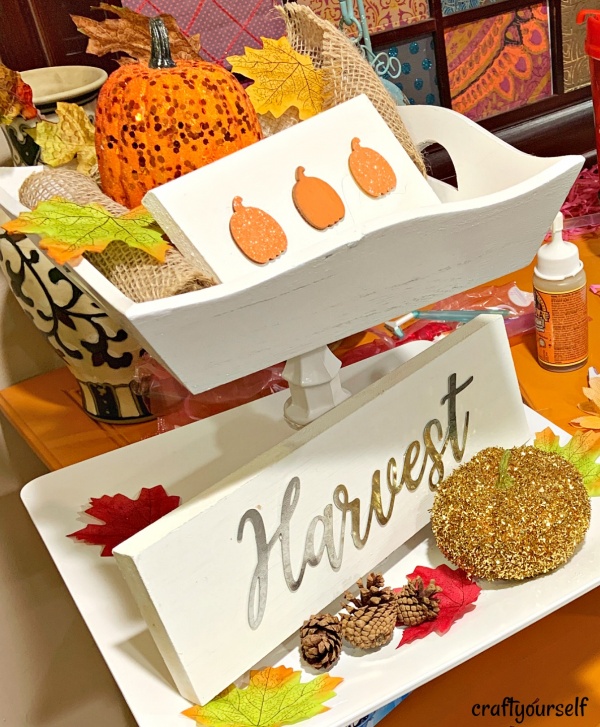
As you can see we decorated ours with Fall harvest decor that can be used from September through November.
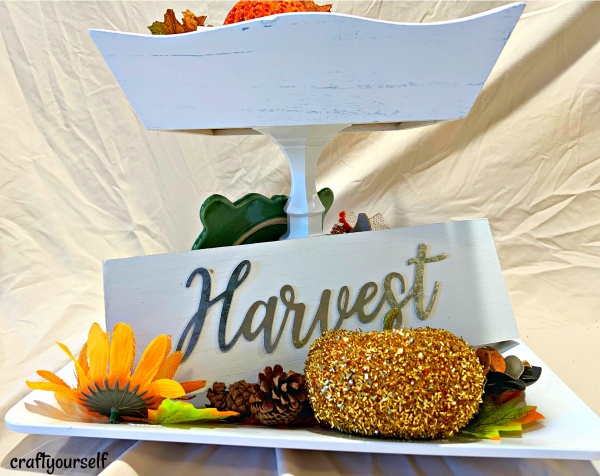
Let us know if you choose to make one! We love seeing your creations. One last little tip; Head to your local Dollar tree and pick up the metal harvest lettering. Paint a board white and glue the metal harvest sign on it. 5 minute craft to add to your tiered tray.
