Bathroom Floating shelves
We have several Floating Shelves in our home and these were made by my husband in February of 2021. During the winter my husband goes a little stir crazy as he loves being outdoors so during the winter months I try to give him projects to work on. Here is one of the projects!
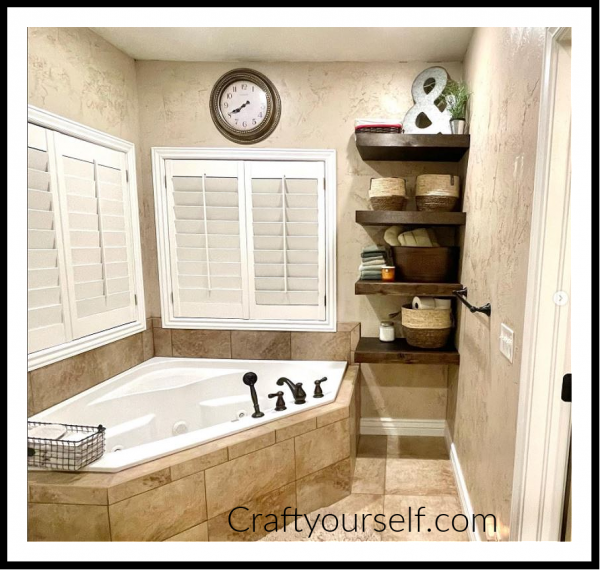
I love Shanty 2 Chic and all their creative wood projects. The plans are easy to follow by using this tutorial on making floating shelves. Although, changing the dimensions on our shelves. We also did not use our Kreg Jig. We felt that there was no need to as all the nails and holes were inside of the base/frame of this project and we could use putty over the exterior small nails.
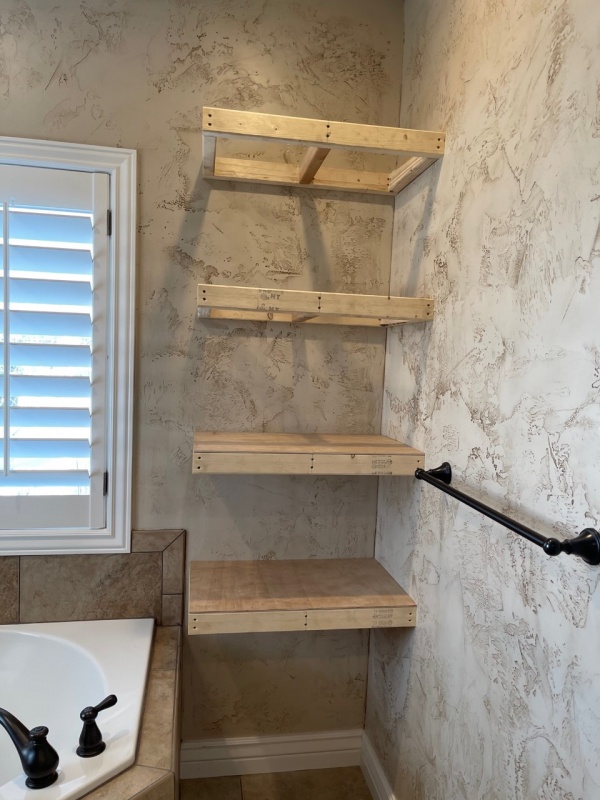
In the photo above you can see the frames are just regular pine cut on the saw to fit the dimensions that were open next to my window and tub. The tops are just set on the frames to see if they fit correctly and then removed and stained. Apply a coat of wood glue between the layers. You will have to adjust according to the sizes of Floating shelves you want.
Items you will need
- 1×4, 1×6, 1×8 or 1×10 shelf top board in desired length of shelf
- 1×4 long enough to go all the way around your 1x shelf top board
- 2×3 or 2×4 – inside support pieces
- 1/4″ plywood, same size as your shelf top board
- Screws and Drill to screw the base into place
- Miter Saw for Small Cuts
- Circular Saw for Long cuts
- Table saw for ripping down planks
- 3/4″ and 1-1/4″ brad nails
- Wood glue
- Pencil for marking
- Level for making sure the shelves are level
- Measuring tape – so shelves are the perfect distance apart from each other
- Sander
- Paint brush / rag if staining.
- Stain or paint
- Cleats
- Stud Finder
- Chocolate!

Steps
First: locate your studs and mark them with a pencil or a piece of tape
Second: start making your frame – This will look like a ladder at first you can see the photo on this post when we made our first floating shelf back in 2014.
Third: Attach the frame to the wall – in this case we attach to two walls. (The back and side wall) as the front and other side are open. Justin Put two 4″ screws into each stud. During this phase make sure you are using the level A LOT. The remaining 2×4 was screwed on to the front to make sure the frame is solid.
Fourth: Apply your stained or painted plywood sheets. (I like painting or staining beforehand as it’s easier to just touch up once installed. I also don’t like the smell of drying stain in my house. Using a brad nailer we nailed the tops to the base frame.
Fifth: Add front facing and sides to the base frame. I never got any photos of the front and side pieces being applied around the frames. You’ll want the end pieces to match the width of your shelf top board and front piece the length to match the length of the top board.
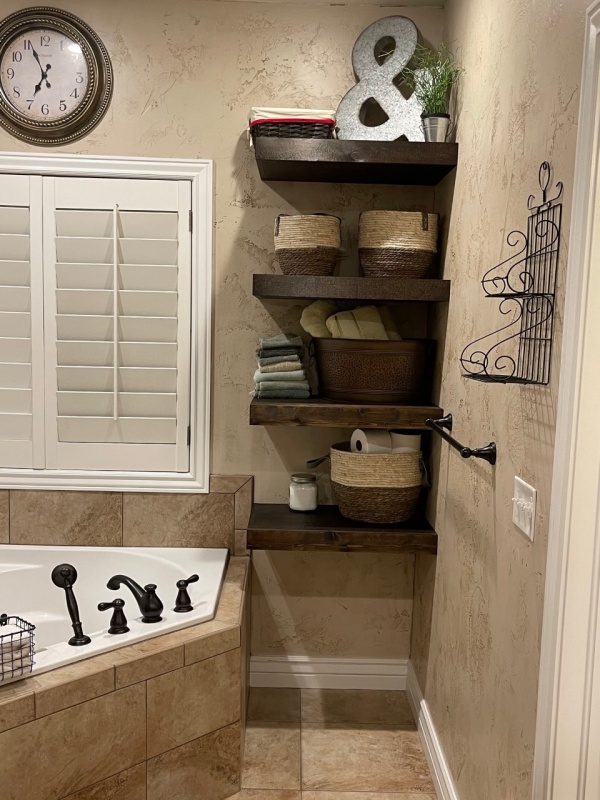
I love how the look! Baskets came into play as I decided how to decorate and use them.
