Make your own Fourth of July Shirt using Iron on Vinyl
Have you ever wanted to create your own Fourth of July Shirt using Iron-On vinyl and your own personal cutting machine? Follow along to learn the basics of creating your own T-Shirt with this step-by-step tutorial!

Items you will need to make this T-shirt
- Iron on Vinyl (any color of your choosing)
- Any T-shirt
- Tape Measure
- Green standard mat – this is used in your personal cutting machine
- Iron
- Weeding tool
- Personal cutting machine – Cricut / Silhouette
- Any free SVG File of your choosing uploaded into your Personal cutting machine software
Every person is a different size and shape so you’ll want to adjust the image you chose to the size you want on the front of your shirt.
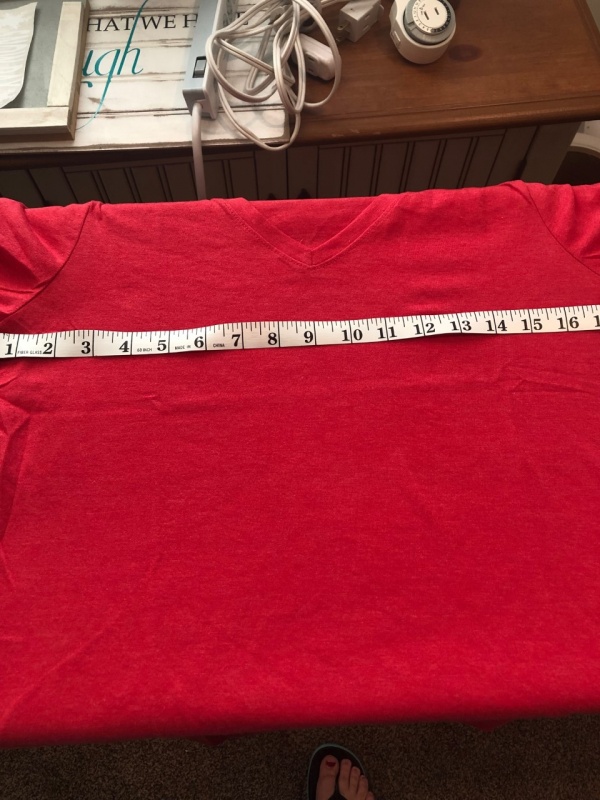
I measured across the chest of mine to figure out the correct sizing and placement.
In the Cricut Software You can use Design Space’s t-shirt template to ensure it cuts to the perfect size.
Be sure to mirror your image, that way it is cut the right way for iron-on. If you don’t do this, your image will be backwards when you iron it onto your shirt. Always, Always double-check that your image is mirrored. In the image below this is how it looks before I flip it into mirror mode.

Another tip I have is to select “more” pressure to make sure it cuts completely through the Iron-On. For some reason, sometimes the blade doesn’t like to cut through the tough plastic of the Iron-On Vinyl
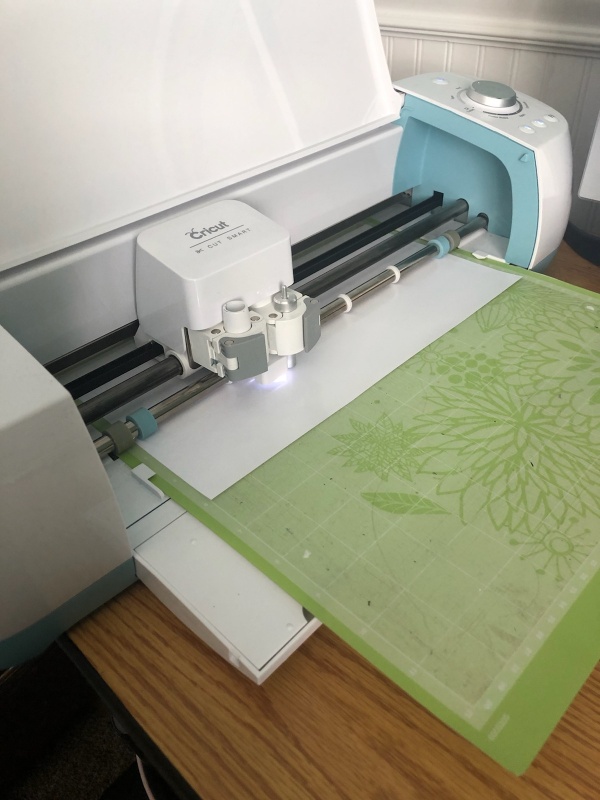
Begin cutting your image, then when it is done cutting you will weed it out using your weeding tool. Remove all of the vinyl that you do NOT want to transfer to your Shirt. I chose a silver glitter for some of the shirts I made and white vinyl for some of the other shirts.
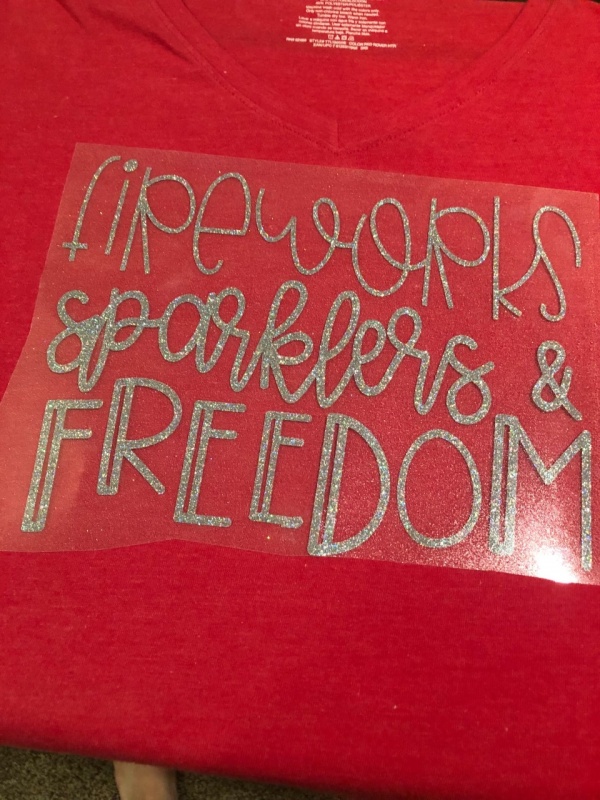
At this point after you are done weeding out the excess vinyl place your vinyl on the shirt, remember to place your decal with the sticky side facing down. Some people warm their shirt beforehand but I never have. I also just use a normal Iron although you can use the Cricut press if you choose. As you will see in the next photo sometimes I add a scrap of Fabric over the top of the plastic so it doesn’t get so hot when I go to touch it.
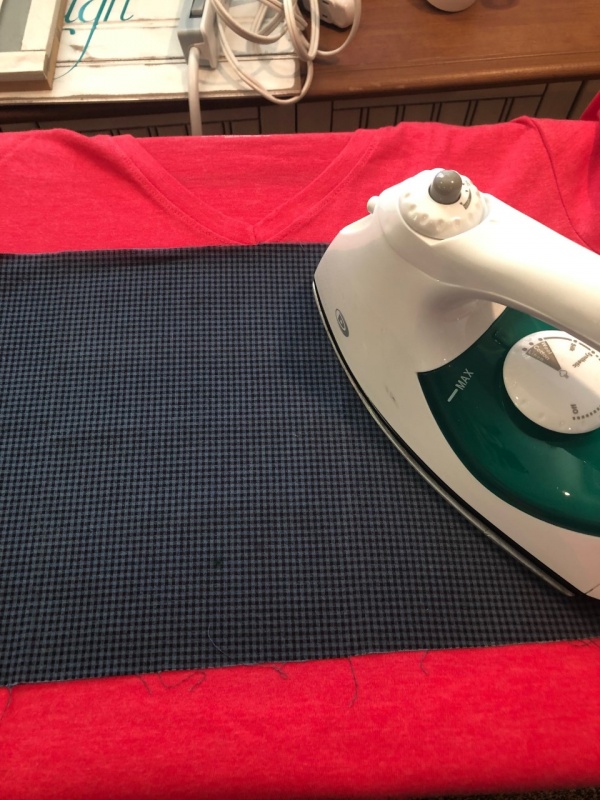
When your design has been cooled and is ready to be peeled, slowly peel it away from the shirt at a 45-degree angle. I usually peel from the corner of my design. Also take note that there are two types of Iron on Vinyl. One is a warm peel which you peel within about 15 seconds after ironing it on and the other is a cool peel vinyl that peels after cooling for 2-3 minutes. Pay attention to which type of Iron on vinyl you are using.
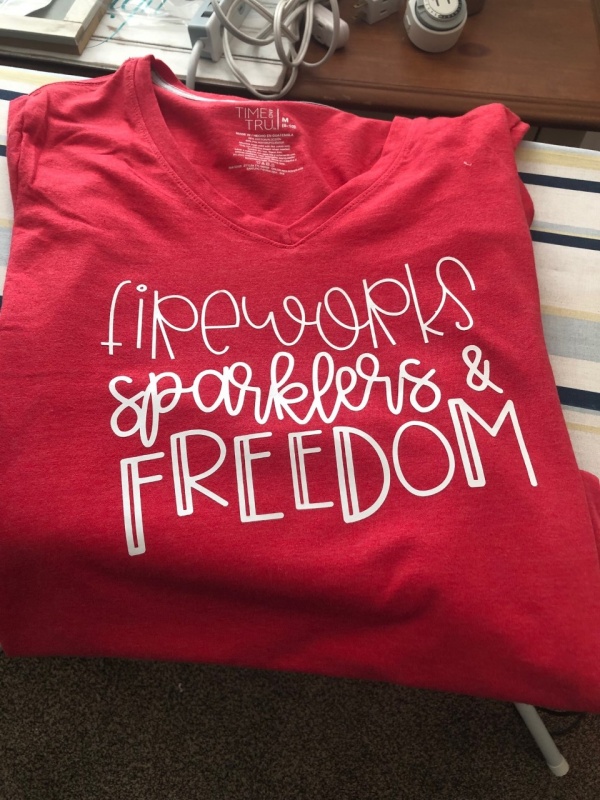
Look how cute this Fourth of July Shirt turned out!

I made extra’s for my sister, mom and sister in law. We all wore them on the 4th of July.
