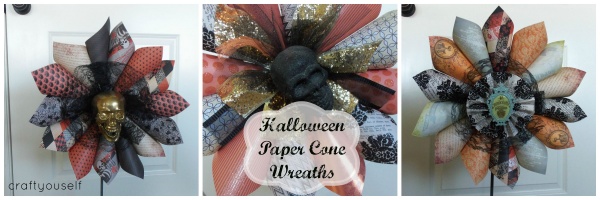
Halloween paper cone wreath tutorial
I have seen these paper cone wreaths and to be honest they have been on my “to make” list for years! I decided with our upcoming Halloween party that it would be fun to make a few of these for prizes. If you are look for a quick fun craft project to would recommend whipping up a Halloween paper cone wreath.
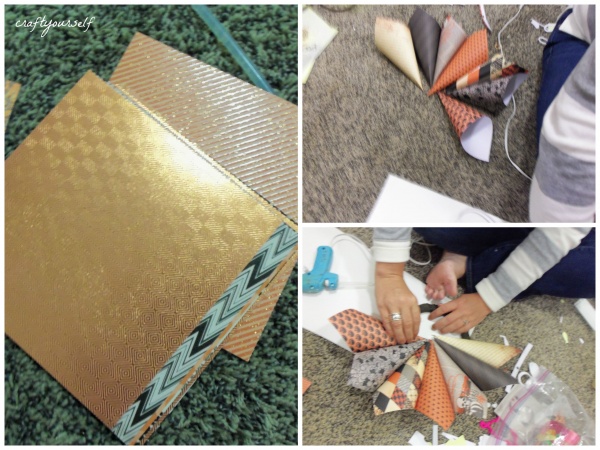
The hardest part is picking out what paper to use! I purchased a few of the 6″ x 6″ Halloween mat stacks of designed cardstock paper which you can easily find at any local craft store. Next I selected 7 different designs and pulled out 2 sheets of each design. You will need a total of 14 – 6″ x 6″ pieces of design scrapbook paper. I used some small plastic rings I had as the base of my wreath but you could cut a cardboard circle and that would work just as well.
First, Plug in the hot glue gun and fold 2 of the sides of paper together to form a cone. Second, glue the 2 paper sides together to hold the cone in place. Continue folding and gluing all 14 sheets of paper into cones. Third, arrange the cones around your base and hot glue into place.
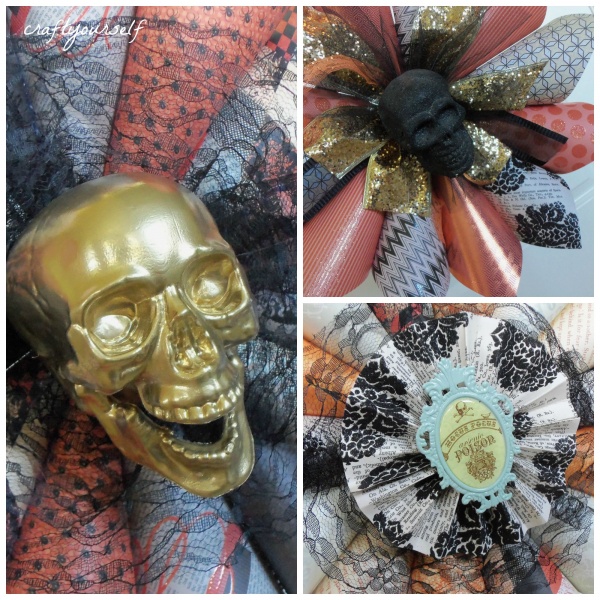
I made the wreath with a blue medallion in the center. Avry made the 2 wreaths with the skull heads in the center. It was so fun to mix and match the paper! Plus to see how many designs we could come up with. From start to finish this project only takes 20-30 minutes to complete.

You May Also Like
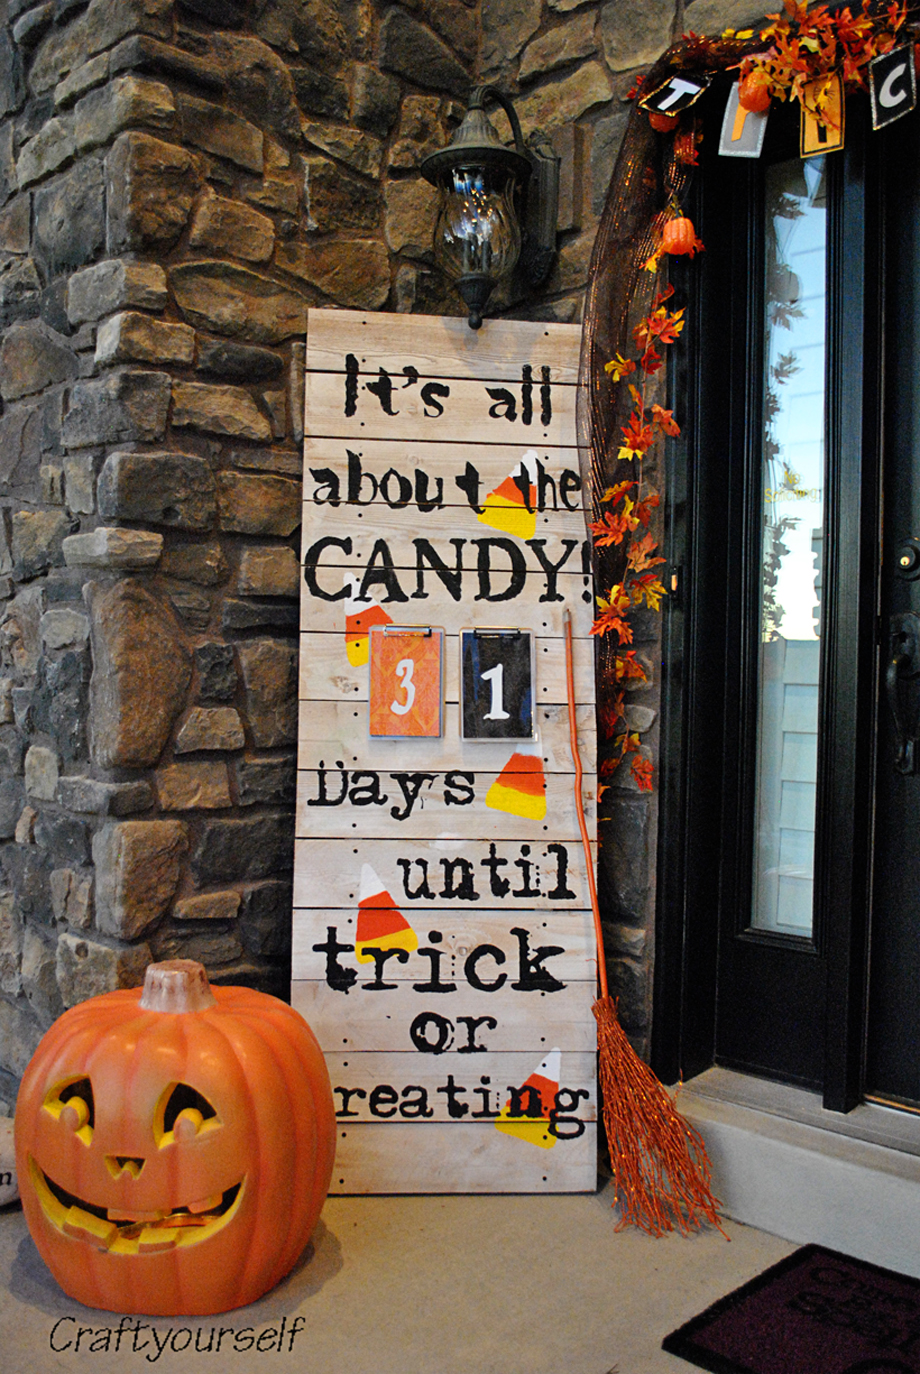
It’s all about the candy Halloween count down~

Savory Eggo breakfast Casserole