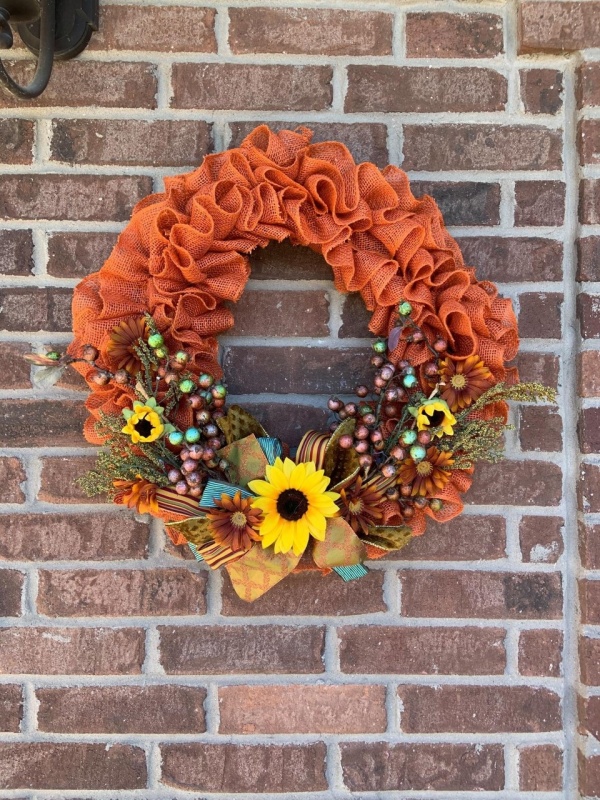
How to make a Fall Burlap Wreath
Burlap goes really well with all the fall colors of Orange, Rust, Brown, Tans and cream colors. Follow along to make your own burlap wreath.

Items you will need for your Burlap Wreath
- A Wire wreath form – These can be found at the dollar store for only a dollar! or you can find them at any local Hobby Lobby or
- Burlap Ribbon – Any Fall Color. You will need several rolls of Ribbon especially depending on how full you want the wreath (we used 3 rolls)
- Floral Wire to twist the Ribbon and hold it into place or you can use pipe cleaner to twist around the burlap.
- Scissors
- Sewing machine & Thread
- Embellishments – flowers, berries, Ribbon etc.
- Hot Glue
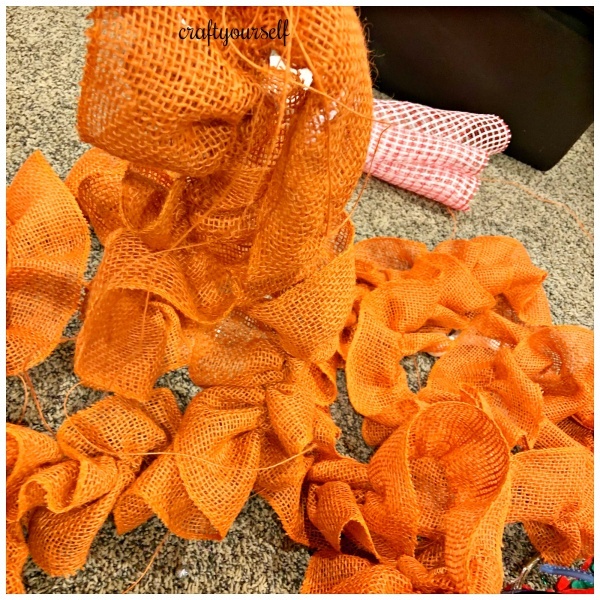
First take the Ribbon and do a running stitch down the center of your burlap (without back stitching). This next step is pretty much Ruching your fabric. You can do this in long sections or shorter sections depending on what you feel comfortable with. Once you’ve completed a running stitch, gently pull on each of the threads and gather the fabric. When you’ve done this to several strips you can start attaching the burlap to your wire frame.
Attaching the burlap to the wire frame is fairly easy. You will start with the inner most circle and work your way outward on the wire frame. Next, take the burlap and pinch the end into a bunch and pull the wire through it and then twist the wire around the metal frame.
From there you will Just weave the burlap around and through the wire wreath until there are no gaps in the wreath.
Here is another tutorial that we did about burlap wreaths NOT using a wire wreath form. You can glue your strips or not even sew down the center of your burlap just by pulling a string in your burlap.
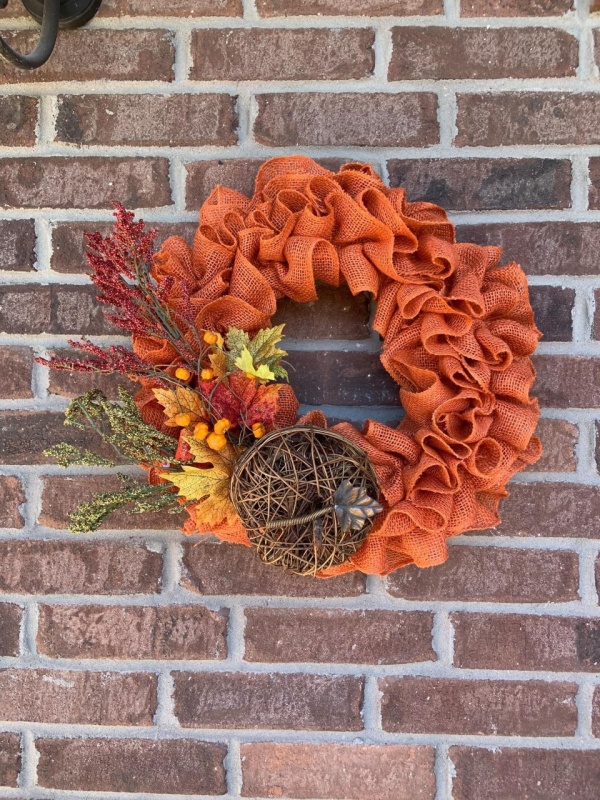
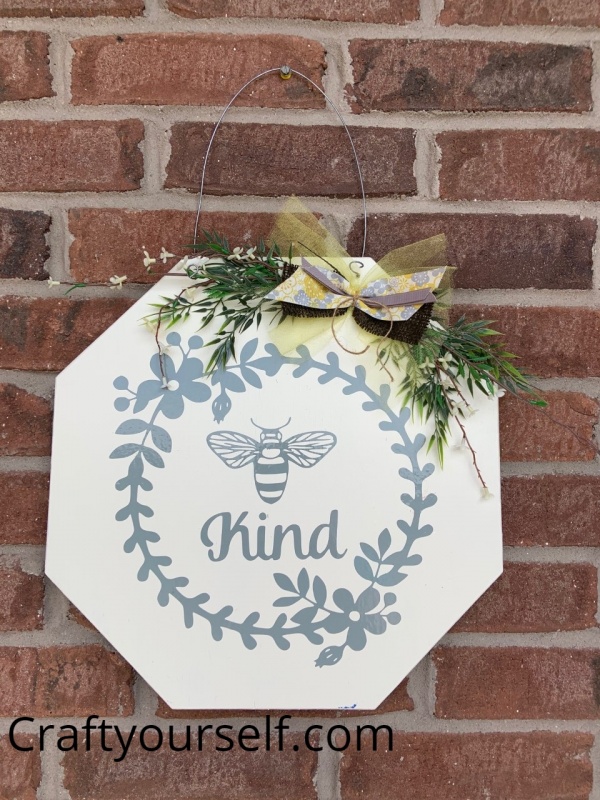
Furthermore, there are many ways you can create this wreath! As you can see in our pictures there different ways to embellish them. Make sure you have a variety of different things on hand. Hot glue those embellishments on and you have a gorgeous Fall Burlap wreath!
