
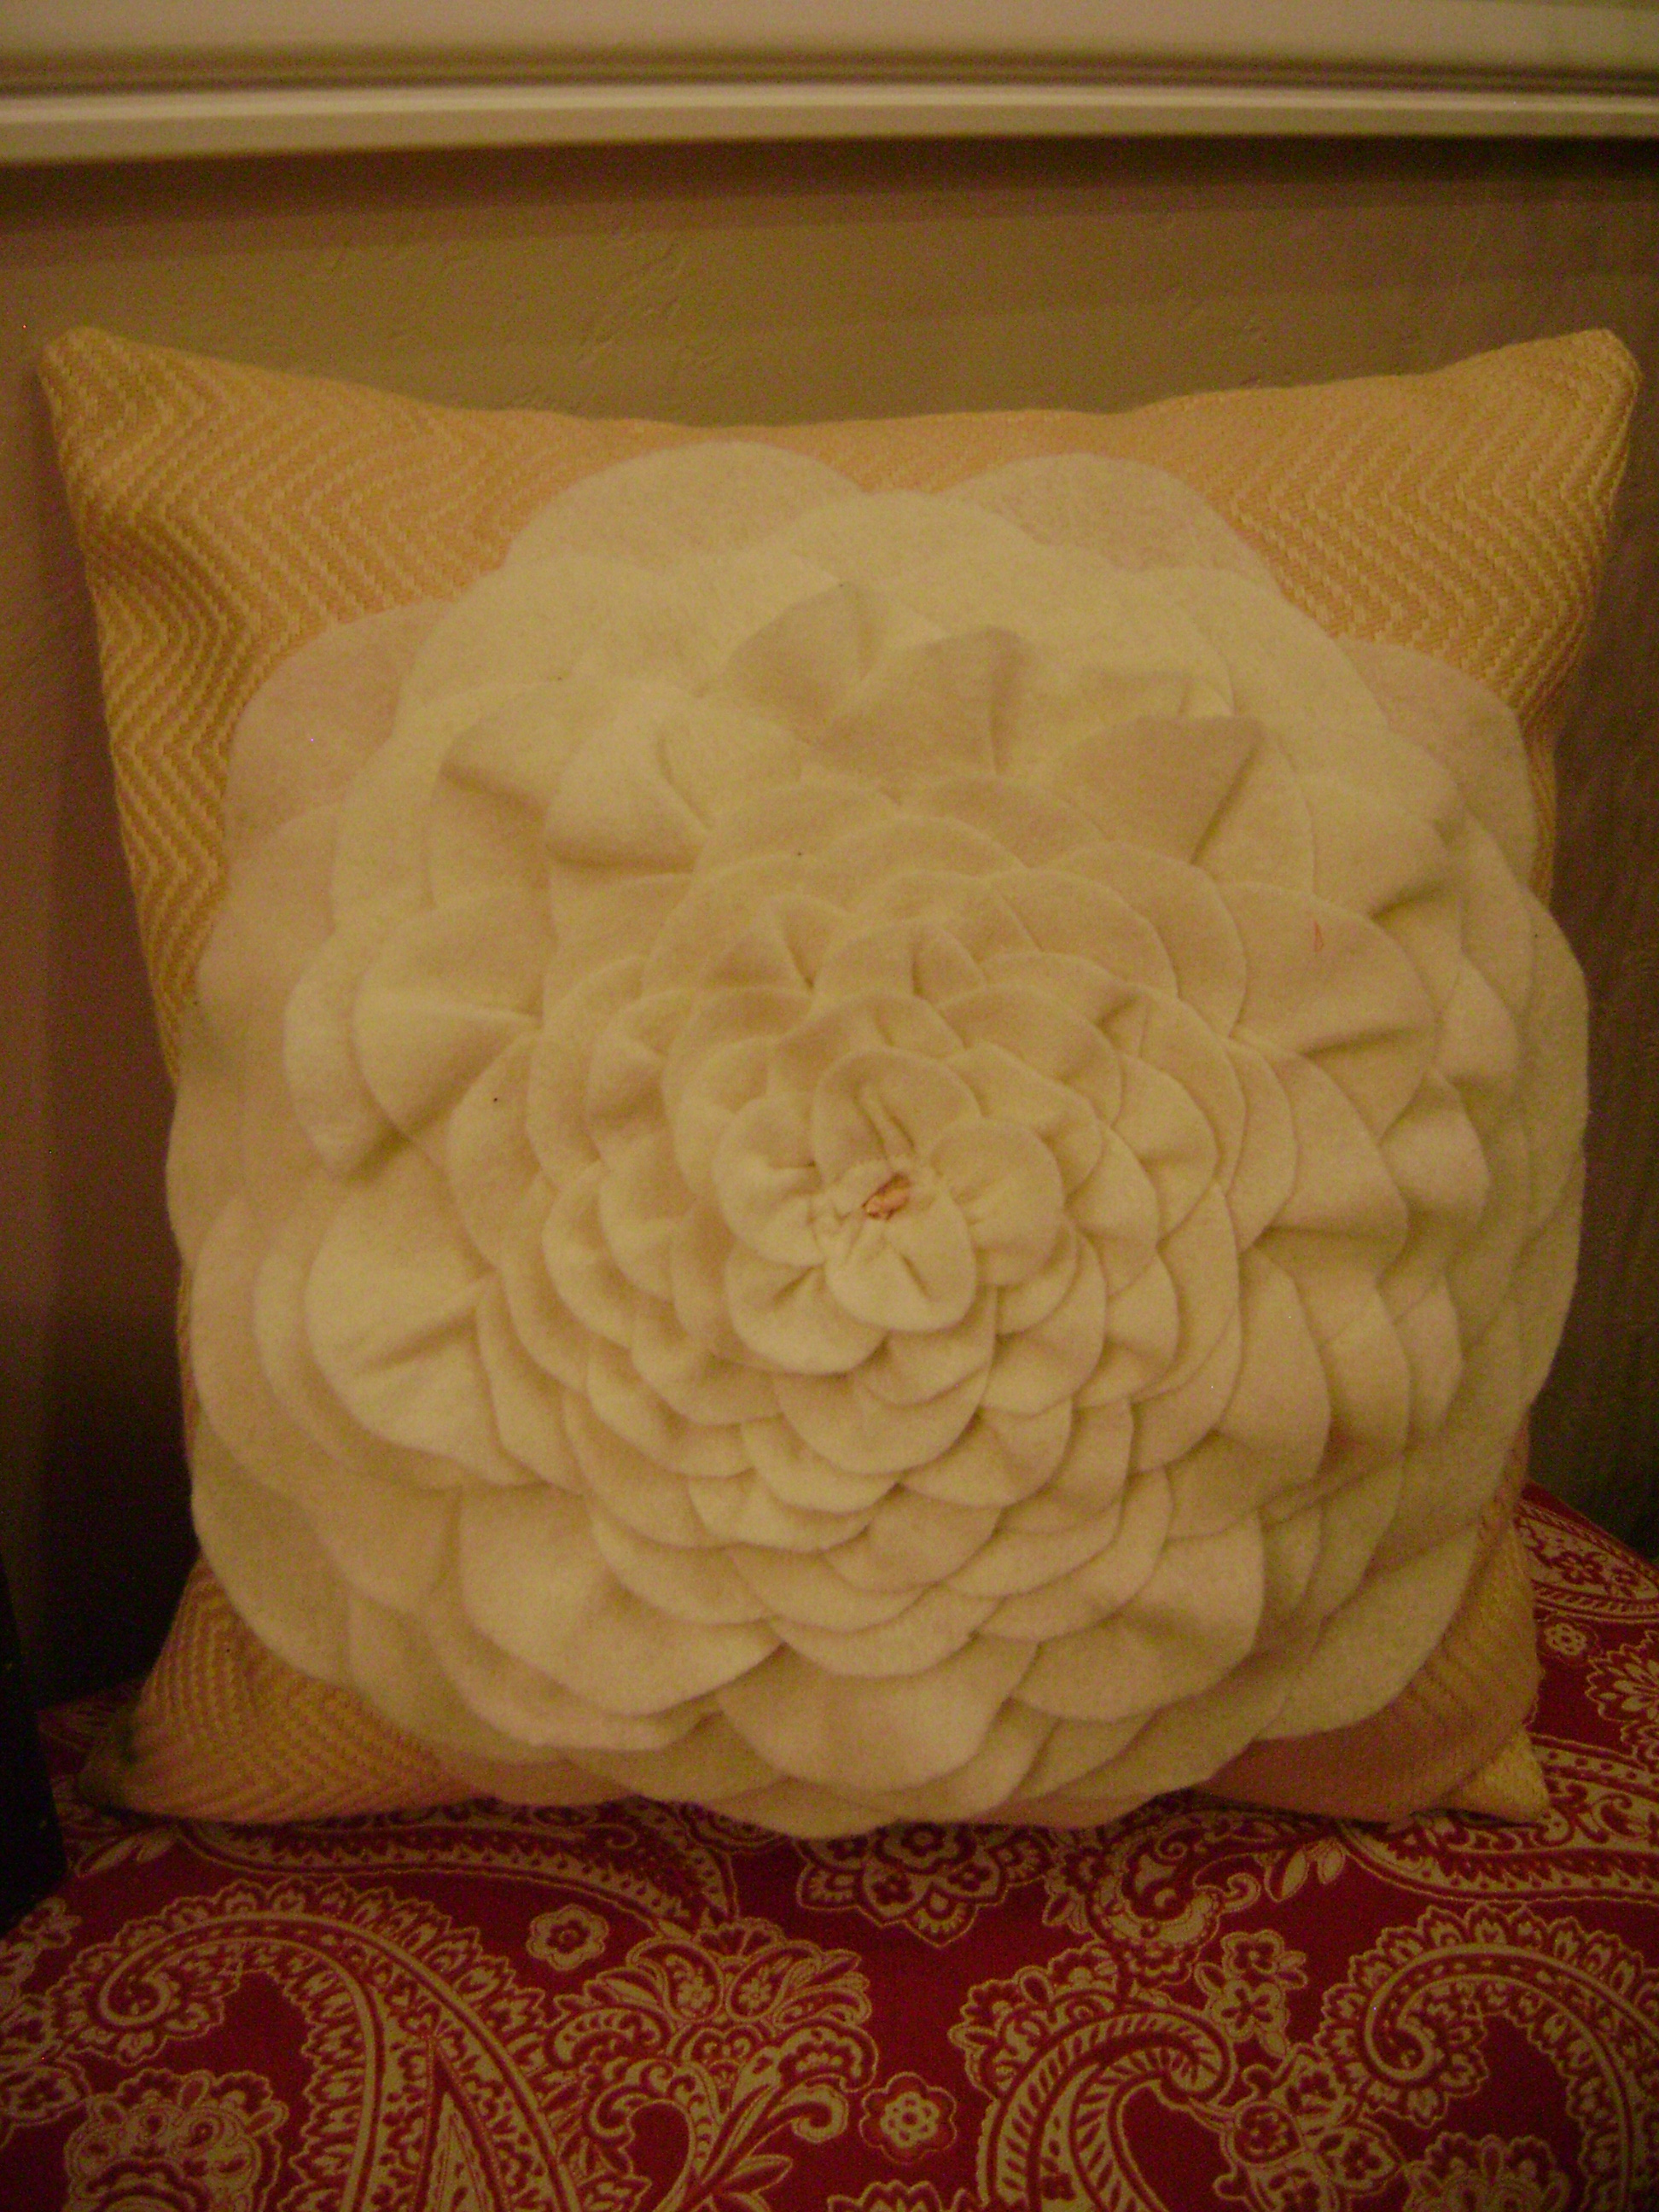
How to make a felt flower pillows
My friend Tenille told me about a cute pillow she wanted to make so we decided that we would get together last Friday and whip up some of these cute felt flower pillows
We started by cutting out 30 3 1/2″ round circles out of felt and also 30 of 2 1/2″ round circles of felt. You can do this in any color! I chose a lighter cream color as the back of my pillow was going to be yellow. Once all circles were cut out I took each one and cut them in half. It is much faster to cut through 4 layers of felt at once. (if you have sharp enough sissors) we used a template we made out of cardstock to make sure each circle was the same size. It is okay if you cut into them a bit smaller or larger but try to keep them basically the same size.

Once this step is done find the fabric you want to use as the base of your pillow. I cut mine to 14″x14″ although my girlfriend did hers 16″x16″ and it too turned out cute. You can use any type of fabric but we happened to have some upholstry fabric that worked great!!! As you can see in this picture our other friend used black and white Damask that turned out STUNNING!

Once you have your squares cut out take the top of your pillow and trace a round circle (to the size of the flower you want) if you trace the circle onto your square fabric using a pencil so you have a guideline to follow. We used about a 10″ salad bowl and traced around it. Next place your first half moon shaped felt onto the outer edge of your circle and start running a straight stitch through the felt piece. Continue to add felt circles as you go. Do not overlap until the next layer. Stagger the felt pieces every other one to give it the 3D look. About the third row in gather the middle of your half moon to make it seem a little scrunched to give it some “fluff” do this for about three rows and keep following that pattern about every three rows. Once you run out of large felt 1/2 circles move onto the small half circles until you reach the center. Here is my pillow before I sewed the two 14″ squares together.

Here is Tenille isn’t she a doll??
Not to mention she too is crafty and a much better sewer then I am! She redid a hutch recently I just hope she lets me show all of you!
anyways put your two square fabric pieces facing outside in.. if that makes sense? sew all four sides together (leaving a space open to turn the pillow inside out and fill with stuffing) once it is stuffed hand stitch your opening closed.


2 Comments
Richard Cottrell
Love your pillow. We used to do this when I taught art. We made banners too. My friend makes them from leather that she applies to her hand made hand bags. I sure do appreciate you sharing. Richard at my Old Historic House
Kathleen
Thanks for sharing this. I saw these type of pillows when I was looking to help redecorate my adult daughters bedroom. They are sooooo cute and sound semi-simple to make and look gorgeous! Thanks so much!