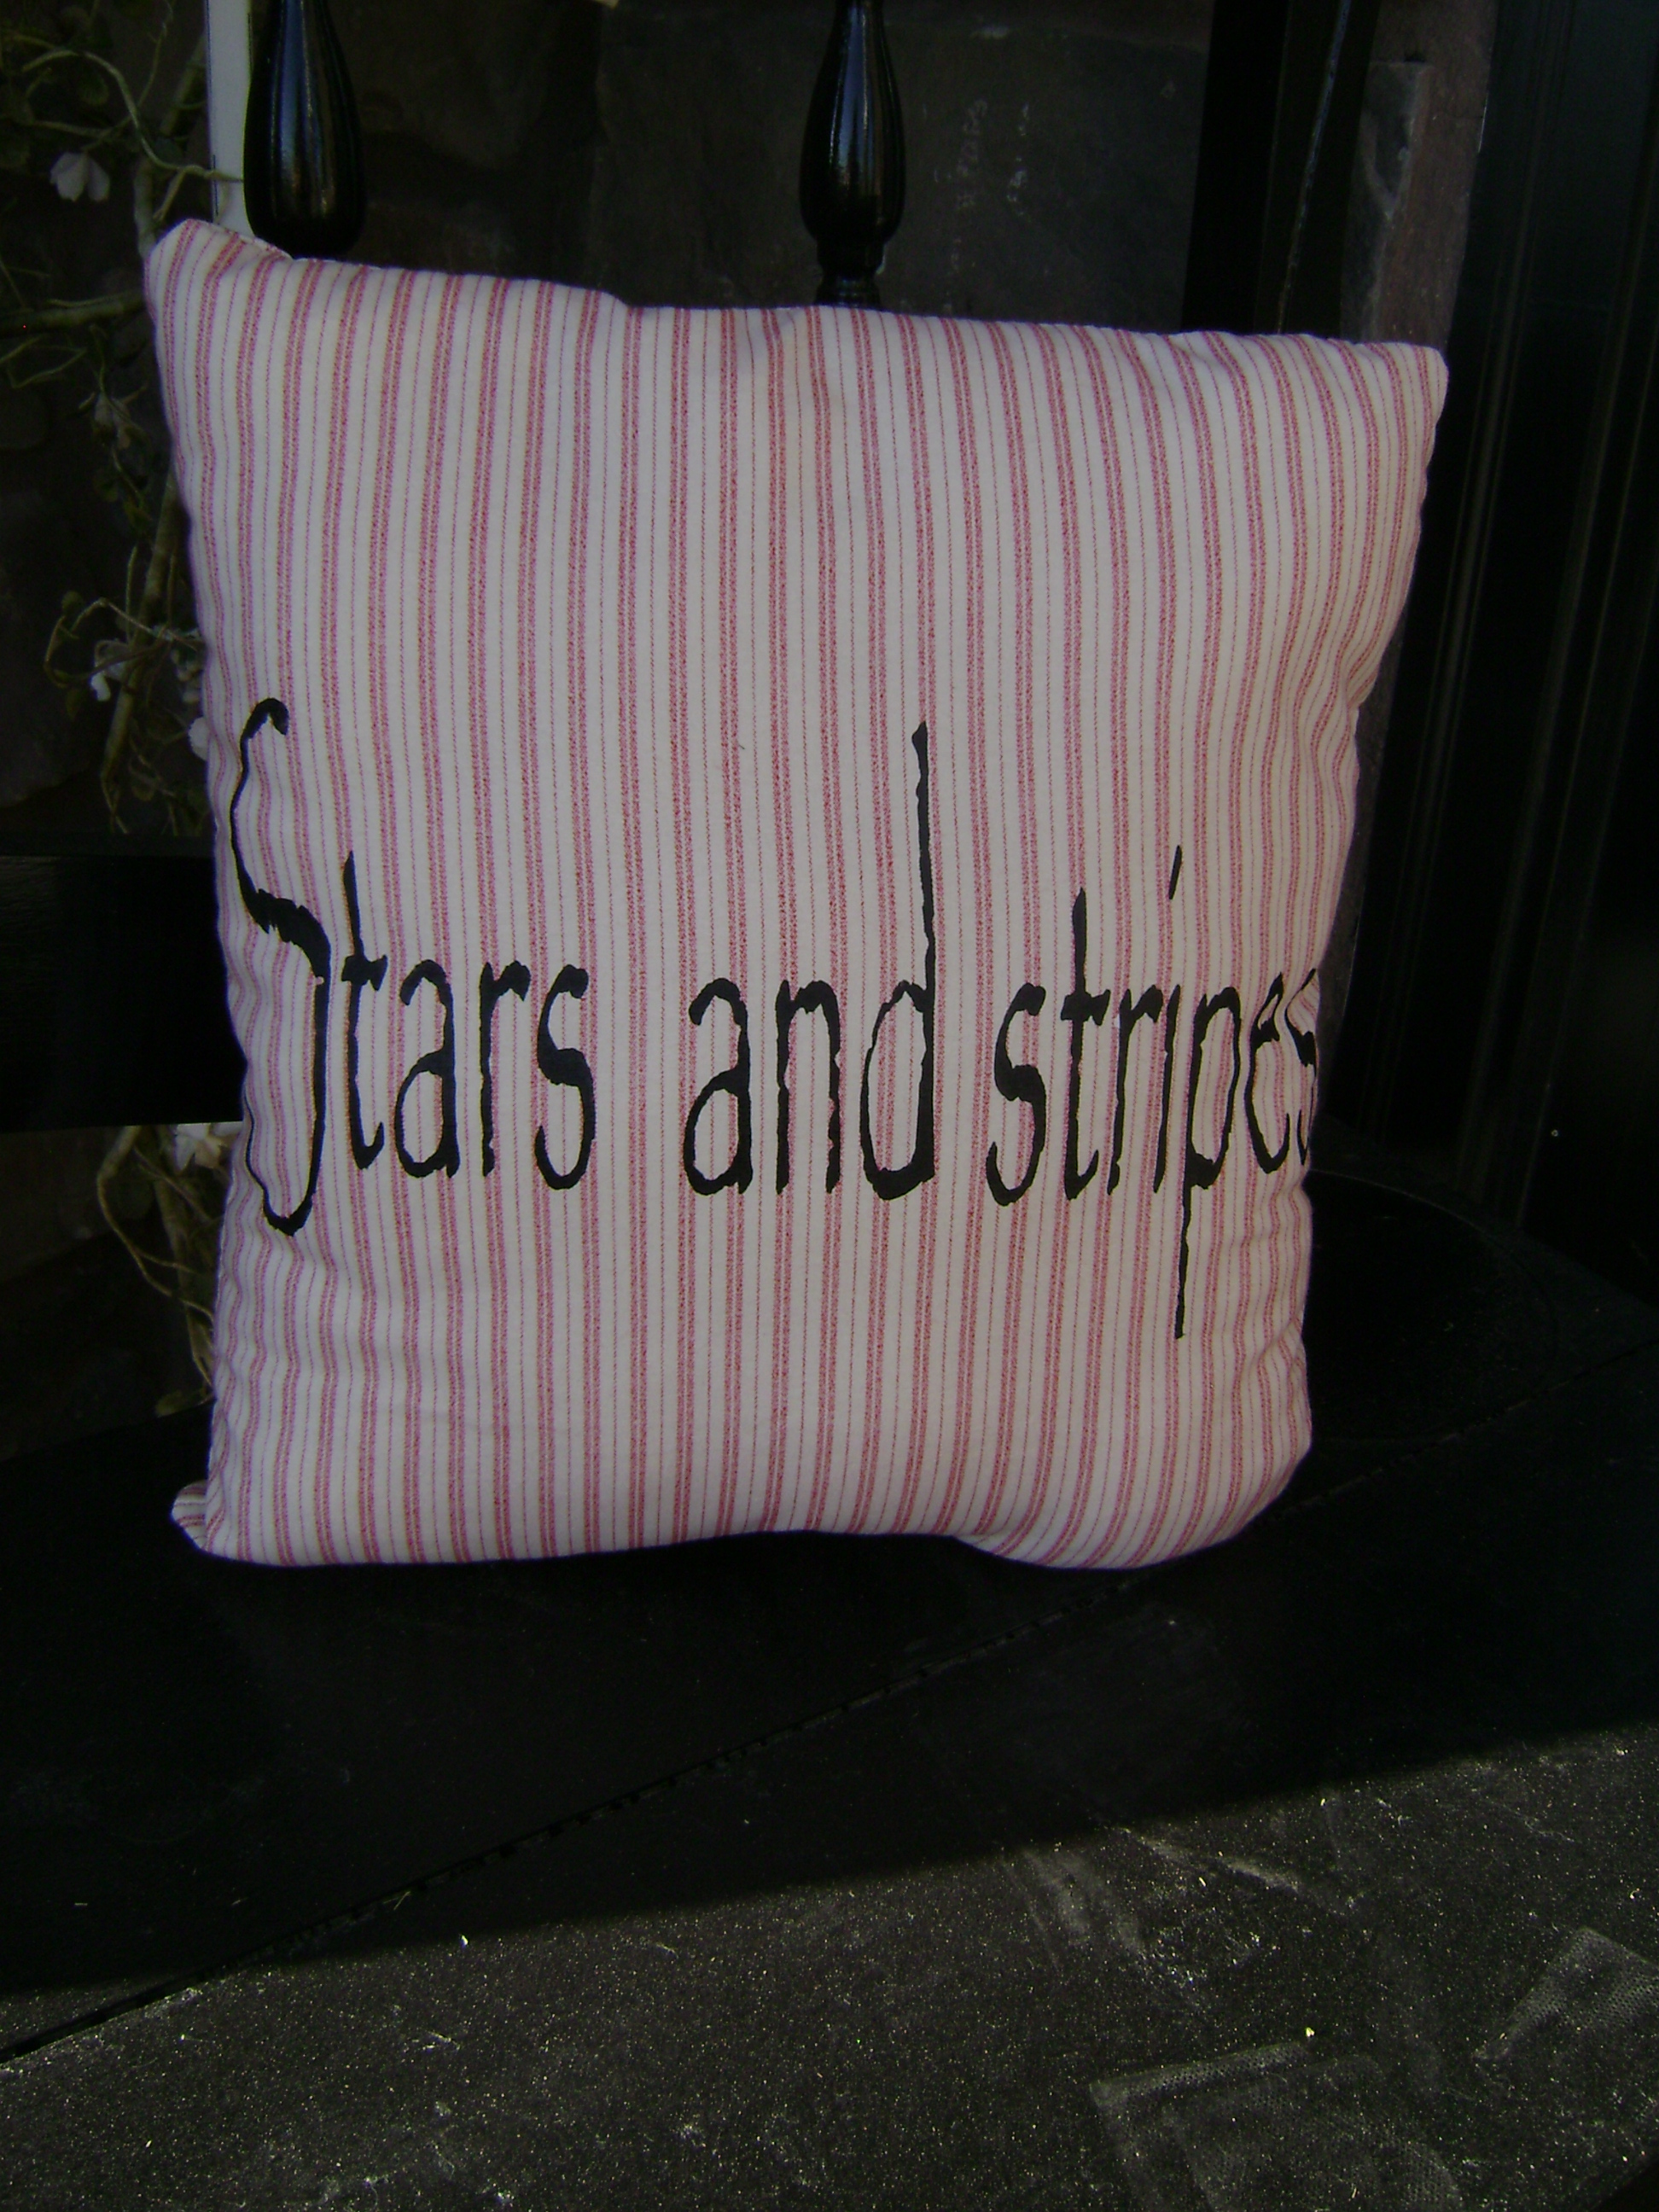
How to make a freezer paper pillow
I am in love with pillows lately.. They truely add sooo much to a bed, couch, chair or bench! The next pillow idea I found is by cutting out freezer paper on my cricut. SO here goes my tutorial!
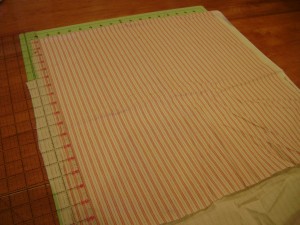
First I pick the kind of fabric I am going to use and cut 2 pieces the same size one for the front and one for the back the size all depends on how big or small you want your pillow. This pillow I made was a 16×16.
Once my fabric was cut I went to my cricut and applied a square piece of freezer paper matte side down to my sticky mat. Then I picked out the font that I wanted to use and wrote stars and stripes (for the 4th of july) Once this was done to a 5×12 size I flipped it so it would cut looking like this:
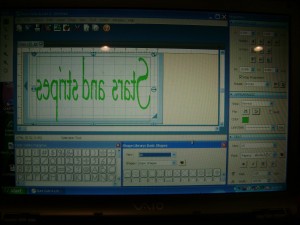
Once it is cut I remove the surrounding left over part of the freezer paper like this:
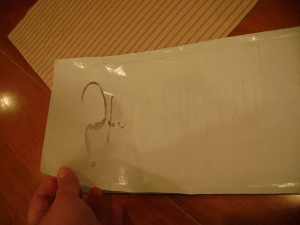
once that is done apply the freezer paper shiny side down onto your fabric and iron it down into place.
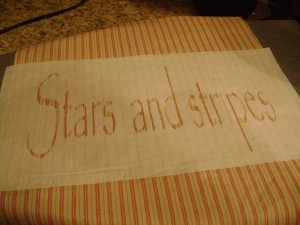
Next you will take whatever color of fabric paint that you desire and paint the areas where the lettering is. I allow mine to dry for 2 hours before removing the freezer paper but a good 24 hours before I sew it together and stuff my pillow So, it should look like this:
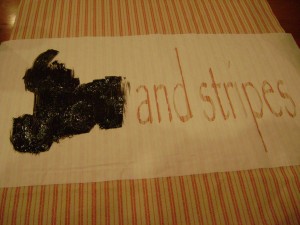
Once the freezer paper is removed it will look like this:
24 hours later…… I sewed the two fabric pieces together (inside out of course)
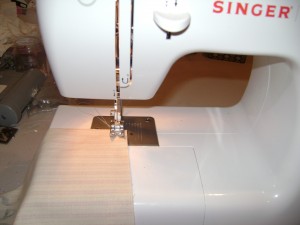
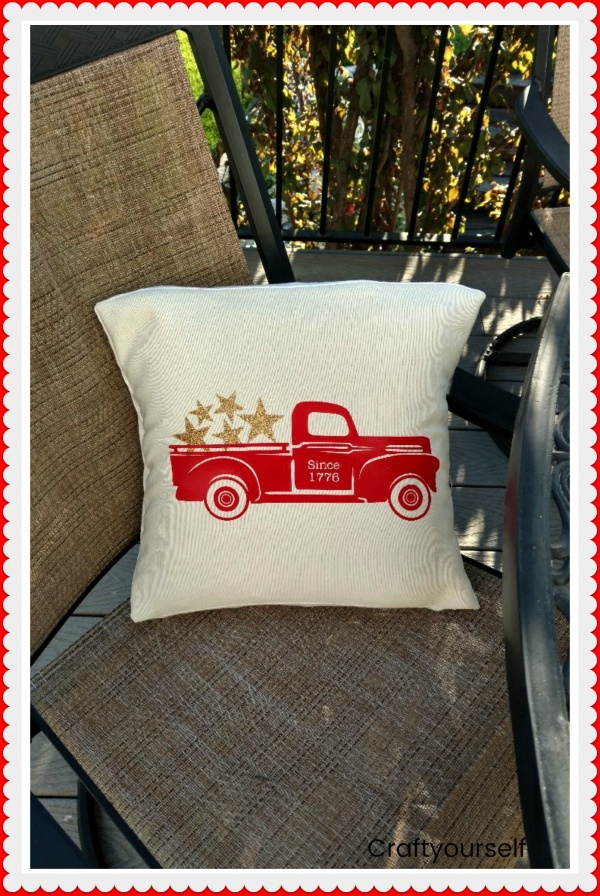
and the end result turned out fabulous!

I am so excited for the 4th of july!!



7 Comments
Carlee
Looks great! I am falling in love with pillows too! Where did you buy your fabric paint! I read your comment on your entry form and that is just fine, feel free to send them out when you are done! Thanks for entering the PILLOW FIGHT!!
Carlee
http://www.ladybirdln.com
Avrycrafts
Carlee I just bought it at Wal-mart. It is only 2.00 per bottle and the bottles go a LONG ways. This project didn’t even take 1/4 of the bottle. My daughters are getting ready to do T-shirts for their lemonade stand!
Kristy - Hopeful Threads
Very nice!
Carolyn
Can this technique be used for wood stenciling as well?
shelley
I have been looking everywhere for directions on how to make stencils from my cricuit so I can make some pillows. Thanks for the details. Where do you find you freezer paper??
Terri Smith
Just any store. Walmart or grocery store. By the aluminum foil.
Tanya
what font did you use? I’m having a hard time finding one that works for stencils. You know so there isn’t extra pieces for the a e o and so on.