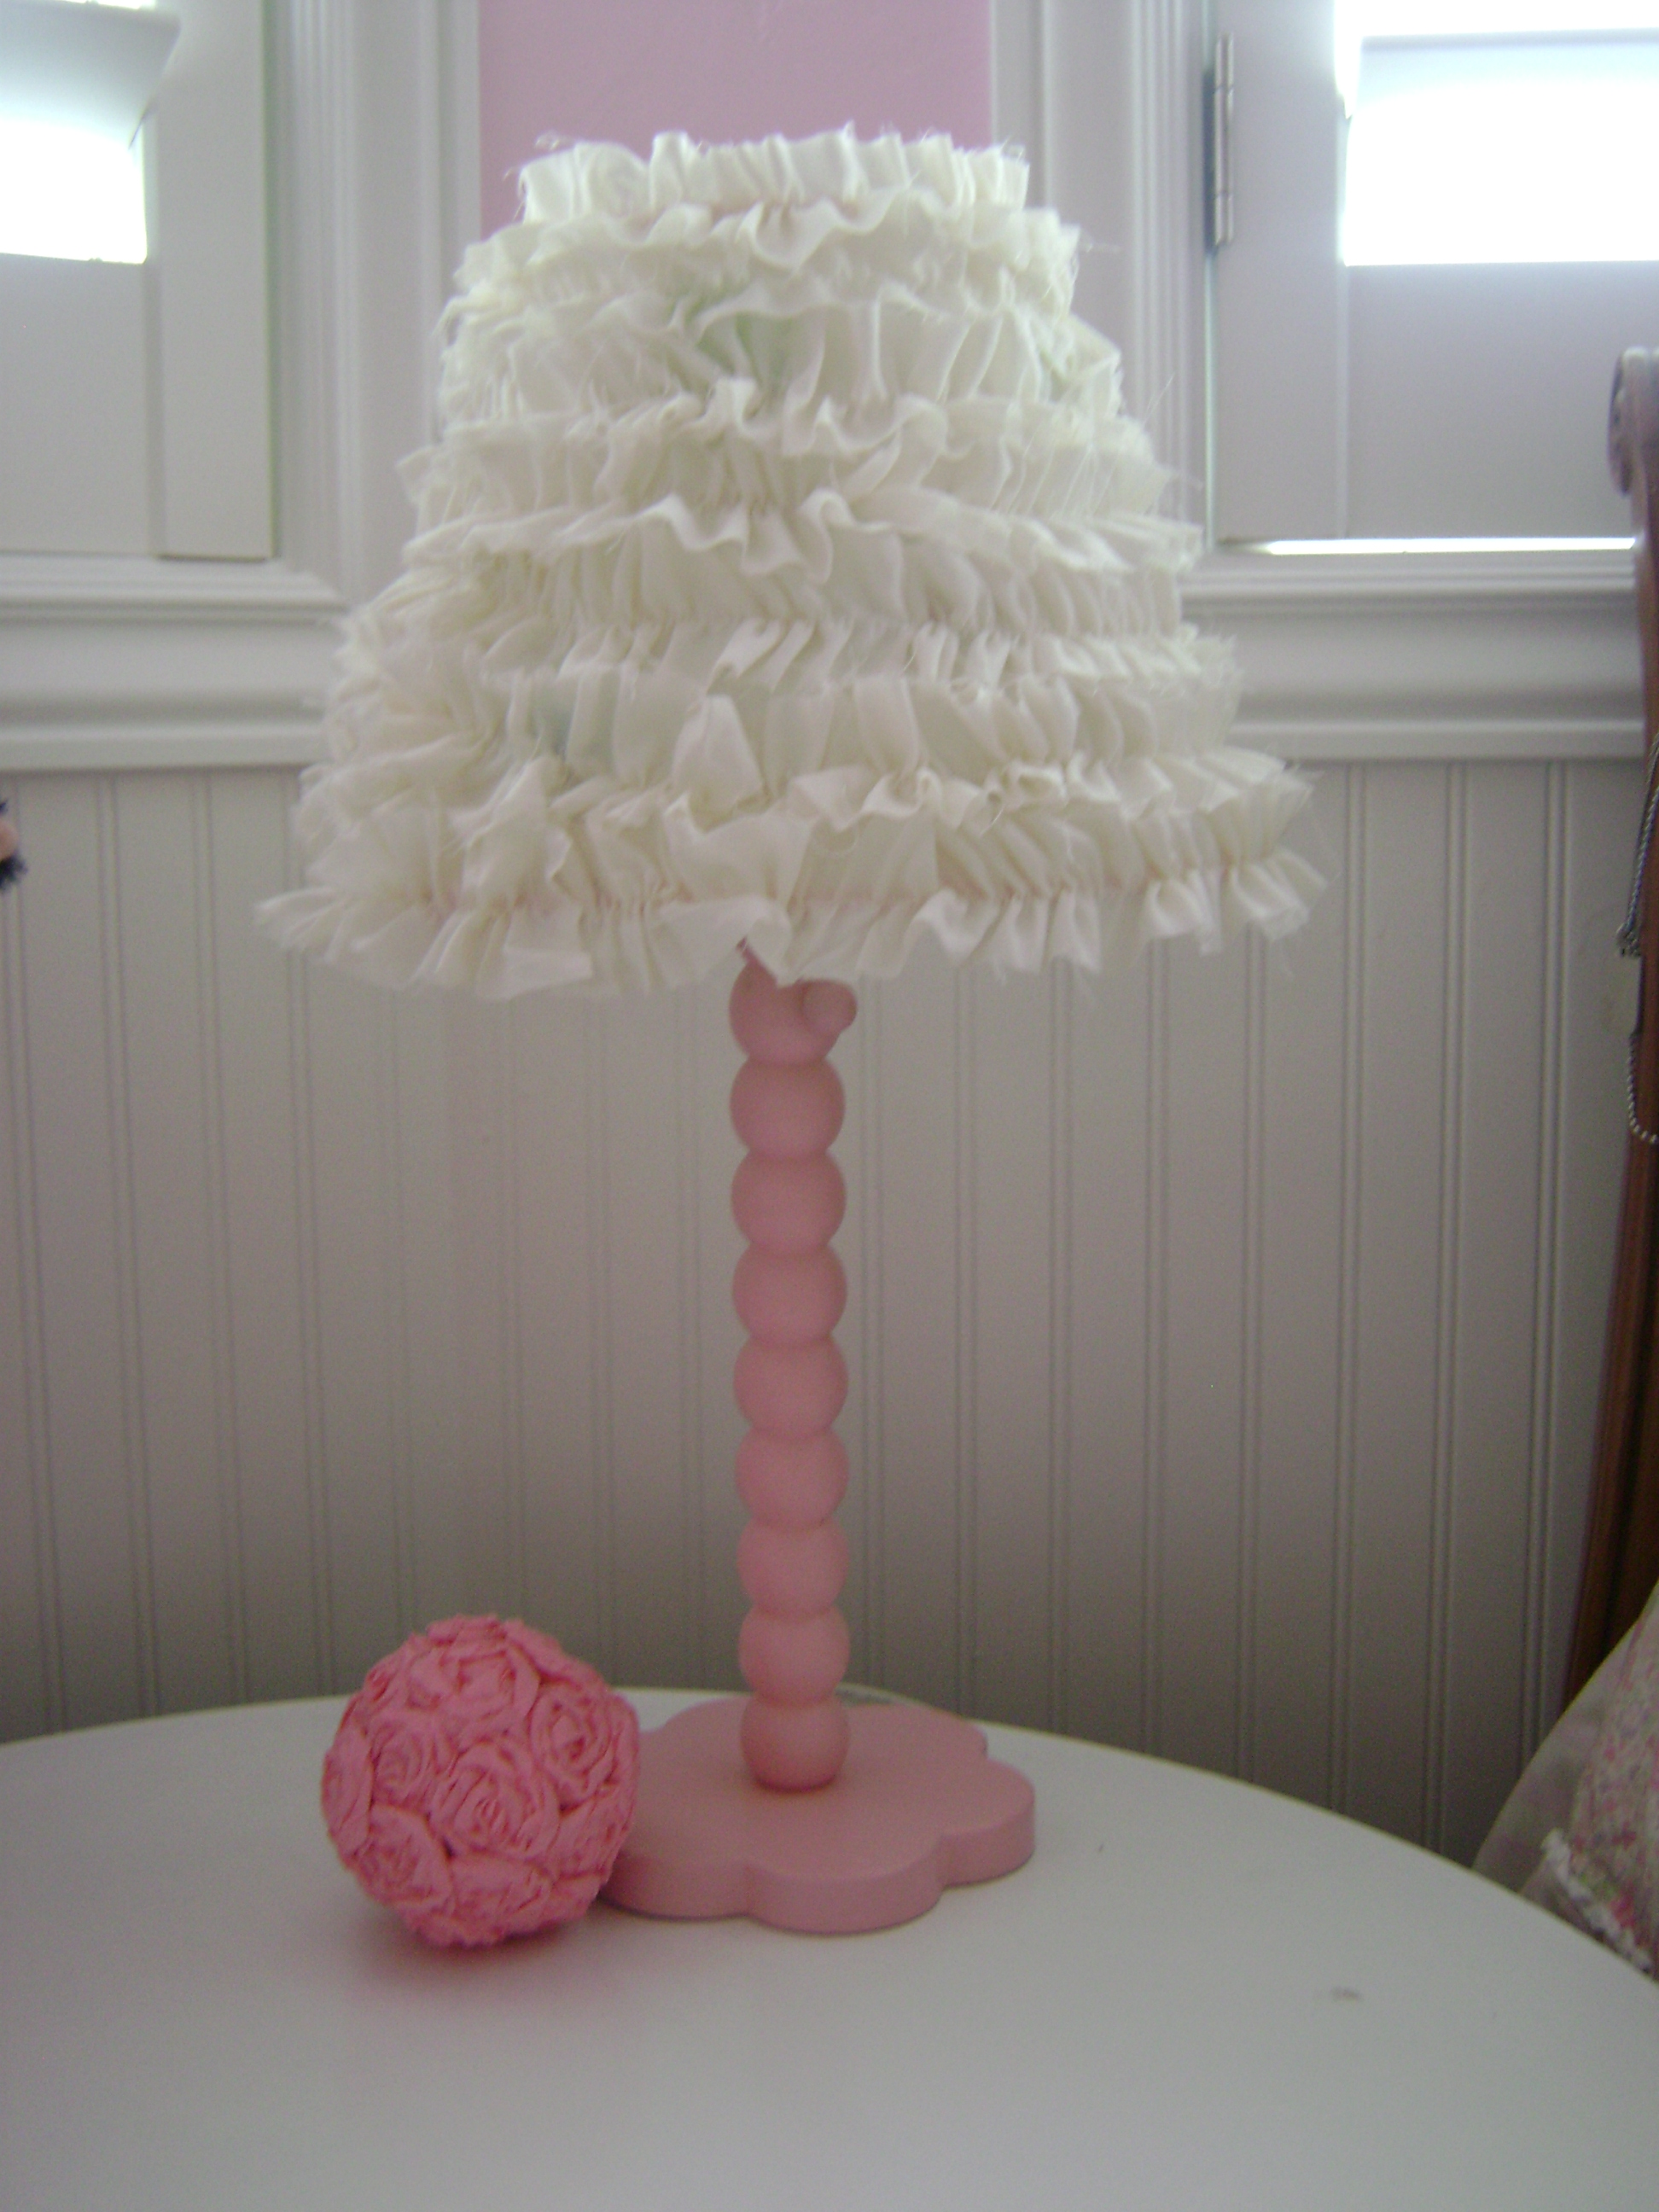
How to make a ruffled lamp shade
My daughter had an old lamp that she had told me was too “little girl” for her room, and since we are redoing her bedroom into shabby chic’ I decided I wanted to still use the lamp as it was still in good condition but that I could just redo the shade. 
We took some off white fabric and I am pretty sure you could use almost any type of fabric for this project. We just used what we had kicking around the house. I cut the fabric into strips of 2″ each and I cut approximately 10 strips. Now this could change depending on how big or small your lamp shade is.
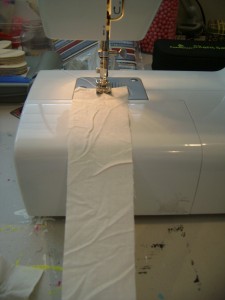
I then took each strip and sewed a loose stitch down the center of each strip. Once this was done I pulled on ONE of the strings at the end of each strip causing the fabric to get a ruffled look.
Here you can see the ruffles I got from each strip. I did not shear or run a stitch on the edges because I wanted somewhat of a frayed look on my ruffles on the lamp.
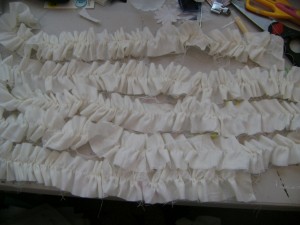
The harder you pull on the string the more ruffles you get BUT the shorter the strand of fabric goes. As you can see in the picture above I have some that I pulled tighter and some a little bit more loose. If you pull them too tight it is okay because you can always pull them to loosen them up. Don’t pull too hard on the string because you DO NOT want the thread to break.
Once you have all ruffles ready to go get your lampshade (here is a picture of the old one we used) 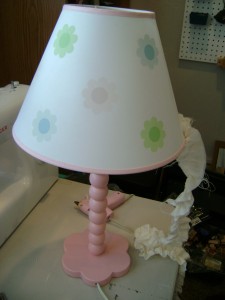
and start along the bottom with a hot glue gun and glue the strands on. If you start at the bottom along the rim (I glued my ruffle in the center where I stitched the fabric) and kept gluing in a circle as I went up to the top of the shade.
This project literally took me less then 30 minutes and it now matches my daughters room so much better! Didn’t it turn out cute?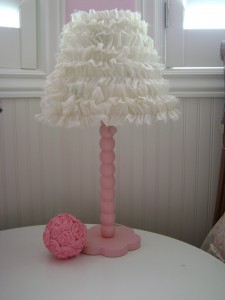



One Comment
blueviolet @ A Nut in a Nutshell
That is unbelievably cute!