How to make burnt edged flowers
I know you have seen these.. Everyone has!! They are popular and very easy to make but for those out there who can’t figure it out I’m here to help as I have had several people ask how to do them.
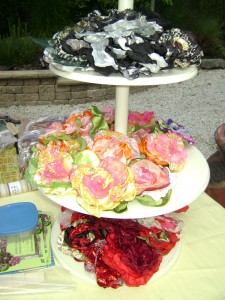
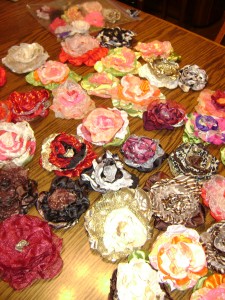
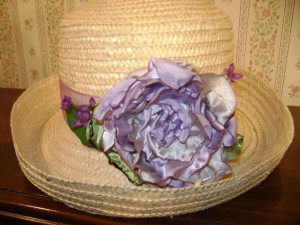
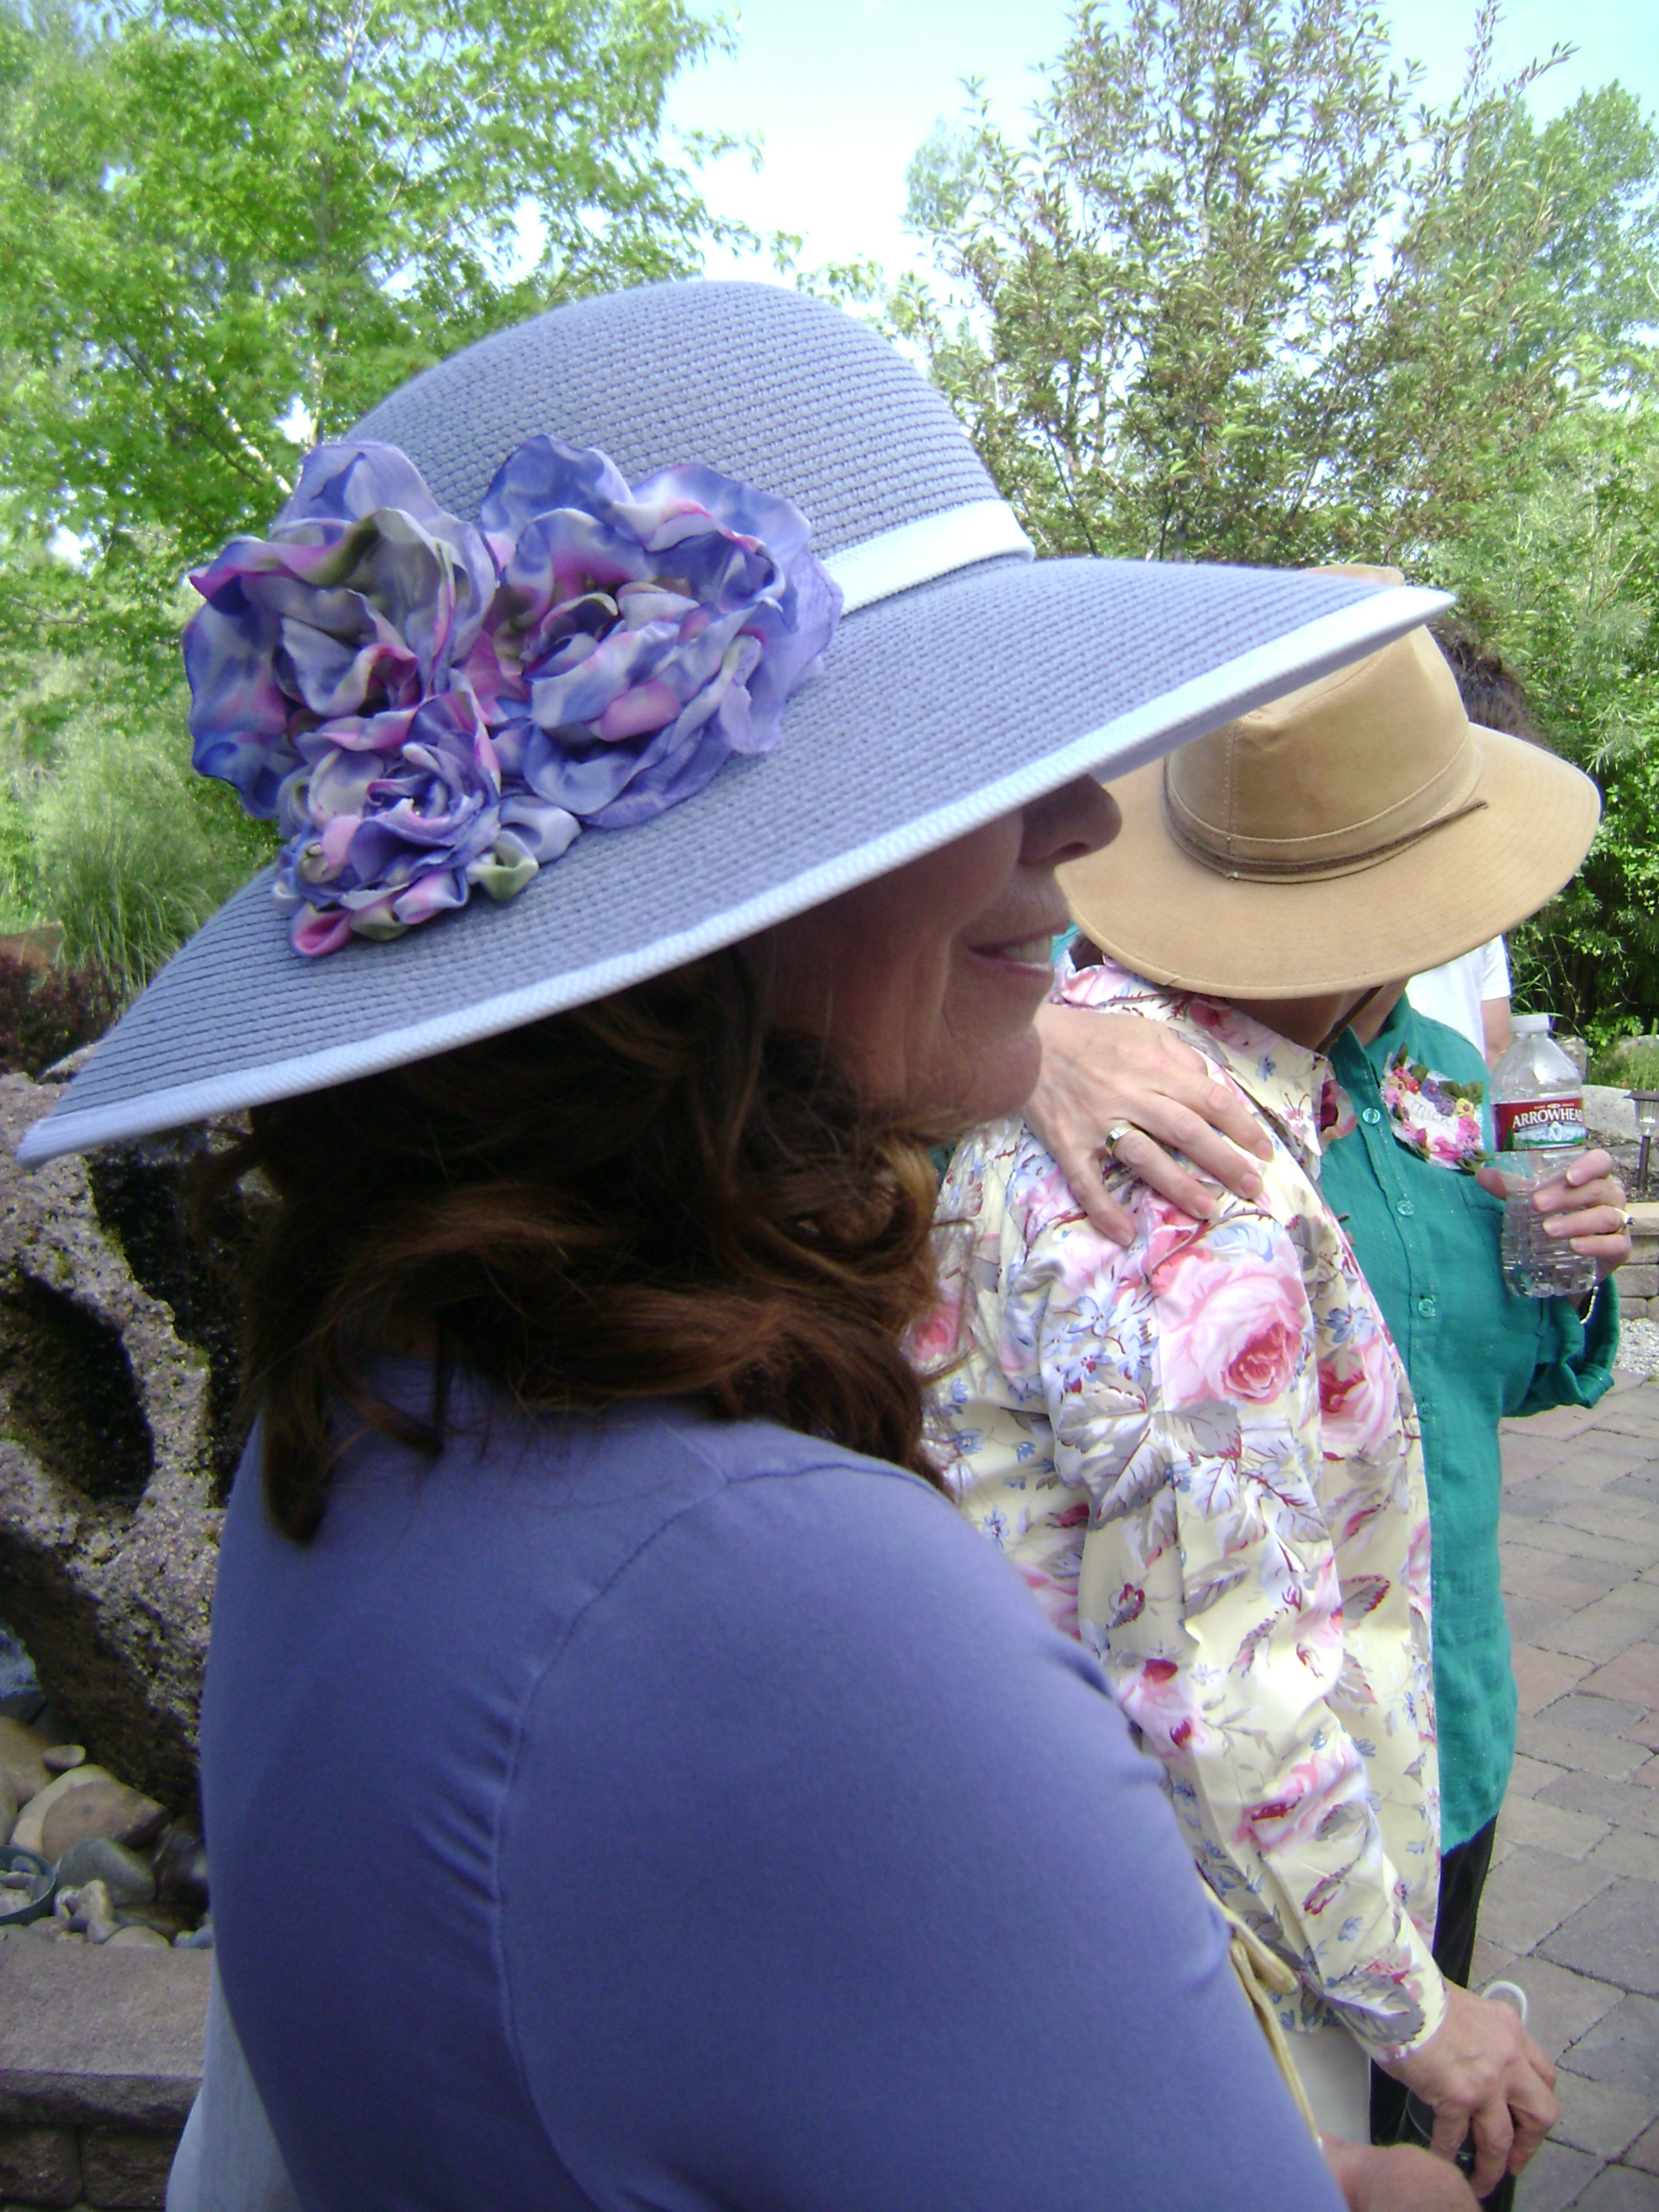
The flowers I have here in the pictures were all made up as party favors to ladies of a quilt guilt. You can pin these to your shirt, add them to a hat, put them on a headband, glue them onto a pair of flip flops etc. you can basically do whatever you would like with them.
Supplies needed:
Any Silk, Chiffon, Organza or Tulle in any colors that you would like them. A lighter or tea light candle. I prefer the long lighters so I can turn the flame on or off & up and down. First make a template of circles out of cardstock of multiple sizes 5″, 4″, 3 1/2″, 3″, 2 1/2″, 2″ (you get the picture) Then cut each circle out of the cardstock. Slice 4 or 5 slits into each circle towards the center
Next: Trace each circle onto the fabric you are going to use and cut the fabric circles out. The more circles you cut in different sizes the fuller and more dimension you will get from each flower. Burn the edges of each circle using your lighter – the fabric should curl up and look fluffy on the edges.
Layer the circles one on top of another until you have reached the desired look that you are wanting to create
Once layered take a needle and thread and sew them together in the center of the flowers so they are all attached, at this time you can add beads, jewels, fabric etc. to the center of the flower. Once sewn together hot glue on a pin or alligator clip for your shirt or hair
Doesn’t this look so cute?
