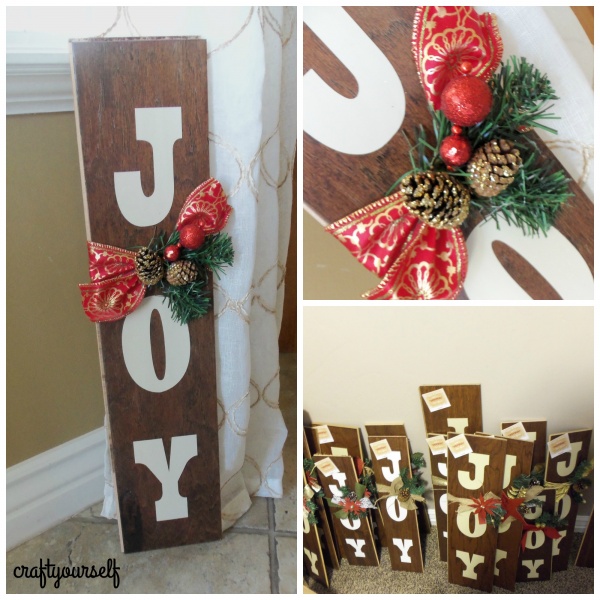
Joy boards & Free printable
Before last Christmas was even over we had already pick out the gift we would be making for 2015. Last Year Avry and I had combine forces and made around 75 vintage count down boards. We gave them to neighbors, family, friends and co-workers. We started working on putting together the count down boards the first part of November and our goal was to have them finished by December 1st, this way we could pass the out on the 1st. Our friends and family could enjoy them the entire month. We were able to meet our goal and have them ready for December 1st, then plan worked really well and relieved a lot of holiday stress. However we both had forgotten a few people on our lists and ended up scrambling and making a few more of the count down boards. We decided we would plan ahead even earlier this year. We pick out the item we would make for 2015 last December and have been collecting all of the supplies throughout the year. We already knew we needed to bump our number up to have a few extras on hand. Our original plan was to start assembly in July or August. We got a little side tracked with other things. We started on our Joy boards the first week in October and were finished with 85 of them before Halloween!!! Yay! What a huge accomplishment. We were able to start delivering this fun boards on December 1st this year.
What you need to create your own Joy board:
A piece of wood (We used various sizes of scrap hardwood flooring) pallet wood and any type of plank will work. The bonus to using hardwood flooring, we didn’t need to stain or age the wood. That saved tons of time. If you do used unfinished wood you may want to stain or paint the wood.
Personal Cutting Machine
Vinyl or paint
Holiday ribbon
Assortment of holiday Embellishments
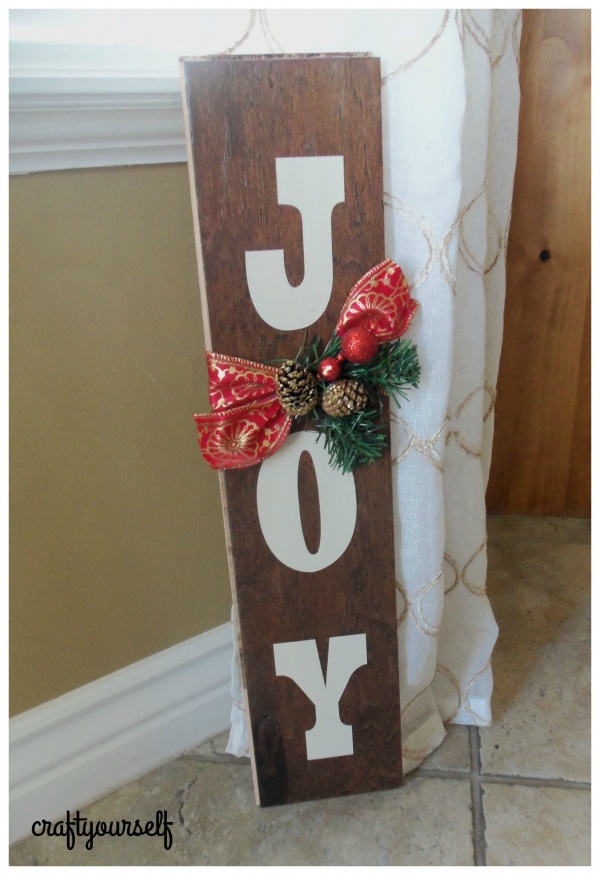
Be began by cutting down any really long boards we had. Most were good sizes and the really long one we cut in half. We had a variety of sizes. We choose to use vinyl on our boards to save on time. We knew we would be assembling 85 boards and that painting JOY on each board would be very time consuming. I set up a template with 8-10 JOY words (depending on the size ) To cut at one time, I used my personal cutting machine and white or cream vinyl. We centered and applied the word JOY on each board. The step was to embellish each board. We tied ribbon in between the Letters and then hot glued a variety of embellishments. We used pinecones, beads, holiday picks, and chipboard shapes. We decorated each board with things had on hand. I love how there are no 2 boards that are the same. After we created the boards, we designed a free printable tag that we stuck on each board. You can download our free printable tag to use on your holiday gifts this year. Simply right click copy and paste into your favorite program.