DIY Kitchen Bead Board Back Splash
Today I am sharing my beautiful DIY Beadboard Kitchen Back splash with you. For years I’ve told my husband I want a back splash but I’ve gone back and forth so many times on deciding until I saw a photo of a beadboard back splash! I was really excited because I have a lot of beadboard throughout my home so I knew it would tie in nicely. Plus it would lighten up my kitchen and add dimension! So, if you want to do a beadboard black splash here are some simple steps to follow.

First, Measure the area between your counter and to the bottom of your cupboards. You’ll also want to take into account the length that you’ll need per section. Most cabinets are standard along the bottom. I did not put trim along my beadboard as I couldn’t decide if I wanted it or not. It took all I could do to convince hubby to do this so *sigh* not sure he will want to add trim too. But if you choose to add trim measure for that also.
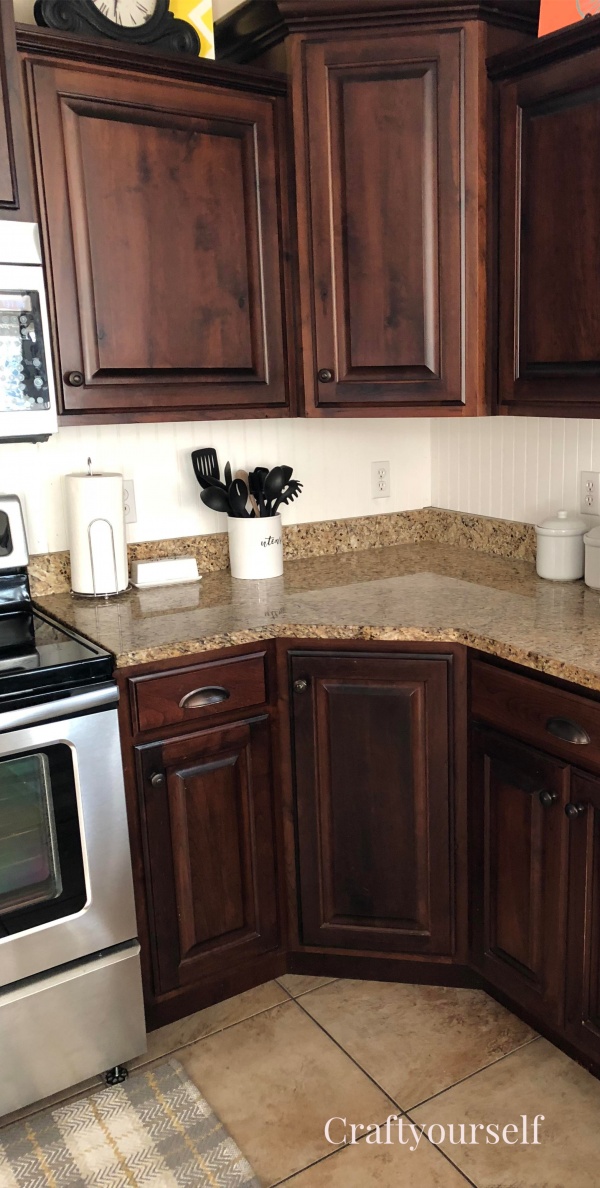
I do have a gap in between the top of my granite block and wall in the corner where my counters meet. So, for now I have a utensil container there so you cannot see the little gap. This can be filled with caulk which I may do.
You can do the entire back splash with ONE sheet of beadboard (approximately $20 per sheet)
Here is a supply list of the items you will need:
Supplies
Beadboard, cut to the sizes needed
Brad Nailer
Brad nails
Liquid Nails (glue)
Spackle
Spackle tool (although I used my finger most of the time)
Sanding block
Painters tape
Paint (color of choice)
Cut the beadboard to fit under the cabinets and above the counter top. Hubby and I cut the beadboard pieces using a table saw. For the cutouts of the outlets hubby measured the old fashioned way so the cuts were exactly accurate. He used a Ridged 18-volt Cordless JobMax Console with the tool-free multi tool head. This made the cuts around the outlets very easy.
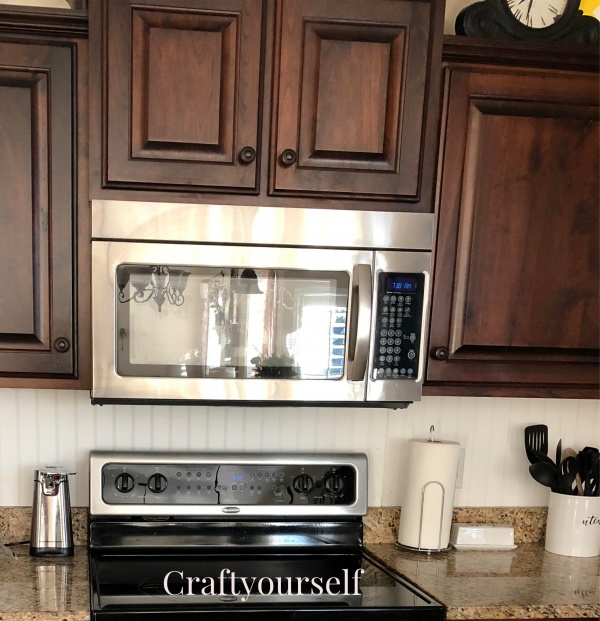
When applying the beadboard to the wall we only used brad nails along the edges of the beadboard to hold it into place for less holes to fill. In the center we applied the liquid nails. The less outlets you have the easier and faster this job will go. Once the beadboard is up on the walls the way it changes the room looks amazing!
My husband did most of this project while I was visiting my sister so I have zero photos of the process! – Yes I LACK at taking photos. (until after that is)
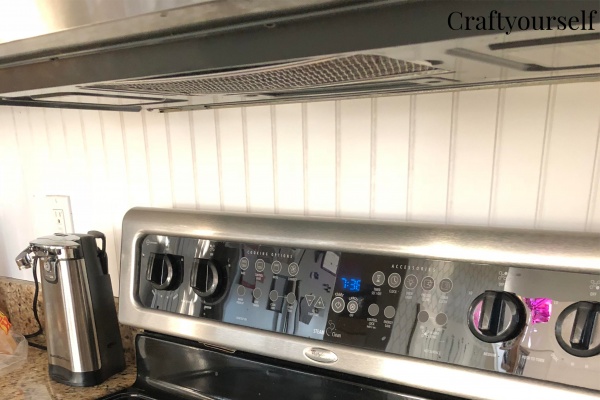
Look how much this lightened up my Kitchen! Normally I am a sucker for dark wood but this was a fun change.
