Planked Wood Faux Shiplap Accent Wall
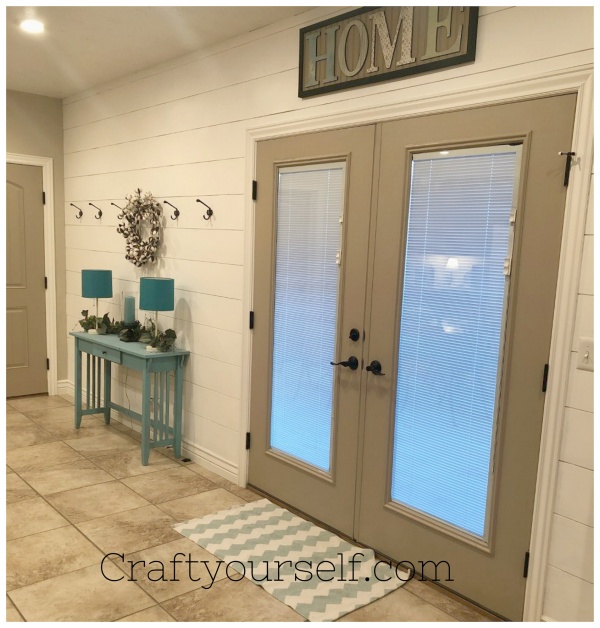
There are so many cute walls in homes right now! I’ve seen Shiplap, Planked, Board and Batten and even some darling wall paper! So much creativity out there so of course I just had to jump on the bandwagon! Shiplap is gorgeous but to purchase the actual stuff can be quite pricey, especially if you are doing a large wall. So game on! Finding a cheap way to plank a wall in my home without it breaking the bank. Take note that I also did this wall during the holidays (between Thanksgiving and Christmas) and I am barely posting about it! Yep! I am a little behind.

Here is the supply list of what we used:
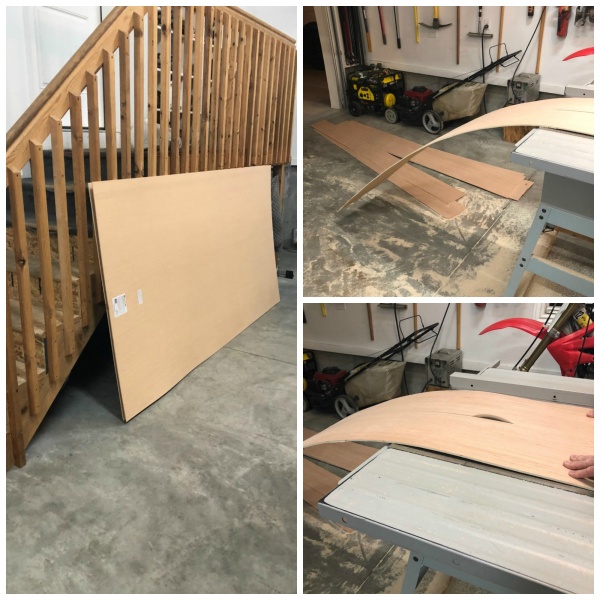
3/16″ Plywood – (we ripped this down to 8″ wide strips on our table saw).
Brad nailer using 1 & 1/2″ nails to attach the planks to the wall.
Ridgid Jobmax Roto zip tool to cut the outlets in the wood
Tape measure, chalk line & Pencil.
Caulk to fill the holes and the joints.
Light sand paper
Paint color of your choice, Paint brushes, rollers, ladder.
Not wanting to ruin the drywall I didn’t use glue. In case I ever want to pop off the planks the nails are small enough and not deep enough to ruin the wall underneath.
As stated above we used our table saw and ripped the sheet of wood down to 8″ wide strips on our table saw
First you’ll want to determine how much space you will want in between each plank. Using a leftover piece of the plywood seems to work great for spacing. Trying pennies just wasn’t cutting it for us! Since I like to live and learn I realized that painting the wall underneath before starting the process would have been easier. But I like to choose difficult I decided.
When you see the tutorials that say “Easy” I wouldn’t say that this project is easy. It takes time and precision. It can be hard if the walls are also uneven. I cannot emphasize enough to measure, measure and to use a level! Hubby and I measured out the space in between and did a chalk line for each spacing to follow along. This definitely helped when lining the planks up.
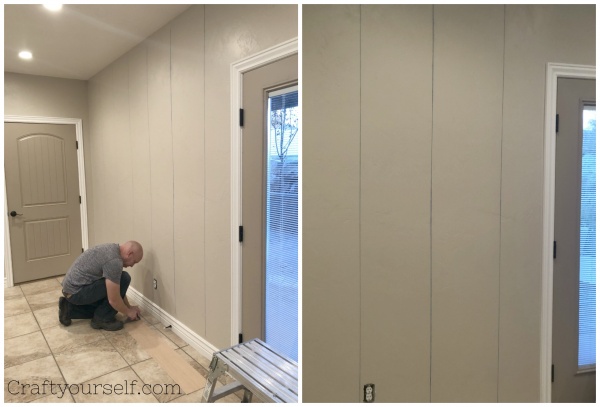
For a wall as big as what we did I would definitely have two people as we kept the Shiplap planks as long as we possibly could. One person to hold the plank in place and the other to nail them into the wall. Starting from the bottom and moving to the top worked best for us but I have heard many bloggers say to start from the ceiling and work your way down. Luckily our house is only 9 years old so most of our walls are pretty level. Not perfect but enough that we really didn’t have to do any adjusting to our boards.
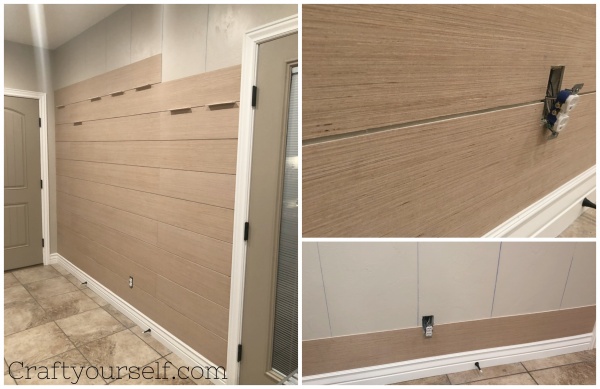
To keep costs down and keep this project as simple as we could we did not buy any molding or casing and just stacked our planks along the top of the baseboards that were already there. Once the process got started the planks went up pretty fast. If you will notice in the photos above we didn’t use outlet box extenders as our planks were thin enough to not need them.
Looking at the photo below you can see how we butted the boards right up next to each other and then I filled them and the nail holes with caulk then sanded them down.
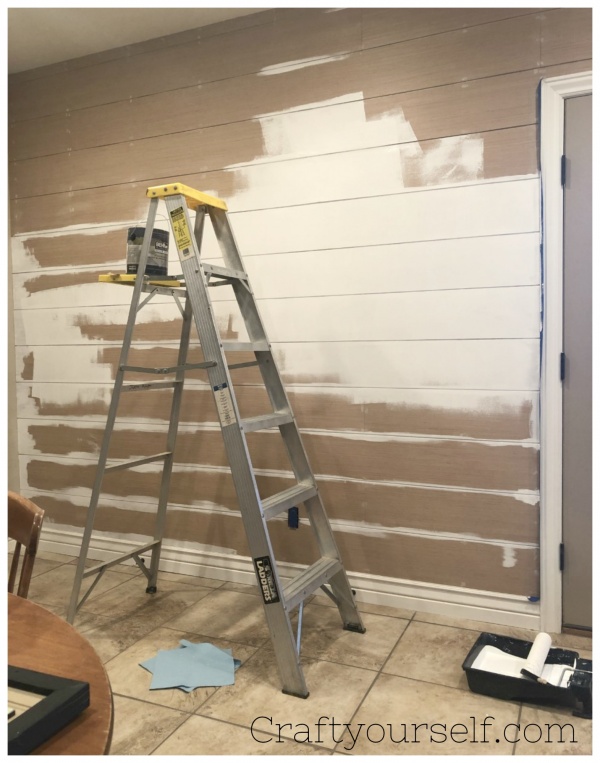
The faux Shiplap does soak up the paint so just this wall took me an entire gallon. I use satin paint as it isn’t glossy but will wipe up nicely if I need to wash the wall. Painting took several coats and I did the cracks in between with a small brush. This wall turned out perfect! I am so happy with the results. Most of my house is in the tan / browns but honestly the white gave it a nice touch. Along with some white and turquoise accent pieces I think it turned out awesome!
