Christmas Blocks
Follow along on how to make Christmas blocks! If you see in the photo below you can see how I used the little red truck block to add to a small tiered tray.
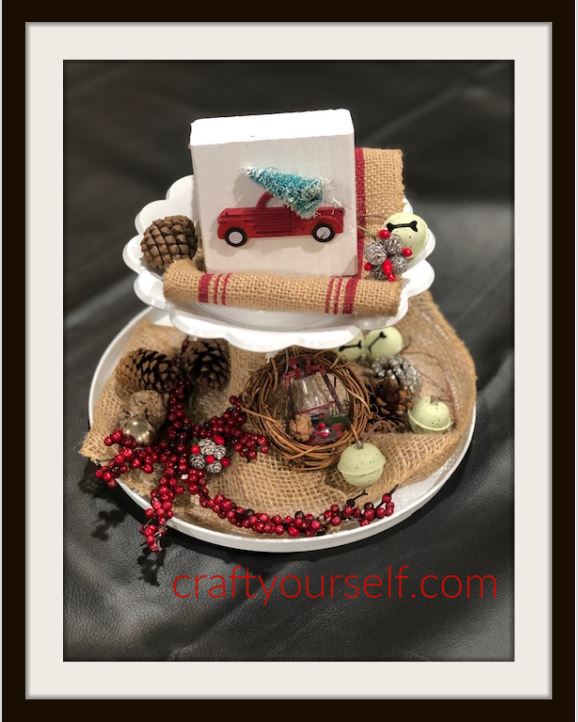
To create your own Christmas blocks you will need:
2″ by 4″ pine wood boards – We use whatever scraps we can find.
White or Red paint
Small Christmas like embellishments you can glue onto the blocks
paintbrushes
Assortment of Christmas scrapbook paper or stick on vinyl
chop saw
To start measure and cut your 2″ by 4″ board into squares using your chop saw, they will actually be 3.5 ” by 3.5″. Funny that they call it a 2″ by 4″ board since it isn’t really 4″ wide. Paint all of your blocks white or desired color and allow to dry
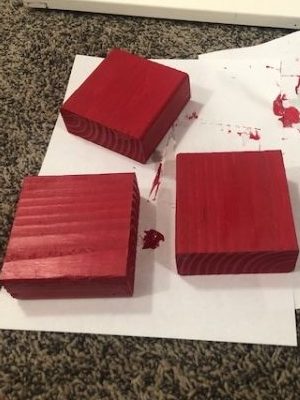
As you can see we chose beautiful Christmas red paint for some of our blocks. Now once they are painted we found some darling mini ornaments and embellishments at the Dollar Tree! As you can see in the next photo some of the blocks are painted white! The little red block with the snowflake is actually vinyl cut out on a personal cutting machine (Silhouette / Cricut) but the rest are all small items found at Dollar Tree.
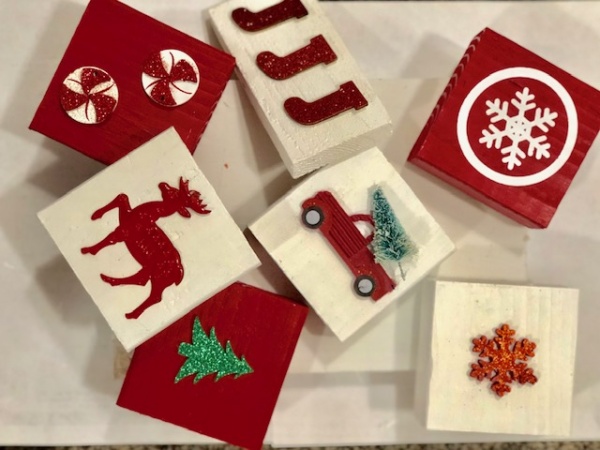
In the photo below you can see that using scrapbook paper or sheeted vinyl on the block can turn out really cute too! The sky is the limit on these darling blocks. To make them a little rustic looking you can also always sand the edges and maybe antique them. I do like the bright colors though.

