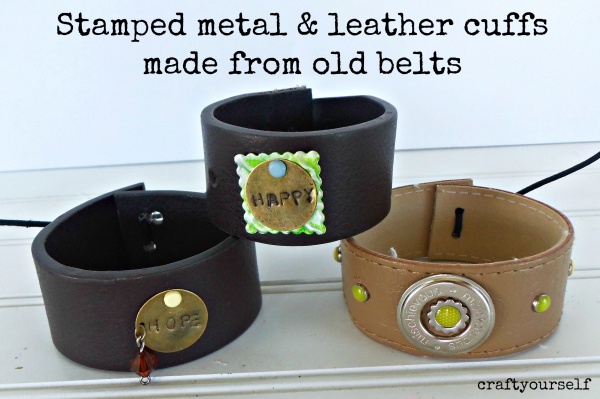
Stamped metal and leather cuffs made from old belts
This summer I was in charge of a youth camp for girls ages 12-18 years old. The girls always like making crafts for one of the activities during camp. As I thought about the kinds of crafts the girls like to make. I thought about how much effort goes into cutting wood and supplies for crafts that we have made in the past at youth camps. Often I have found that the girls only liked the items made at camp for a short period of time and then they are thrown away or donated to thrift stores.
Wanting to make something that wasn’t too large or took a lot of prep time got me thinking. Also wanting an item that the girls could potential love or keep for a long time. Coming to the conclusion that most girls love jewelry was easy. If they could design it how they wanted, then maybe it could be a piece that they would keep. I found several ideas for leather and metal cuffs.
Knowing I was on a tight budget and that leather was a little expensive, I began looking for alternate ways to create jewelry that was similar to the leather cuff’s I have seen. Avry mentioned using old belts and I agreed that was a perfect idea! The hunt of finding several belts at yard sales ranging from .10 to .50 cents each. That price definitely fit my budget. I also purchased round metal blanks, necklace’s, charms, and key chains. The girls had a choice at camp all were able to make a few of each if they pleased.
To create your own Stamped Metal and Leather Cuff you will need:
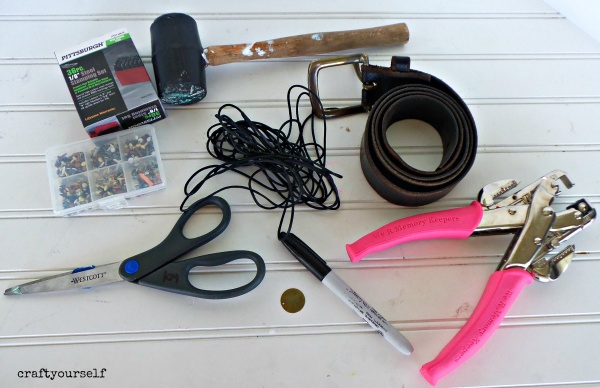
Old belt
metal blanks
beads/ accessories
leather cording
brads
metal stamps
hammer
Sharpie marker
alcohol wipes
craft punch
scissors
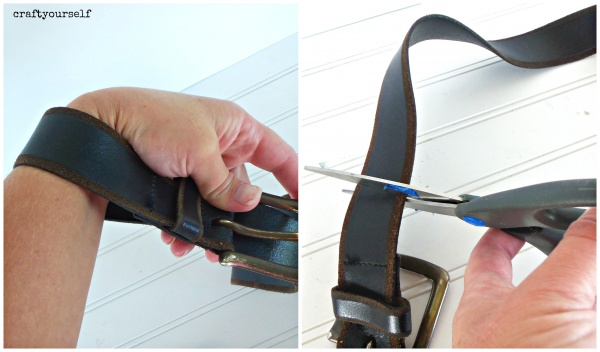
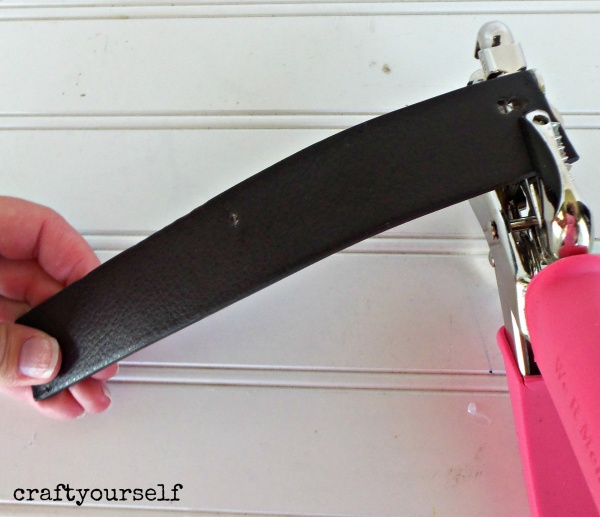
First you will want to measure the belt around your wrist, to know what size you need to cut it. after you measure the belt around your wrist, add 1 inch on to the sizing and cut the belt.
Next you will want to punch 2 holes in each end of the belt.
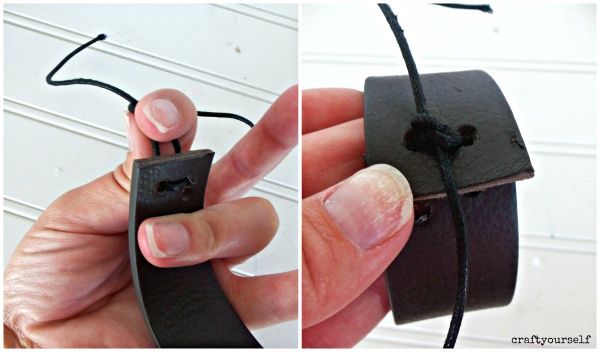
You will then cut a piece of leather cording to go through the 4 holes at the ends of the belt. You will tie the cording to make the belt into a cuff.
Now that you have your cuff made you can work on decorating your new leather cuff. I purchased these metal blanks from amazon, they were a great size to fit into the center of the belts. You will start by laying your metal blank on a hard surface and then select metal alphabet stamps to create any word you desire. I chose the word hope, I started in the center and stamped those letters first and then worked my way to the other letters.
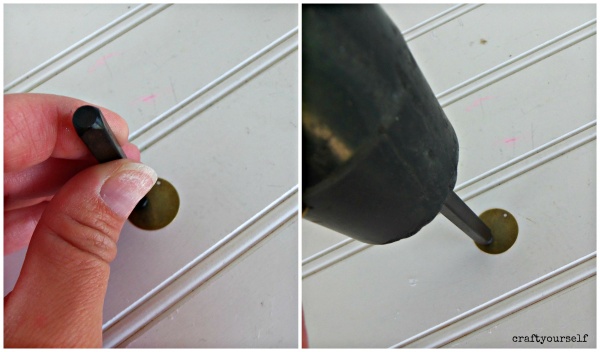
The hole in my metal blank was not large enough to fit a brad through it so, I re-punched the hole with a larger hole punch. After you stamp your wording on the metal blank you will want to color over the stamped letters with a Sharpie marker. You will wipe any excess marker off of the metal with an alcohol wipe.

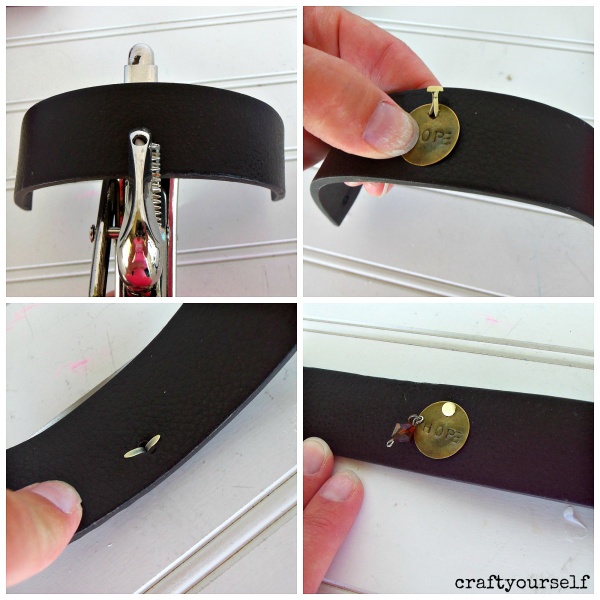
Last you will attach your stamped metal piece to your leather cuff by punching a hole into the center of the leather cuff and then attaching the metal piece with a brad.
Several of the girls at camp really enjoyed this craft activity. I hope that it will be a piece that they can wear for many years to come. What kind of jewelry do you like to make?

You May Also Like

Halloween Apothecary Jars
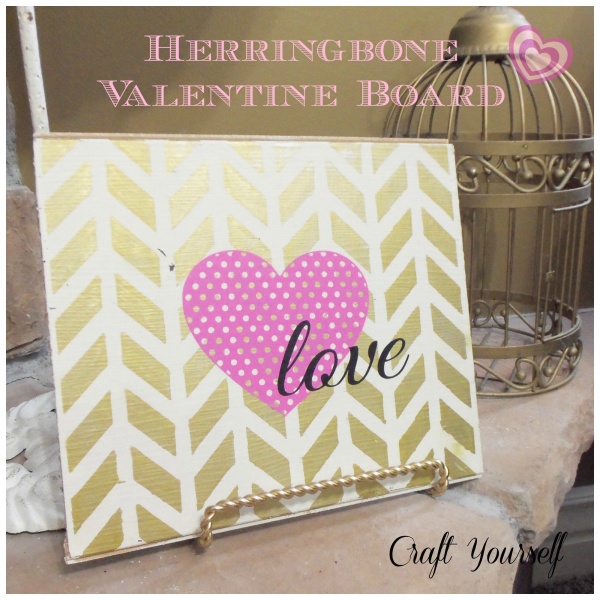
Herringbone valentine board