
Stenciled Burlap Christmas Delivery sack
Right before Christmas last year. We found a darling design over at Fyens designs and knew that We wanted to create our own Santa delivery sack. By clicking here you can see the Burlap Santa Christmas Special Delivery Sack we made last year. This year we still had a bunch of the soft burlap leftover we decided it would be fun to try a new design and make a bunch of Stenciled Burlap Christmas Delivery sacks to give for Christmas gifts this year.

First cut a Burlap strip of fabric measuring 15″ in width and 54″ in length. Then surge the two 15″long (or stitch)edges of the rectangle shaped burlap to make sure the burlap doesn’t fray. This will also give the top of your bag a clean look. Once the edges are surged then fold the burlap in half (length wise) and surge up both sides of the burlap to create a sack.

Once the sack is finished you can move over to your personal cutting machine. We used this tutorial to create a stencil out of an old cutting mat. Now that you have a stencil, place an old piece of card board inside your burlap sack. Then place your stencil on desired area of your burlap sack and press to hold it in place. Use desired color of paint and foam brush to fill in the stencil. Remove stencil while paint is still wet and allow it to dry completely.
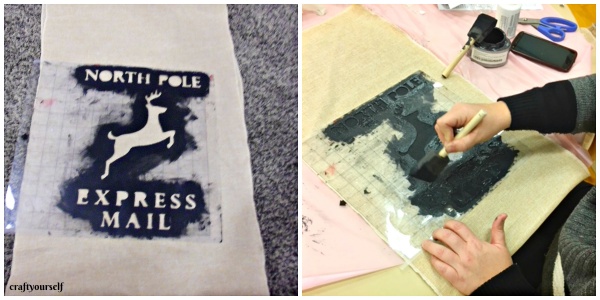
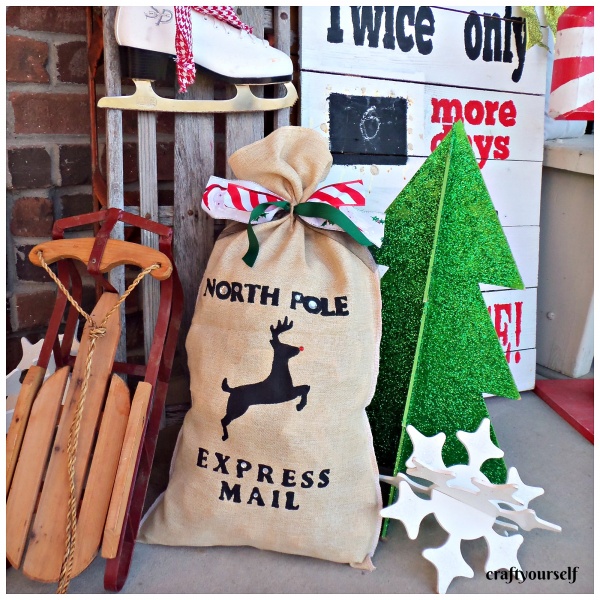
Now embellish your burlap sack with jewels or other accessories. We used old newspapers that we rolled up to fill our sacks and then last we tied several ribbons to close the top of our Stenciled Burlap Christmas Delivery sack.
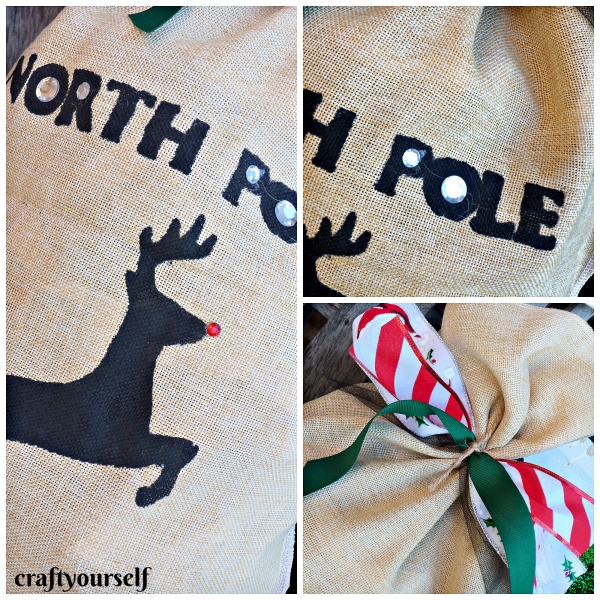
How will you decorate your burlap delivery sack?

One Comment
Gina
This is too cute! I’d maybe try snowflakes or a sleigh if I made one.