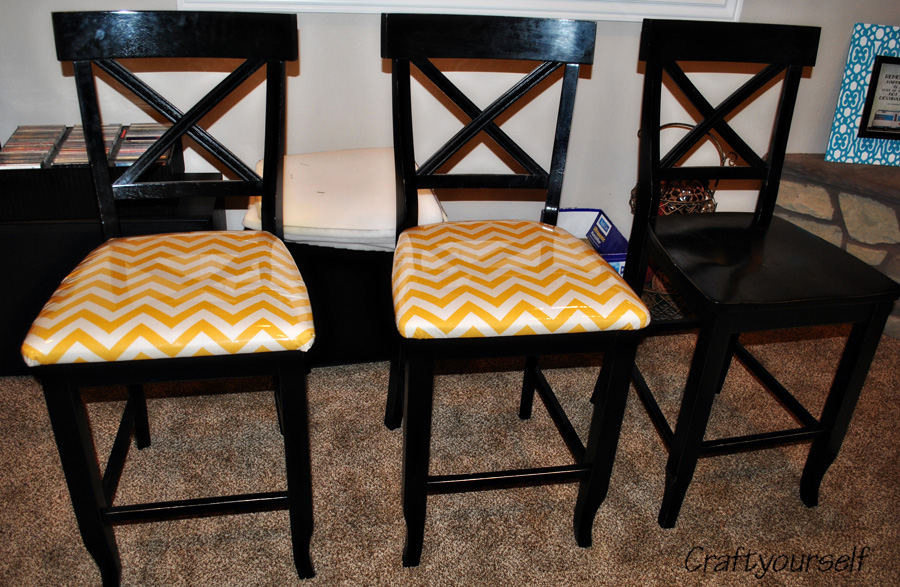
Upholstering Dining room chairs
Upholstering Dining room table chairs
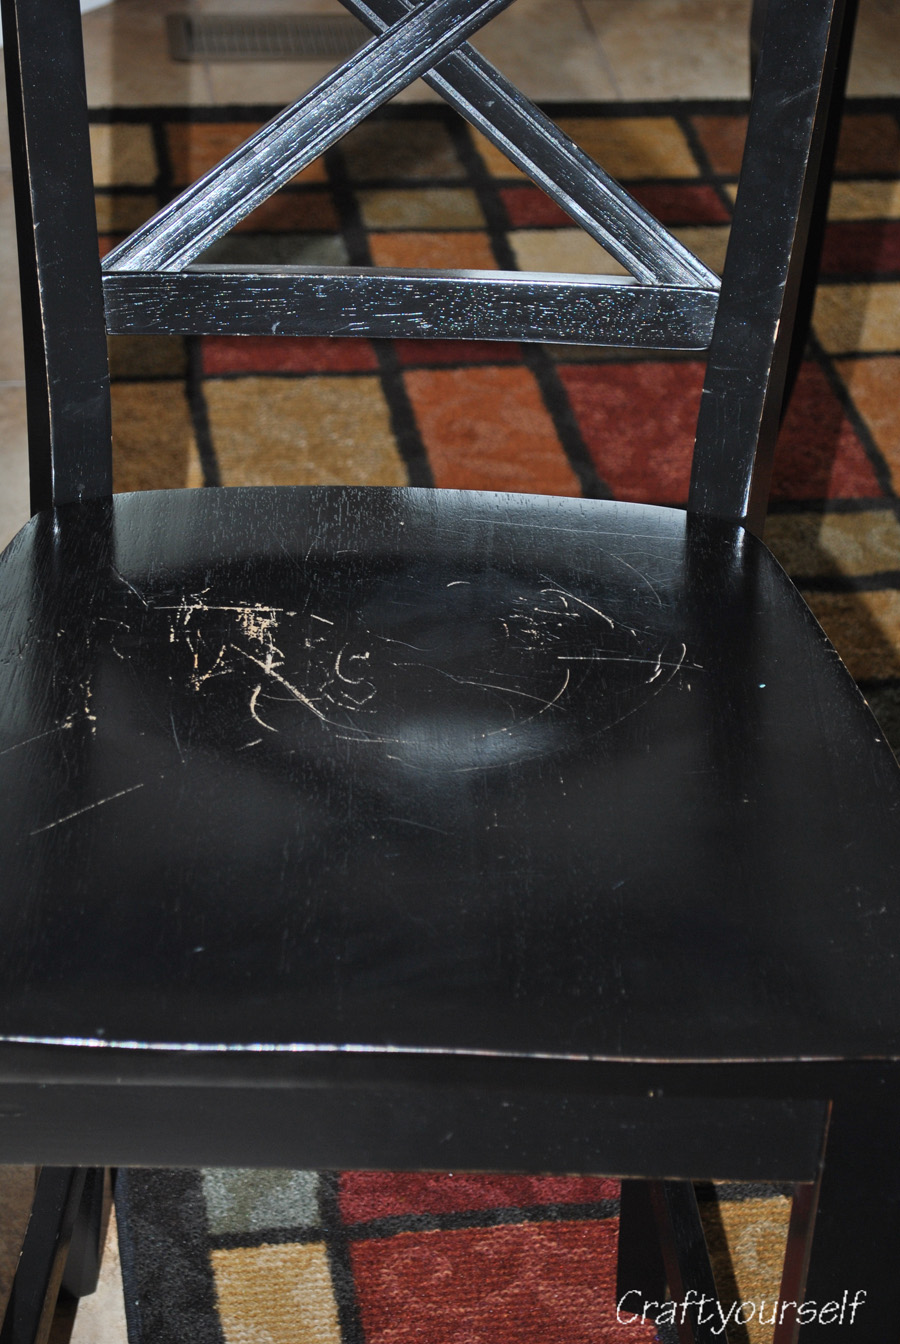
One thing about having a table that is painted rather than stained is that it will show up any knicks or dings into the paint. I have a black table that I have had for seven years. It looks pretty darn good other than my chairs. I’ll never forget when the jeans with big buttons and “bling bling” on the butt pockets came out. We had some friends come over to play cards one night and when they left I about killed over because this is how one of my chairs looked
I remember just about killing over when I saw it. I was sad! I pulled out the black paint and touched it up the best I could. But over time I started wearing jeans with “bling bling” as did my son, husband and daughters. So each chair started to look like that! I got tired of pulling out the black paint to try to cover up the scratches. Especially when the rest of my table is in awesome condition! Now you may remember when I added these cute chevron curtains to my living room? well I decided to tie in the chevron and re do my chairs to match! Now some may be sick of chevron but I am not.. Not yet anyways. I worried what a black table would look like against the yellow and white Chevron but I think it turned out pretty darn good!
So, this was a project I didn’t want to do by myself and knew I would have to involve my husband. Little did I know how involved he would get!
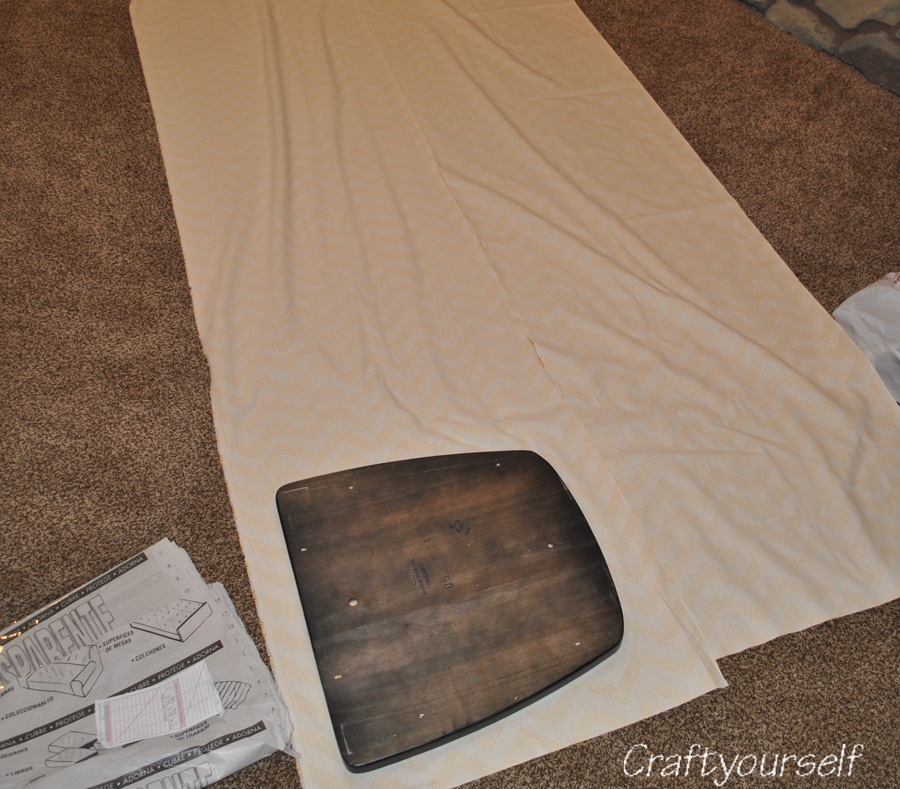
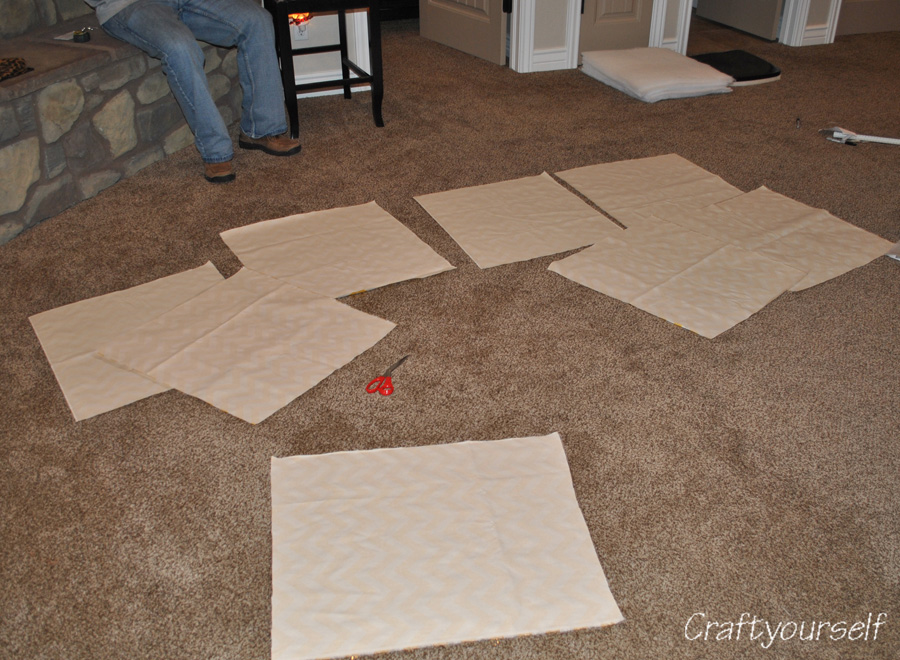
He removed the seat from each chair base, before we did all 8 chairs he removed just one seat and I did the foam template and fabric, batting and vinyl from that one seat. It made it easier and I didn’t have all my chairs pulled apart at the same time. I just traced the chair seat 8 times on foam that was 1 and 1/2″ thick. Then I rolled out the 4 yards of fabric I had purchased and figured out how much extra fabric I needed to wrap around the seat
I matched up the vinyl with the fabric and cut it the same size then did the same thing some batting. I added batting so I could wrap each seat so the wood was not rubbing right up against the fabric and to make it look “fluffy” all the way around the seat. I love having a basement to make the mess in! haha!
This is the point my husband really got involved. He literally took over. I tried pulling helping him pull the fabric / vinyl tight over the chairs but I think my hands just kept getting in the way. We used the Upholstry gun that we purchased when I re covered this Chair . He knows how to use “tools” better than I do! He hooked it up to the air compressor and was ready to go to town.
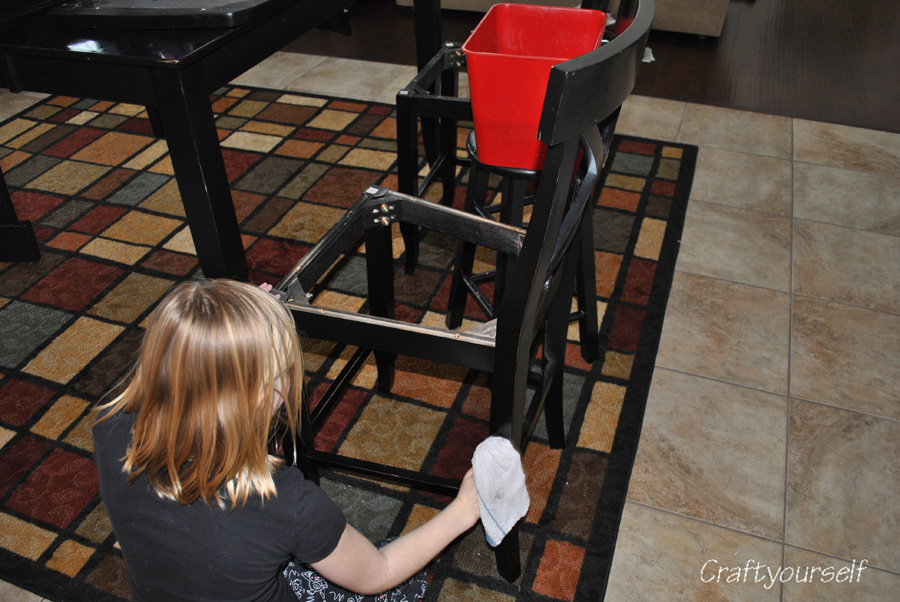
Before we began to cover the chairs I had my stepdaughter scrub those chairs down!
First we used spray adhesive to glue down the cushion to the seat and once they were dry enough that is when we began to cover.
While covering the seats the fabric and vinyl do need to be pulled tight to avoid wrinkling in the fabric. Once they were all stapled together hubby just screwed them back onto the chair base. Here is how they turned out!
I am just grateful that my chairs are no longer showing those ugly scrapes! Hmm now I am thinking I need a new brighter rug under my dining room table! They tie in pretty well with my drapes and I am excited that I have leftover fabric to make a table runner and maybe some napkins?




5 Comments
Tiff @ Babes and Kids
This turned out SO cute ave!!
LuAnn Braley
Wow…amazing transformation. Looks like a great family project!
Pingback:
Pingback:
Pingback: