
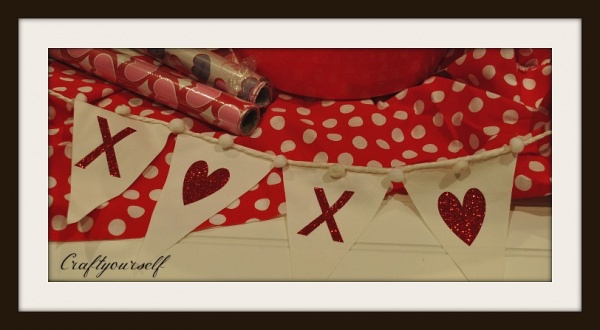
Simple Valentine’s X’s and Hearts Pennant Banner
This little Banner project literally took 20 minutes to make! It was fast and super easy and a darling little add to your Valentines day decor. Here is a step by step tutorial on how to make your own X’s and Hearts Pennant Banner.
Supplies you will need:
12″ x 4″ Material of your choice (preferably 1 color but you could use different colors if you choose)
Iron on adhesive (Examples: Thermoweb, Heat & Bond etc.)
Glittered Red Iron on Vinyl. (these usually come in 12″x 12″ sheets.
Personal cutting machine (Cricut or Silhouette)
Cutting scissors
Hot Iron & Ironing Board
Ribbon, Twine or rope 16″ to 18″ in length
Glue gun & glue sticks
8 small pom pom’s
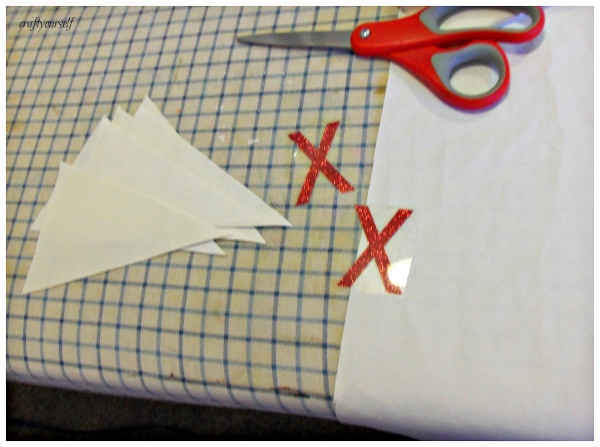
First step is to gather your material and iron it until it is smooth. Next, you will need to cut out triangles on your personal cutting machine using the Iron on adhesive. Put the Iron on adhesive onto your cutting mat and using the shapes you have pick a Triangle. (our’s ended up being 3″ across and 4″ in length) put on enough triangles into your software to at least have 4 triangles.
Once you have cut your triangles remove them from the cutting mat and arrange them onto your freshly pressed fabric. Save space & use less material I will stagger them one Triangle facing up the next facing down so all 4 are in a row. With the adhesive side down I simply iron them onto the fabric. Don’t hold the iron on too long or use to hot of an iron as it can burn the Iron on adhesive paper.
At this point you’ll want to cut the fabric (which is still in tact with the paper) using your hand scissors. After all the triangles are cut you can peel off the adhesive paper and you have 4 perfectly cut fabric Triangles.
Next you’ll want to measure out the size of X’s and Hearts you’ll want to use for the center of each Triangle. We measured our’s out to 1 1/2″ x 2″ (you can use a hand ruler to measure out the size that you would like in the center of your Triangle) Plug those into your cutting software then to cut the images you’ll want to use letter’s and font of your choice
First: Place the Iron-on sheet with the liner side down, onto your cutting mat. Next: Adjust your machines setting so that the blade only goes through the iron-on vinyl and leaves the liner intact. Be sure to flip all images prior to cutting so they appear backwards (this is using the mirror image feature). Load your mat and cut away!
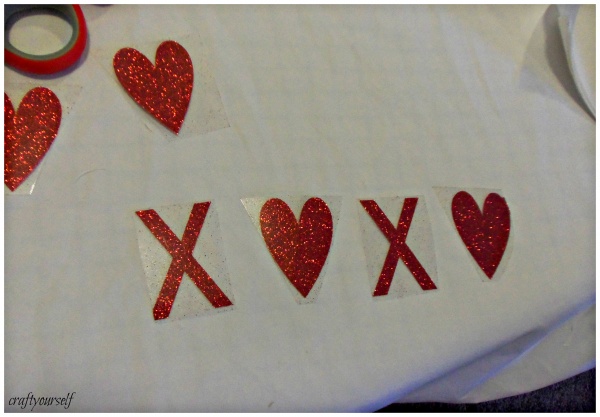
Once the X’s and Hearts are cut remove all the area around the cut image but leave the image on the liner. When you have removed the image & Liner from the mat place the image (the x or heart) liner side up onto your Triangle and Iron with a little pressure for about 20 to 25 seconds. Let it cool for a minute before removing the lining from the Glittered Vinyl. (If you are worrying about burning the vinyl you can always use s dishtowel over the top of your liner before you iron.
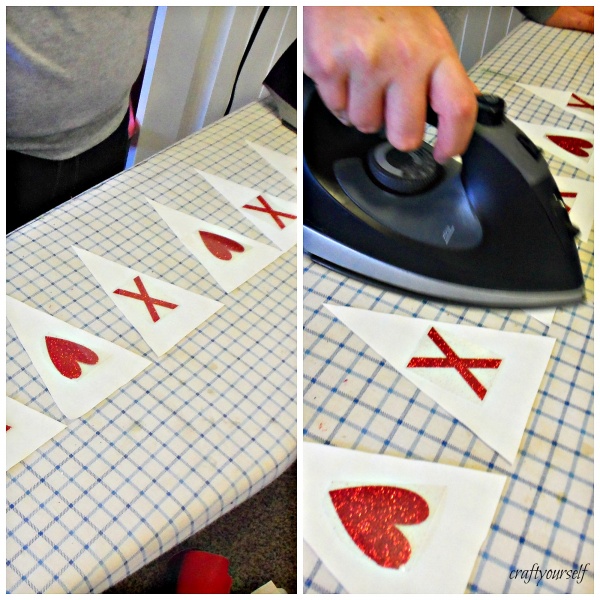
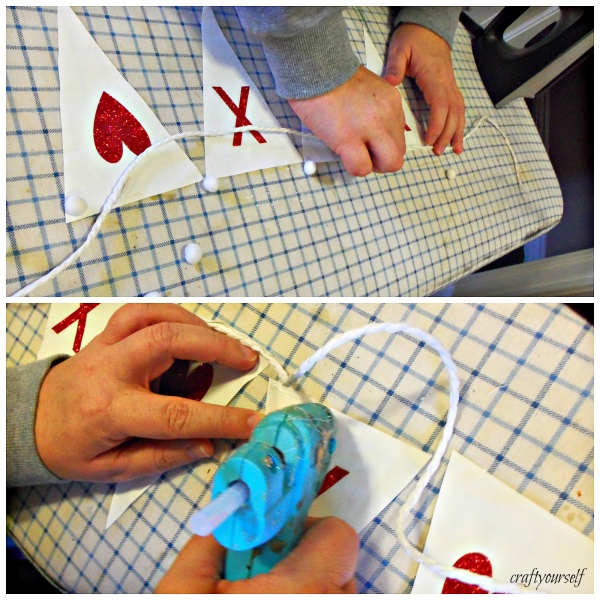
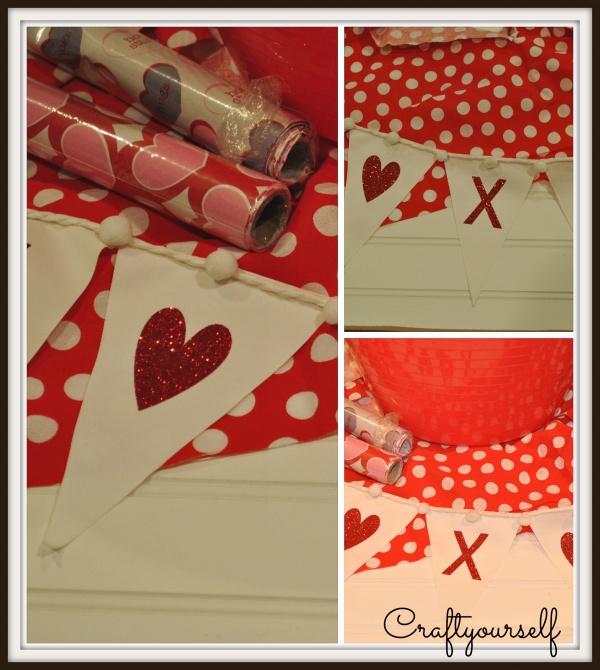
Now you should have 4 cute fabric triangles with X’s and Hearts in the center of them. We chose to hot glue the pennants onto our ribbon (evenly spaced) and then hot glue the pom poms at the top points of each triangle and in the center of the widest part of the triangle. If you space the triangles close together that will leave enough space at the ends of your ribbon to tie the banner on to something.
Hang this cute banner up and enjoy!!
You May Also Like
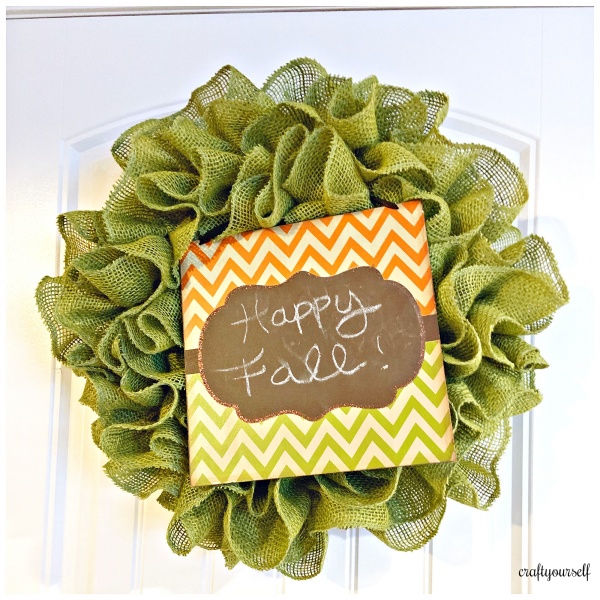
Ruffled Burlap Fall Wreath

Quick and Easy Fourth of July T-shirt Tutorial
